37
APPENDIX B: RAIN HOODS
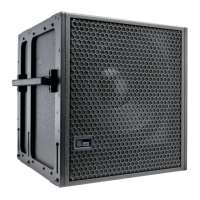
Weather-protected LEOPARDs include a quick-clip removable rain hood for indoor/outdoor touring and sheltered outdoor
installations.
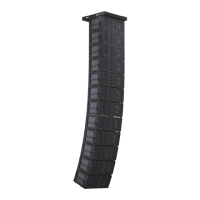
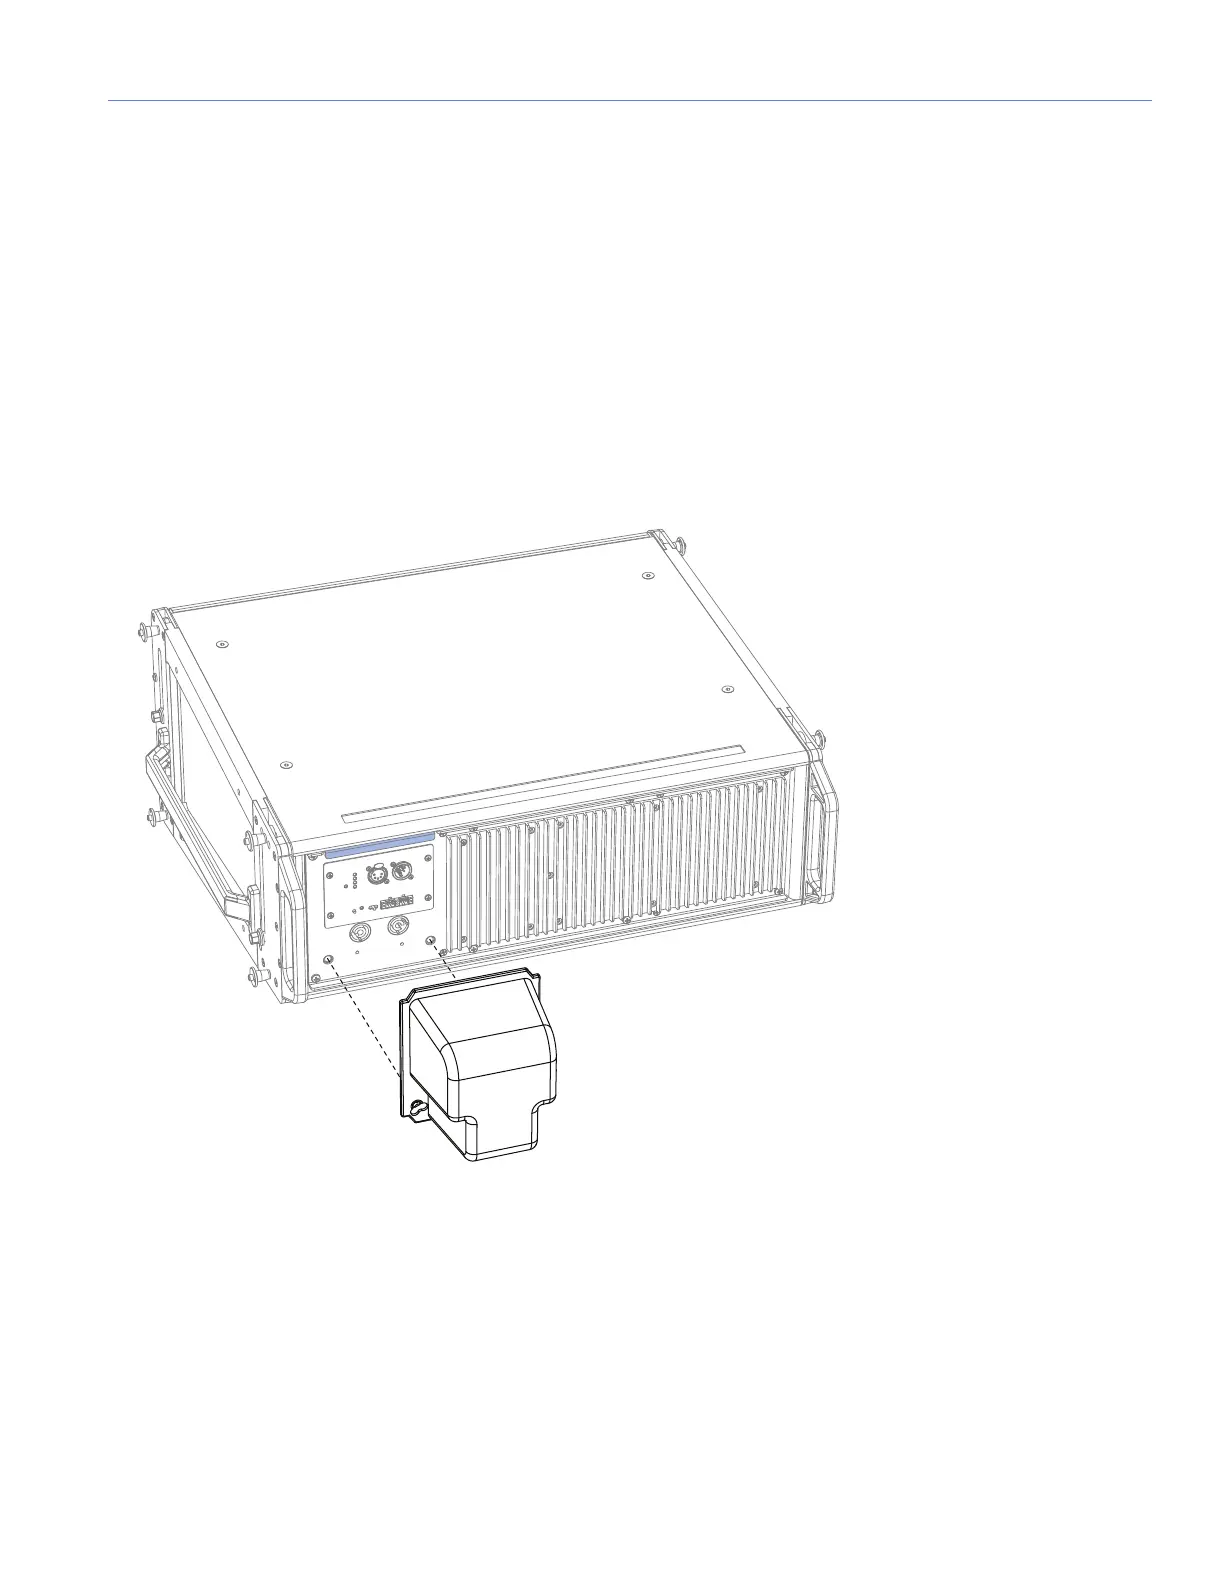
LEOPARD QUICK-CLIP RAIN HOOD
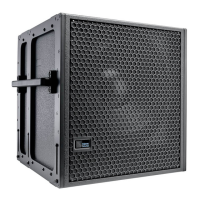
The LEOPARD quick-clip removable rain hood (Figure 24) is easily attached and removed with its two winghead studs.
To attach the LEOPARD quick-clip rain hood:
1. Connect any required cables to the LEOPARD loudspeaker.
2. Attach the rain hood to the user panel, slipping it under the rain hood retainer flange at the top of the user panel and
securing it to the center of the panel with its two winghead studs.
3. Make sure to tighten the winghead studs one quarter turn so they fully lock.
Figure 24: LEOPARD with Quick-Clip Rain Hood