TABLE OF CONTENTS
Introduction ................................................4-5
Safety Basics ................................................6-8
Assembly .................................................9-11
Techniques:
Using the 1/4” and 1/2” Leg ...............................14
Irregularly Shaped Stock ..................................15
Balance Support Spacer ...................................15
Resawing ...............................................16
Grooving a Round Dowel .................................16
Bevel Cuts ..............................................17
Pattern Routing .........................................17
Slotting ................................................17
3
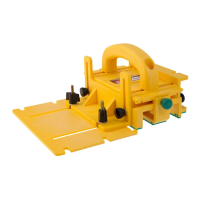
WARNING! The GRR-RIPPER 3D PUSHBLOCK system is capable to control
stock narrower or shorter than the GRR-RIPPER on your woodworking machines,
user must make sure that the Balance Support and the Adjustable Spacer are
properly adjusted to keep the GRR-RIPPER balanced on the stock so it will not tip in
any direction, example shown in Fig 16 on page 15.
User must pay attention to the gripping effectiveness of the Green Non-Slip pads
before every use, do not use the GRR-RIPPER if you feel it is not gripping the stock,
clean with denatured/rubbing alcohol or replace the leg(s) with new Green GRR-RIP
®
non-slip pads, if necessary.
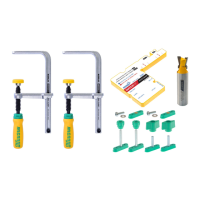
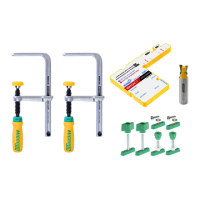
NOTE: Parts listing page folds out for
your convenience. Reference this page
during assembly.
 Loading...