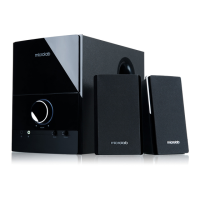
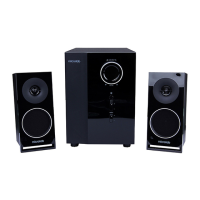
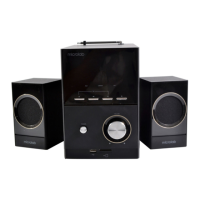
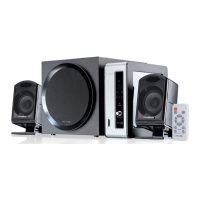
Operation
1. Ensure the volume is set to the lowest first.
2. Turn on the wall AC power switch if available, then turned on the power switch at
the rear of the subwoofer.
3. Ensure all connections are wired properly and correctly.
4. Start your playback device and start the playback.
5. Turn the volume knob in front and increase to your listening level.
6. Next adjust the bass volume knob at the rear panel to the bass effect that you
prefer.
Note: if volume are adjusted too high, the sound might affect your ear drums. So
Please moderate to your own comfort level.
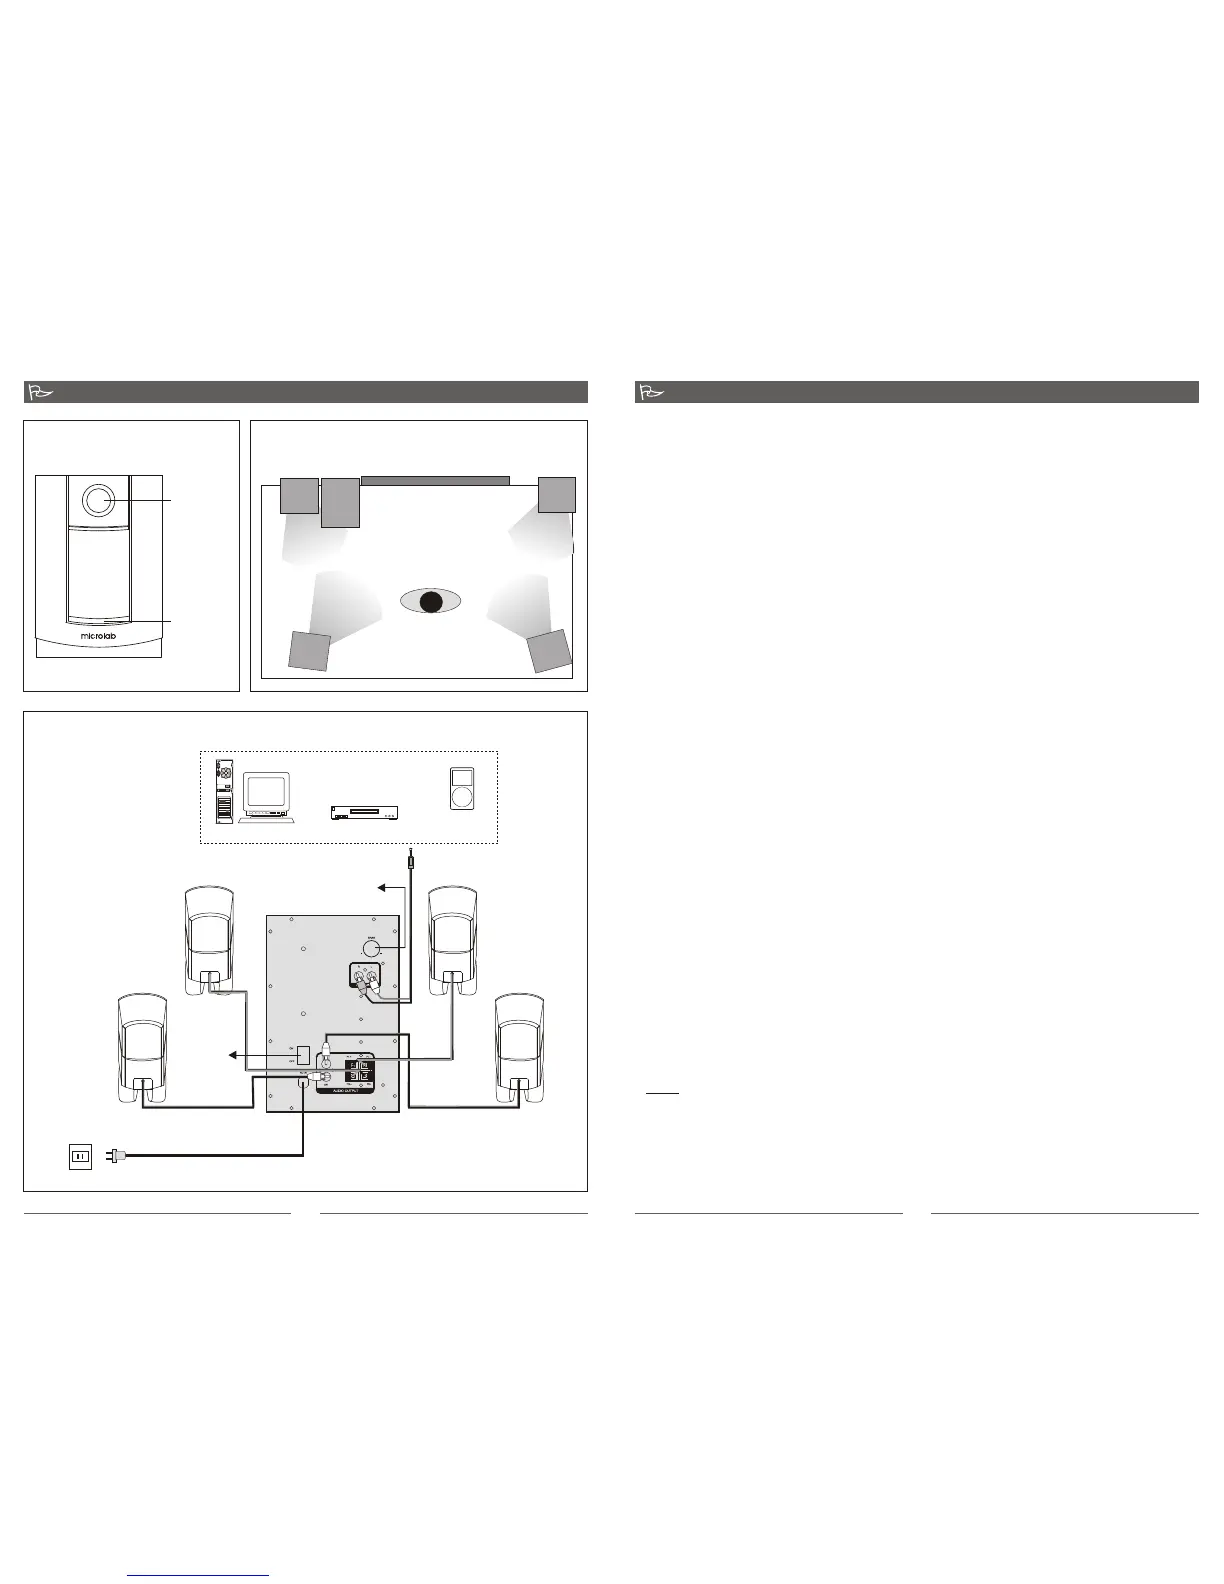
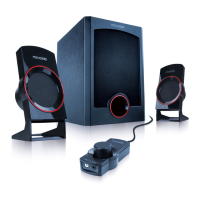
InstallationIllustrations
Installation
Precaution: Prior to connecting the speakers, ensure the AC power plug is removed
from the AC source. Secondly, ensure the volume knob is set to zero.
1. Connect the front satellite speaker cables to the Front Left (FL) and Front Right (FR)
audio outputs at the rear panel of the Subwoofer. These satellites uses terminal
connection and the wires are exposed at the ends. Next, position the left channel
satellite on the left of the Subwoofer and the right channel satellite on the right side
of the Subwoofer. Last, connect the SL satellite to the Surround Left (SL) RCA jack,
and the SR satellite to the Surround Right (SR) RCA jack. Place both of these at the
extreme corners at the rear of your listening position.
2. Connect the playback source (VCD, DVD, CD player) to the speaker systems with
the included audio cable (3.5mm stereo - 2 x RCAs). Plug the 2 x RCA plugs to left
and right channel RCAs of the Input sockets on the subwoofer rear panel. Next plug
the 3.5mm stereo plug to the playback source such as Mp3/Mp4 player, TV monitor,
VCD, DVD, or CD player.
3. Connecting to a PC (alternative), use the 3.5mm - 2 x RCA audio cable. Plug the
3.5mm stereo connector to the computer's soundcard or the audio output socket
(green coloured: 3.5mm stereo socket) of the PC. Next, plug the 2 x RCA to the
INPUT socket at the rear panel of the Subwoofer.
4. Ensure all plugs are seated properly and the AC power supply is properly connected.
Please always ensure the AC power ratings printed on the rear panel of the
Subwoofer tally with your country's AC power supply ratings. If they do not match,
please do not connect and turn ON the power. This will damage the speaker system
and even short-circuit the entire premises power supply.
Connections
PC
Mp3 \ Mp4
Media player
CD\ VCD \ DVD
3.5mm stereo
AC power supply:
220V - 240V 50Hz
RCA Left
RCA Right
Subwoofer rear panel
3 4
Front right Front left
Surround right Surround left
Power
switch
Bass volume
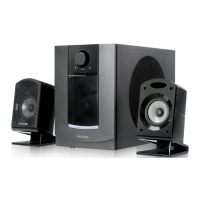
Suggested speakers arrangement
Front Panel
Master
volume knob
Volume
Blue LED
illumination
FL
FR
SL
SR
Listener
Subwoofer
LCD Monitor or TV