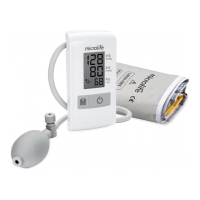
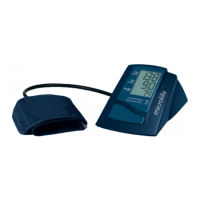
3BP N1 Basic
EN
How do I evaluate my blood pressure?
The higher value is the one that determines the evaluation.
Example: a blood pressure value of 140/80 mmHg or a value of
130/90 mmHg indicates «blood pressure too high».
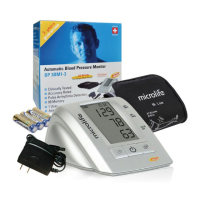
2. Using the Device for the First Time
Inserting the batteries
After you have unpacked your device, first insert the batteries. The
battery compartment
6
is at the back of the device. Insert the batteries
(
2
x 1.5 V, size
AAA
), thereby observing the indicated polarity.
Selecting the correct cuff
Microlife offers different cuff sizes. Select the cuff size to match the
circumference of your upper arms (measured by close fitting in the
centre of the upper arm).
Only use Microlife cuffs.
When using an L cuff with this device, be sure to only use it
with the corresponding black deflation valve.
Contact your local Microlife Service if the enclosed cuff 7 does
not fit.
Connect the cuff tube to the cuff pin 5 as far as it will go.
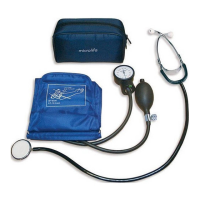
Connecting the pump ball
Connect the tube of the pump ball 9 to the pump ball pin 4.
The pump ball and cuff can be placed on either pin
4
or
5
.
3. Taking a Blood Pressure Measurement using this
Device
Checklist for taking a reliable measurement
1. Avoid activity, eating or smoking immediately before the
measurement.
2. Sit down for at least 5 minutes before the measurement and relax.
3. Always measure on the same arm (normally left). It is recom-
mended that doctors perform double arm measurements on a
patients first visit in order to determine which arm to measure in
the future. The arm with the higher blood pressure should be
measured.
4. Remove close-fitting garments from the upper arm. To avoid
constriction, shirt sleeves should not be rolled up - they do not
interfere with the cuff if they are laid flat.
5. Always ensure that the correct cuff size is used (marking on the
cuff).
• Fit the cuff closely, but not too tight.
• Make sure that the cuff is positioned 2 cm above the elbow.
• The artery mark located on the cuff (ca. 3 cm long bar) must
lie over the artery which runs down the inner side of the arm.
• Support your arm so it is relaxed.
• Ensure that the cuff is at the same height as your heart.
6. Switch on the device and wait until «0» appears in the display
and the arrow «» AN starts to flash.
7. Take the pump ball in your free hand (the arm you are not
measuring from) and pump up the cuff. Watch the pressure indi-
cation in the display and pump approx. 40 mmHg higher than
the expected systolic value (the upper value). If you have not
pumped enough, a flashing arrow «» AN will appear telling
you to pump higher.
8. After pumping, the measurement is taken automatically. Relax, do
not move and do not tense your arm muscles until the measure-
ment result is displayed. Breathe normally and do not talk.
9. During the measurement, the pulse indicator AL flashes in the
display.
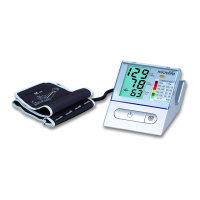
10.The result, comprising the systolic AT and the diastolic AK
blood pressure and the pulse rate AR is displayed. Note also the
explanations on further display symbols in this booklet.
11.When the measurement has finished, press the quick-acting
discharge valve 8 in order to release any remaining air in the
cuff. Remove the cuff.
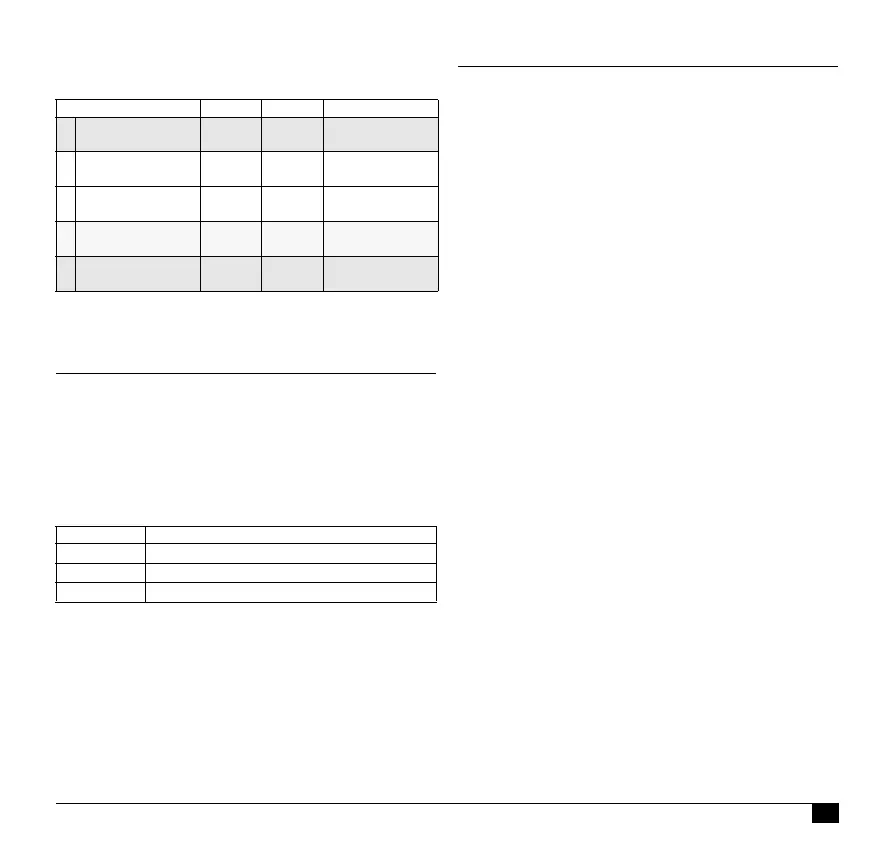
Table for classifying home blood pressure values in adults in
accordance with the international Guidelines (ESH, AHA, JSH).
Data in mmHg.
Range Systolic Diastolic Recommendation
blood pressure too
low
100 60 Consult your
doctor
1. blood pressure
optimum
100 - 130 60 - 80 Self-check
2. blood pressure
elevated
130 - 135 80 - 85 Self-check
3. blood pressure too
high
135 - 160 85 - 100 Seek medical
advice
4. blood pressure
dangerously high
160 100 Urgently seek
medical advice!
Cuff size for circumference of upper arm
S 17 - 22 cm
M 22 - 32 cm
L 32 - 42 cm