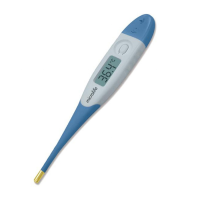
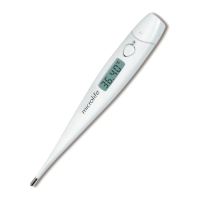
• Completely safe for use on children.
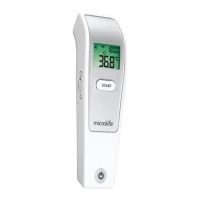
Fever alarm
10 short beeps and a red LCD backlight alert the patient that he/ she may have a temperature equal to or higher than 37.5 °C.
Bluetooth® Function
This device connects to the «Microlife Connected Health+» App by using Bluetooth® 4.0 and enables easy monitoring of temperature.
2. Important Safety Instructions
• Follow instructions for use. This document provides important product operation and safety information regarding this device. Please
read this document thoroughly before using the device and keep for future reference.
• This device may only be used for the purposes described in these instructions. The manufacturer cannot be held liable for
damage caused by the incorrect application.
• Never immerse this device in water or other liquids. For cleaning please follow the instructions in the «Cleaning and Disinfecting»
section.
• Do not use this device if you think it is damaged or notice anything unusual.
• Never open this device.
• A basic physiological effect called vasoconstriction can occur in the early stages of fever, resulting in a cool skin effect. The
recorded temperature using this thermometer can, therefore, be unusually low.
• If the measurement result is not consistent with the patient’s finding or unusually low, repeat the measurement every 15 minutes or
double check the result by another core body temperature measurement.
• This device comprises sensitive components and must be treated with caution. Observe the storage and operating conditions described
in the «Technical Specifications» section.
• Ensure that children do not use this device unsupervised; some parts are small enough to be swallowed.
• Do not use this device close to strong electromagnetic fields such as mobile telephones or radio installations. Keep a minimum distance
of 3.3 m from such devices when using this device.
• Protect it from:
– extreme temperatures
– impact and dropping
– contamination and dust
– direct sunlight
– heat and cold
• If the device is not going to be used for a prolonged period the batteries should be removed.
WARNING: The measurement results given by this device is not a diagnosis. It is not replacing the need for the consultation of a
physician, especially if not matching the patient’s symptoms. Do not rely on the measurement result only, always consider other
potentially occurring symptoms and the patient’s feedback. Calling a doctor or an ambulance is advised if needed.
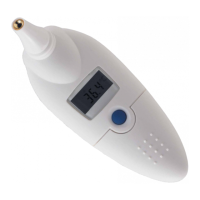
3. How this Thermometer measures Temperature
This thermometer measures infrared energy radiated from the forehead as well as objects. This energy is collected through the lens and
converted to a temperature value.
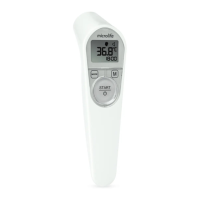
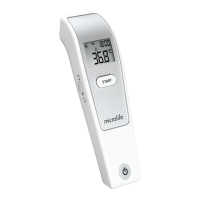
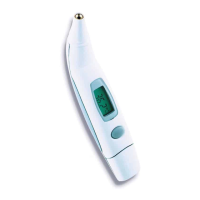
4. Control Displays and Symbols|
• All segments displayed 9: Press the ON/OFF button 5 to turn on the unit; all segments will be shown for 1 second.
• Ready for measuring AK: When the unit is ready for measuring, the «°C» or «°F» icon will keep flashing while the mode icon (body or
object) will be displayed.
• Measurement complete AL: The reading will be shown on the display 3 with the «°C» or «°F» icon and the mode icon
steady. The unit is ready for the next measurement as soon as the «°C» or «°F» icon is flashing again.
• Low battery indicator AO: When the unit is turned on, the icon will keep flashing to remind the user to replace the batteries.
5. Setting Date, Time and Beeper Functions
Setting the date and time
1. After the new batteries are fitted, the year number flashes in the display BP. You can set the year by pressing the START button 4. To
confirm and then set the month, press the M-button 8.
2. Press the START button 4 to set the month. Press the M- button 8 to confirm and then set the day.
3. Follow the previously mentioned instructions to set the day, 12 or 24-hour mode, hours, and minutes.
4. Once you have set the minutes and pressed the M-button 8, the date and time are set and the time is displayed.
If no button is pressed for 20 seconds, the device automatically switches to ready for measuring AK.
Cancel time setup: Press the ON/OFF button 5 during time setup. The LCD will show Date/Time icons with «–:–». After that press
the ON/OFF button 5 to start the measure-ment. If no further action is taken within 20 seconds, the
device will automatically turn off.
Change current date and time: Press and hold the M button 8 for approx. 3 seconds until the year number starts to flash BP. Now
you can enter the new values as described above.
Setting the beeper
1. When the device is switched off, press and hold the ON/OFF button 5 for 5 seconds to set the beeper BQ.
2. Press the ON/OFF button 5 again to either turn the beeper on or off. The beeper is activated when the beeper icon BQ is not crossed
out.
If no button is pressed for 5 seconds, the device automatically switches to ready for measuring AK.
6. Changing between Body and Object Mode
For changing from the body to object mode, slide the mode switch 6 at the side of the thermometer downwards. For switching back to
body mode, slide the switch up again.
7. Directions for Use
Measuring in body mode
 Loading...