5
4. Press the time switch again to confirm the
year setting and move to the month setting.
The month digits blink.
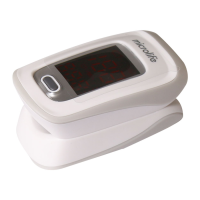
5. The current month can now be entered by
pressing the arrow button. (Example: pressing
5 times the right arrow button advances to 06
for June)
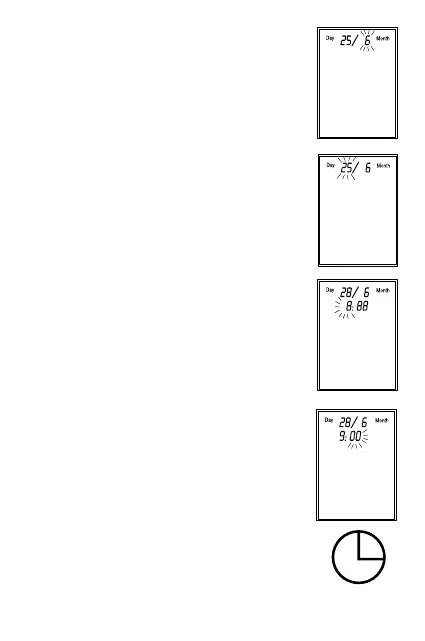
6. Press the time switch again to confirm the
month setting and move to the day setting.
The day digits blink.
7. The current day can now be entered by
pressing the arrow button. (Example: pressing
14 times the right arrow button advances to
15 for 15th June)
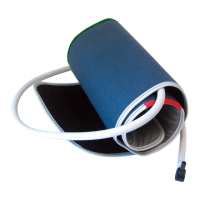
8. Press the time switch again to confirm the
day setting and move to the hour setting. The
hour digits blink.
9. The current hour can now be entered by the
arrow button. (Example: pressing 9 times the
right arrow button moves to 09 for 09 o’clock)
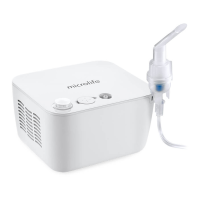
10. Press the time switch again to confirm the
hour setting and move to the minute setting.
The minute digits will now blink.
11. The current minutes can now be entered by
pressing the arrow button. (Example: pressing
9 times on the left arrow button moves to 50
for 09:50 o’clock).
12. Press the time switch again to confirm all
settings. Date and time are now stored, the
clock starts running and the monitor switches
to «ready» state condition which enable your
first measurement.
13. Close the data compartment.