Microsoft Lumia – how to insert your SIM card
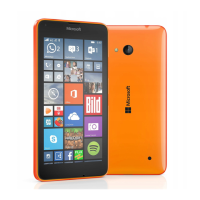
Firstly, you need to remove the back of the handset from the
body of the phone; holding the Lumia upright, and with the
screen facing away from you, place your thumb in the middle of
the phone's back, just below the camera lens. With your other
hand, hook your finger over a top corner and pull the coloured
back towards you - you should see and hear it unlatch. Repeat
this process on the other top corner, and then the back of the
phone should be free to remove. If the battery has already been
inserted, you'll need to remove it to insert the cards.
The micro-SIM and a microSD memory card (if you are using
one) slide into slots in the edge of the battery compartment.
There are indicators on the information strip to show which
cards go in which slot, and which way round. The microSD goes
in the holder nearest the camera lens (below right), with the
thin end going in first and the gold-coloured contacts facing
down. The nano-SIM card goes in the holder furthest away from
the camera lens (below left), again with the gold-coloured
contacts facing down, and with the cut-off corner end inserted
first.
 Loading...