3
English
DeutschFrançais
Italiano
Nederlands
Español
For PC users
4.Connect scanner
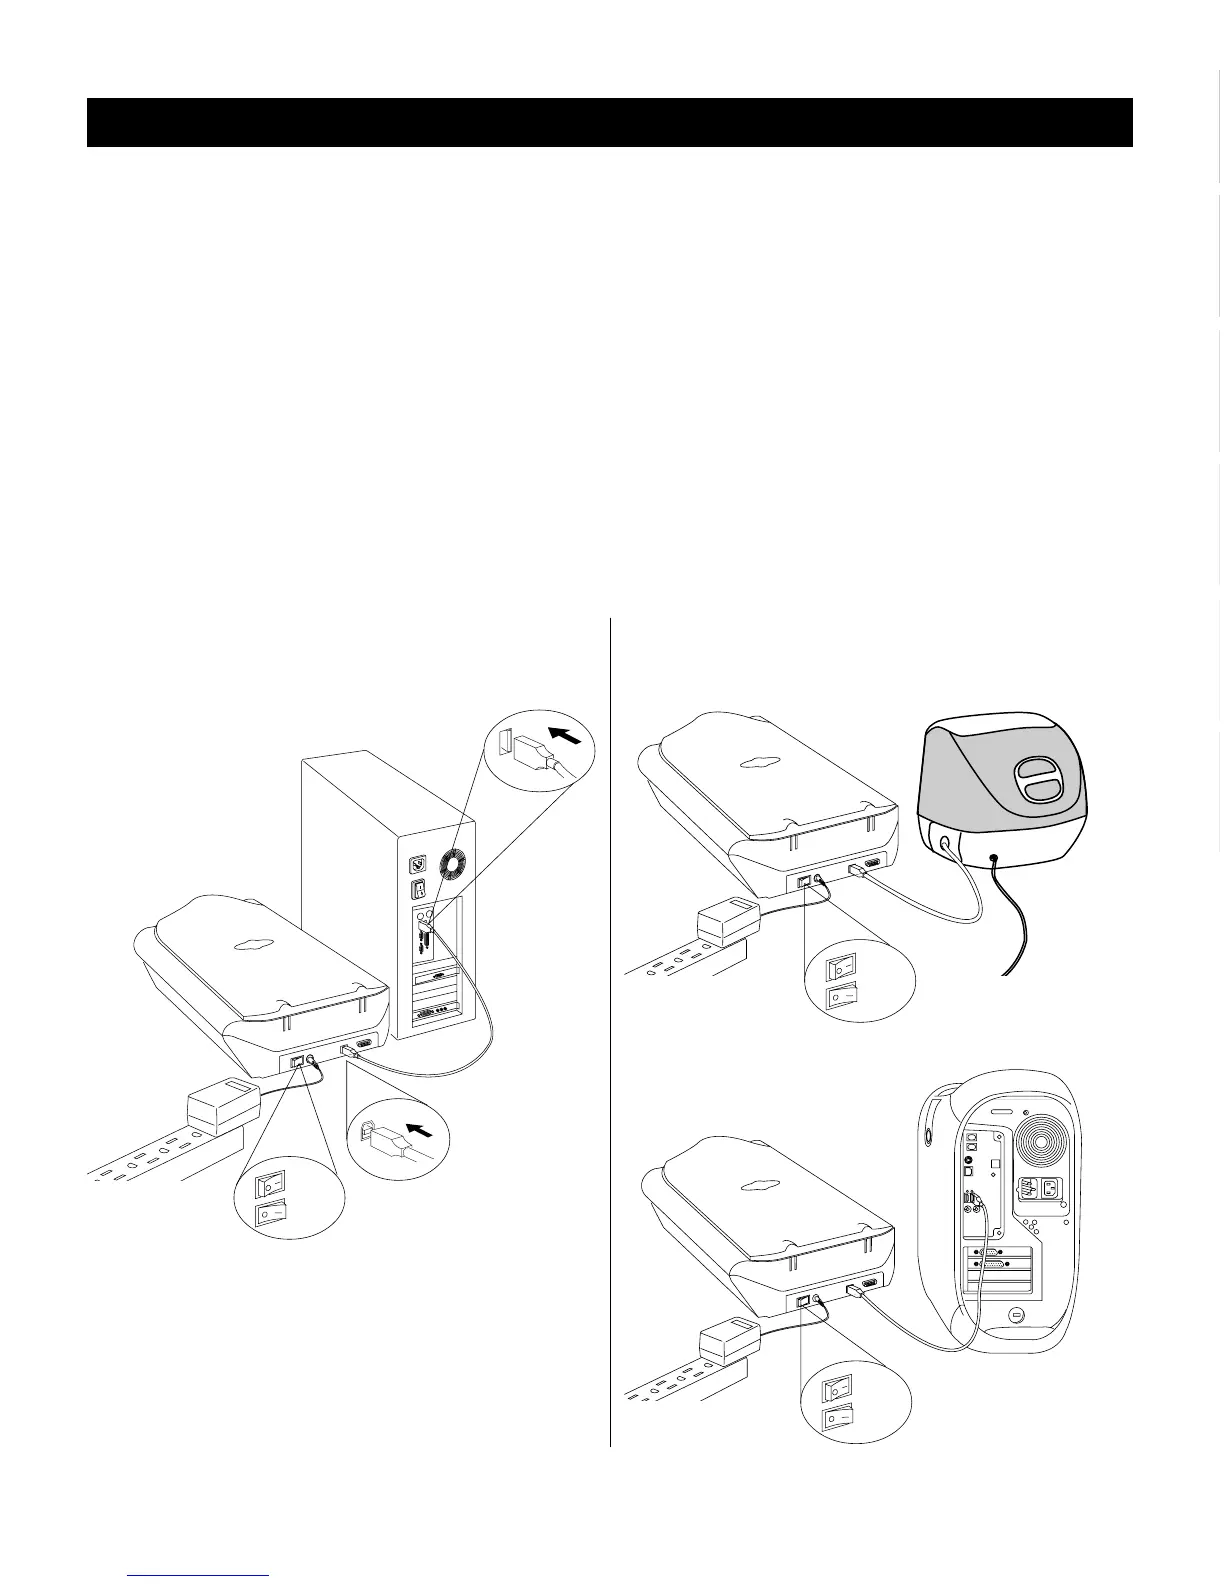
1. Plug the power adapter into the back of the scanner,
and plug the other end into a wall outlet or power
source.
Make sure no other cable is connected to theMake sure no other cable is connected to the
Make sure no other cable is connected to theMake sure no other cable is connected to the
Make sure no other cable is connected to the
scanner except the power adapter at this pointscanner except the power adapter at this point
scanner except the power adapter at this pointscanner except the power adapter at this point
scanner except the power adapter at this point.
2. Press the scanner’s power switch at the back of the
scanner.
The green light on the front of the scanner will blink
for a few seconds and then stay on solid.
For Macintosh users
Installation for PC and Macintosh
❷
❸
❷
❸
On
Off
❷
❸
On
Off
3. Connect one end of the USB cable to your computer,
and connect the other end of the cable to the scanner’s
USB port.
❶
❶
❶
On
Off