5
English
DeutschFrançais
Italiano
Nederlands
Español
A. Using the scanner buttons
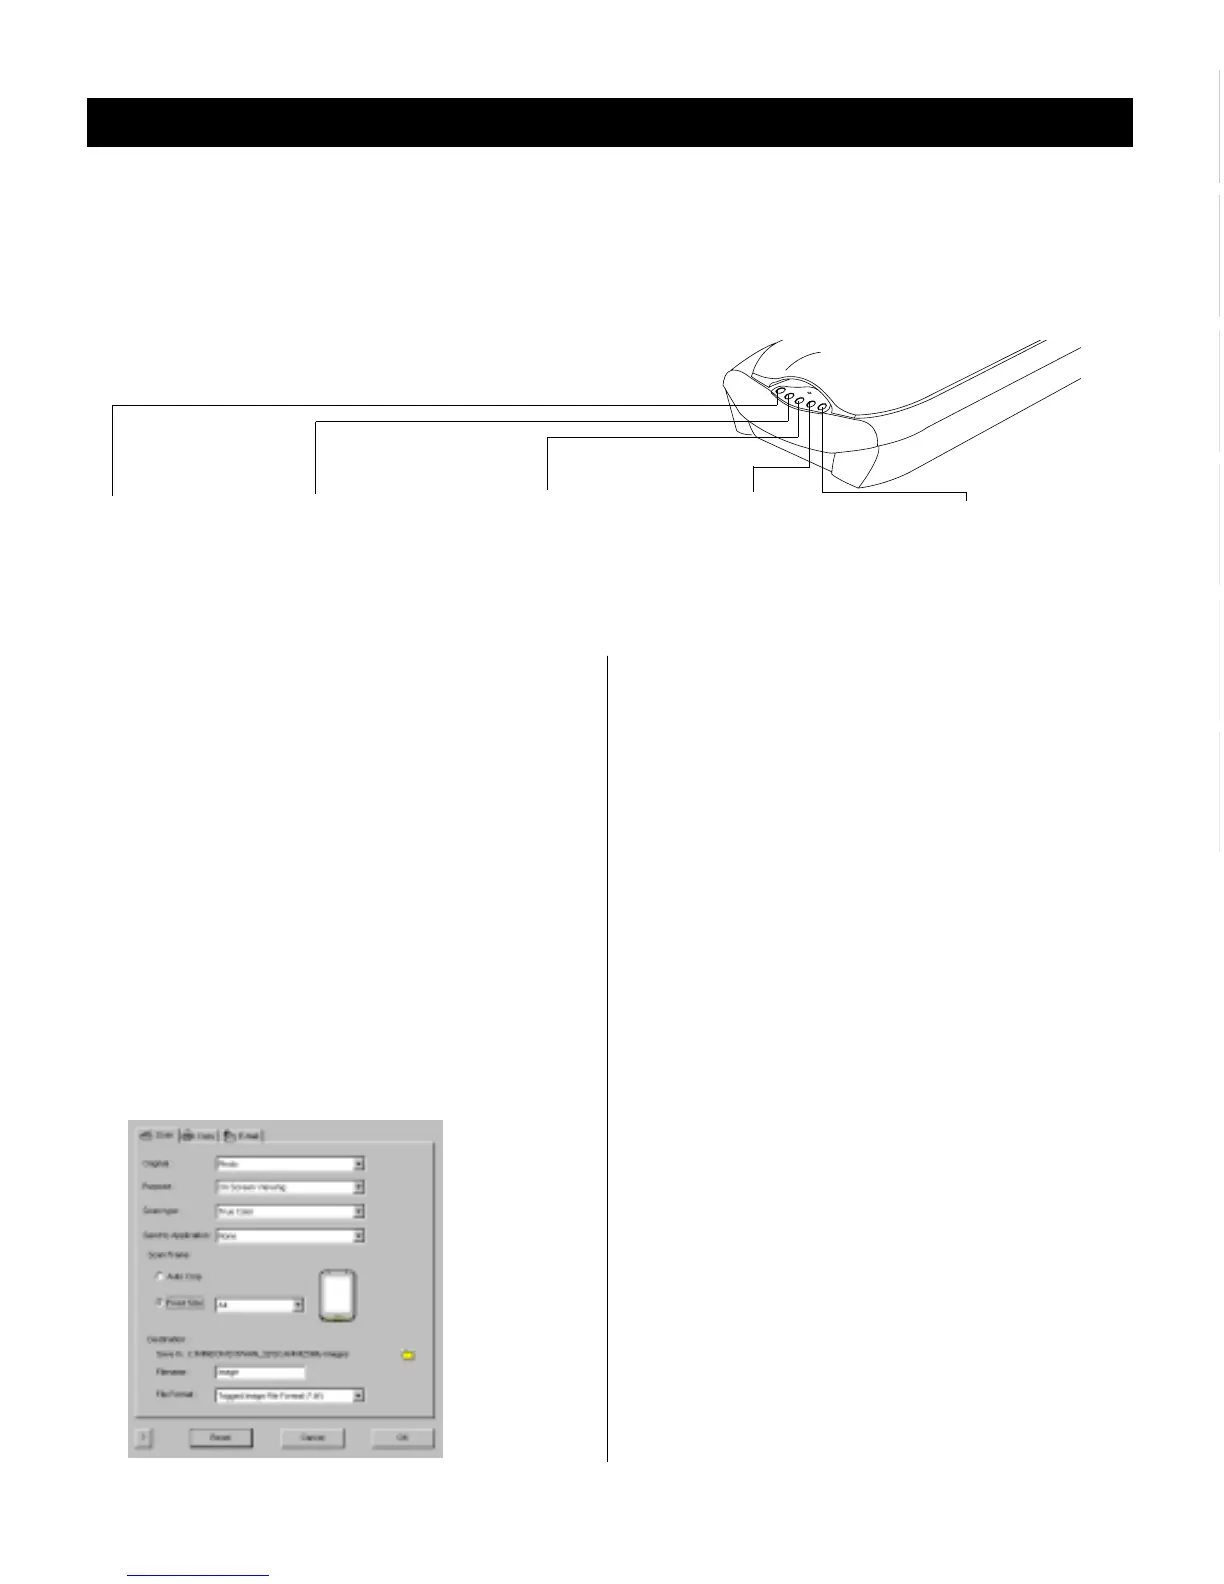
One way to scan is to use the five buttons on the front
panel of your ScanMaker 4700. These buttons are Scan,
Copy, E-mail, Cancel, and Setup. Before doing your first
scanner operation, it is suggested that you perform the
appropriate setup procedures first.
1. Launch the
Microtek Scanner ConfigurationMicrotek Scanner Configuration
Microtek Scanner ConfigurationMicrotek Scanner Configuration
Microtek Scanner Configuration Utility
(MSC). You can do this by: a) Pressing the Setup
button on the scanner’s front panel; b) Double-clicking
the MSC
icon from the desktop; or c) For Windows
only: From Windows, go through the Windows menu
-- click Start, Programs, ScanWizard 5, Microtek
Scanner Configuration.
2. When the
MSC MSC
MSC MSC
MSC panel appears, click the Scan tab, then
specify the Scan settings accordingly.
TT
TT
T
ake note of the followingake note of the following
ake note of the followingake note of the following
ake note of the following:
• In the “Send to Application field”, make sure you select
Adobe PhotoDeluxe or the image-editing application
of your choice. This makes sure that after you finish a
scan, PhotoDeluxe is launched and the scanned image
is displayed. If you choose “None”, the image will be
scanned and saved to the Destination location, but will
not display automatically.
• Check the Destination field to see where the image is
saved after scanning. The image can then be opened
from this location in the future.
3. Next, click the
CopyCopy
CopyCopy
Copy tab, then specify the
CopyCopy
CopyCopy
Copy
settings accordingly.
4. Click the
E-mailE-mail
E-mailE-mail
E-mail tab, then specify the
E-mailE-mail
E-mailE-mail
E-mail settings
accordingly.
5. Now that you have completed the Setup procedure,
you can click the Scan, Copy, or E-mail buttons on the
scanner’s front panel to carry out the corresponding
action, based on the settings you have specified for
that action. See the graphic at the top of the page for
details on what each scanner button can do.
Scan
Captures high resolution images
with outstanding quality that can
automatically be saved as files or
sent to another application for
further processing.
Copy
Scans the image and sends it to your
printer, transforming your scanner
and printer into a convenient copy
station. Simply specify the number of
copies you want.
E-mail
Scans the image and delivers it
directly to your e-mail editor.
Cancel
Quickly stops and abandons any
scan job in progress. Just hit this
button and execute the next
command.
Setup
Activates the Microtek Scanner
Configuration control panel for
customizing your buttons and
setting your preferences.
There are three different ways to scan:
A. Using the scanner buttonsA. Using the scanner buttons
A. Using the scanner buttonsA. Using the scanner buttons
A. Using the scanner buttons
B. Launching ScanWizard 5 as a stand-alone B. Launching ScanWizard 5 as a stand-alone
B. Launching ScanWizard 5 as a stand-alone B. Launching ScanWizard 5 as a stand-alone
B. Launching ScanWizard 5 as a stand-alone
prpr
prpr
pr
ogram C. Scanning frogram C. Scanning fr
ogram C. Scanning frogram C. Scanning fr
ogram C. Scanning fr
om an image-editing applicationom an image-editing application
om an image-editing applicationom an image-editing application
om an image-editing application. Each method is described below.
The
ScanMaker 4700 ScanMaker 4700
ScanMaker 4700 ScanMaker 4700
ScanMaker 4700 is equipped with five scanner buttons on the front panel that give you quick access to the most
frequently used functions. These buttons are Scan, Copy, E-mail, Cancel and Setup. The parameters for each button can be
set through the Microtek Scanner Configuration (MSC) utility.
How to Scan

 Loading...

