1
Step 2: Install Software
Step 1: Unpack Contents
Start Here
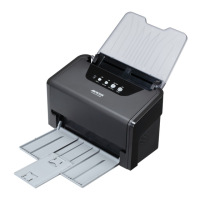
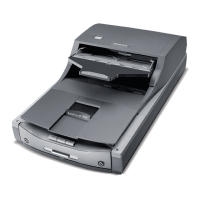
Installing your Microtek ScanMaker s450/s350
Unpack your scanner package and check for
major components.
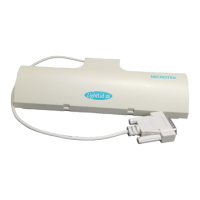
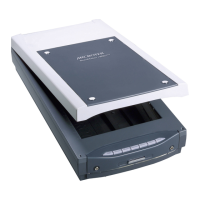
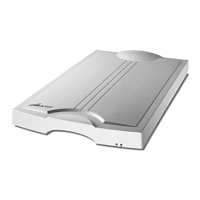
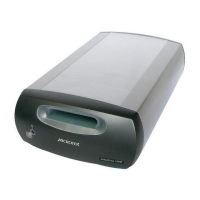
1. Scanner with built-in transparency adapter
2. Software CD
3. Power adapter
4. Hi-Speed USB cable
5. White mat
6. Film holder
Important: Do not remove the yellow stickers from
your scanner until you are told to do so. You must
install software before connecting your scanner.
Always close any open programs and turn off Anti-
virus utilities before installing software.
MAC:
A. Place the Microtek CD-ROM into the CD-
ROM drive and install all the software
components.
B. Restart your computer.
NOTE: After rebooting your Macintosh, the
Microtek software will attempt to locate your
scanner on the system. Since this is your first
install and you have not yet connected the
scanner, simply ignore the message that appears
and proceed to the next step.
1
2
3
4
5
6
PC:
A. Place the Microtek CD-ROM into the CD-
ROM drive.
B. Follow the on-screen instructions to install
the driver and software.
NOTE: If the Microtek Software Installer screen
does not come up automatically, double-click the
following in succession: “My Computer”; the CD-
ROM icon; then cdsetup.exe to start the installer
program.
Copyright © 2007 Microtek International, Inc. http://www.microtek.com
I49-004142 A, February 2007