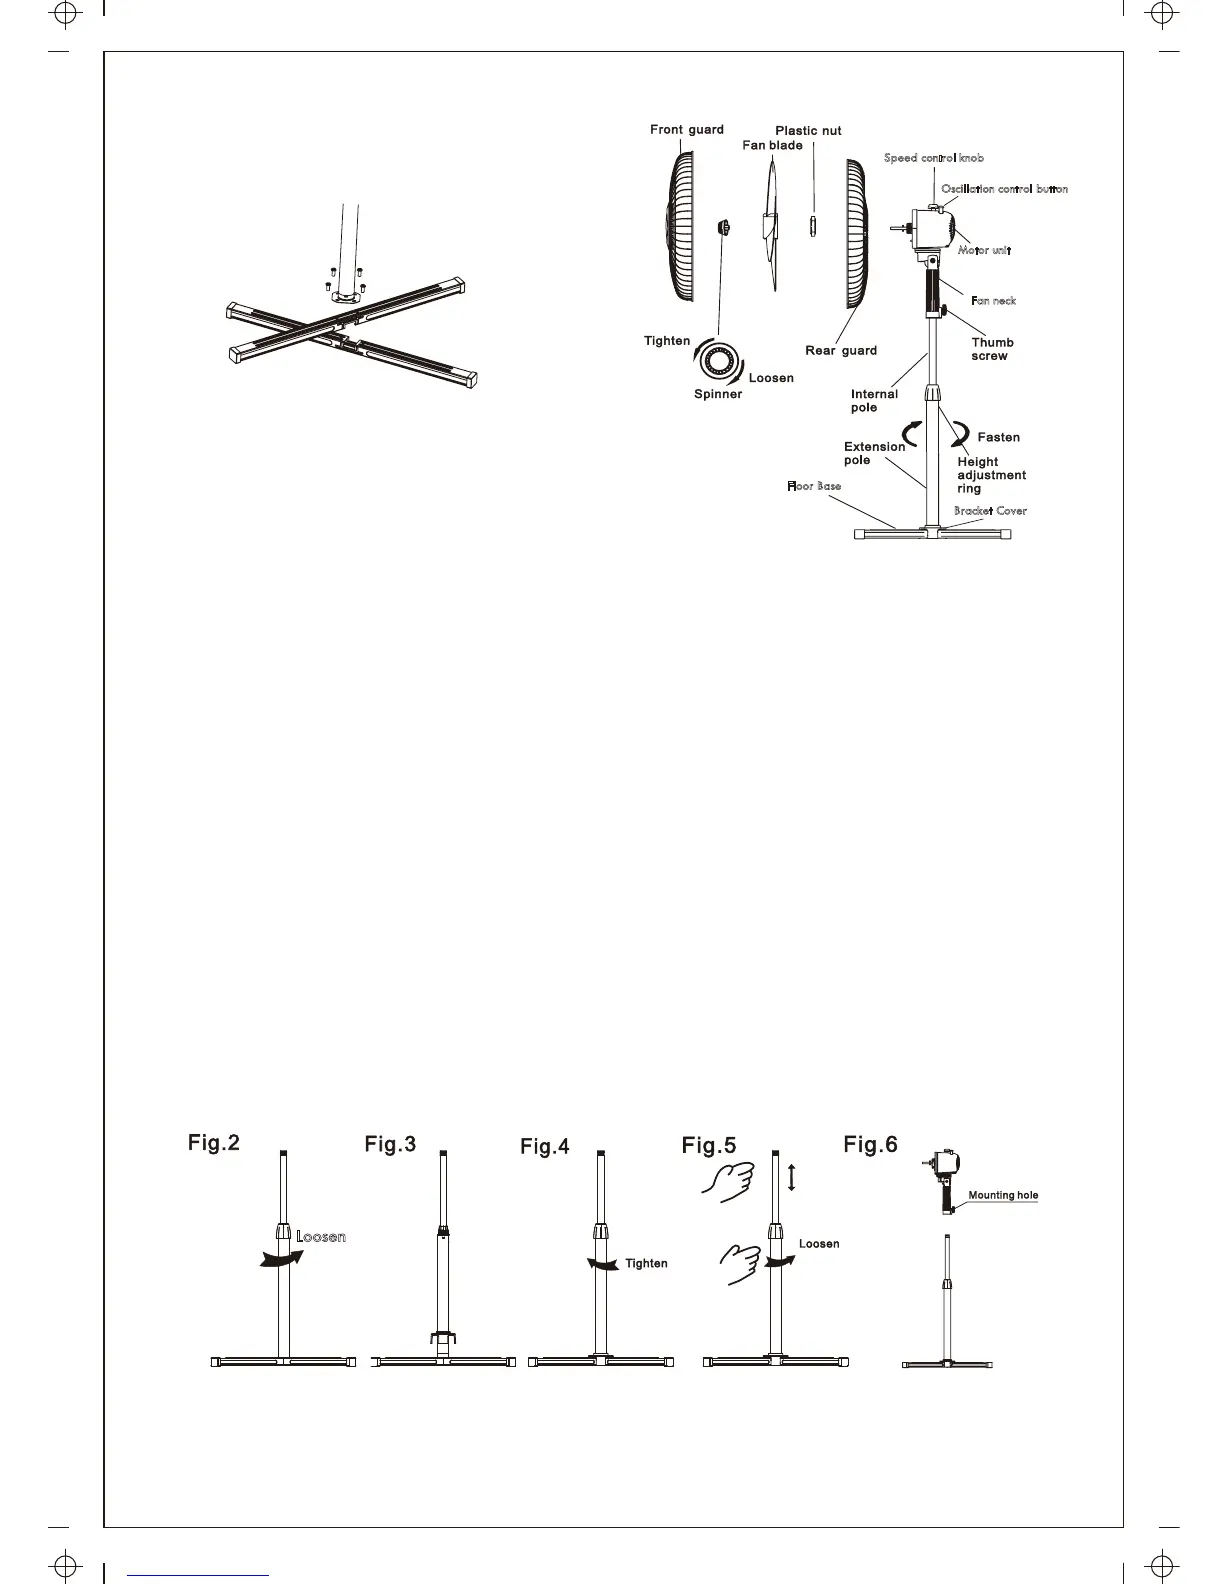
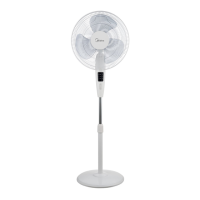
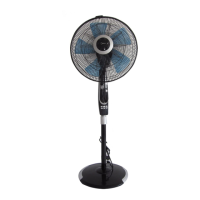
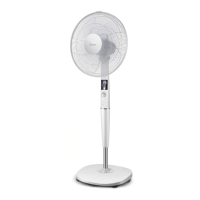
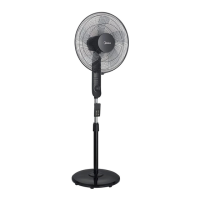
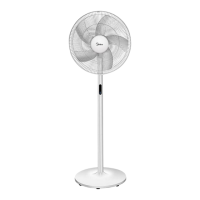
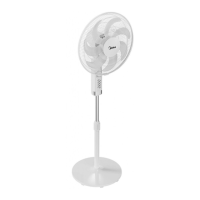
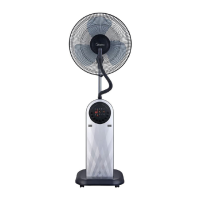
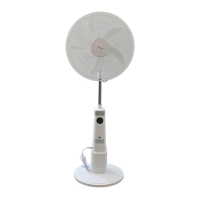
PARTS FIGURE
STAND ASSEMBLY
1. Assemble the Floor Base by fitting the upper and lower base
bars together. Remove the screws and washers from the bars. Align the holes
in the bracket at the bottom of the pole with the screw holes in the bars. Insert
the screws with washers into the holes and tighten securely. See Fig.1
2. Loosen and remove the Height adjustment ring from the top of the extension
pole. Insert the bracket cover over the top of the pole and slide the cover down
to fit over the bracket and bars. Return the Height adjustment ring to the top
of the pole. See Fig.2 and 3.
3. Loosen the Height adjustment ring at the top of the extension pole. Raise the
internal metal pole to the desired height and securely tighten the Height
adjustment ring. See Fig.4
NOTE: If the internal pole is not visible it has slipped out of sight into the
extension pole. Loosen the Height adjustment ring to slide the internal pole out.
See Fig.5.
4. To attach the motor unit to the top of the internal pole, loosen the thumb screw
at the Fan neck base. Insert the internal pole into the Fan neck base as far as it
will go. Tighten the thumb screw to secure the motor unit in place. See Fig. 6.
CAUTION: The Height adjustment ring must be tightly fastened before mounting
the motor unit to the internal pole.
Speed control knob
Motor unit
Fan neck
Floor Base
Loosen
Bracket Cover
Oscillation control button
Fig.1
2