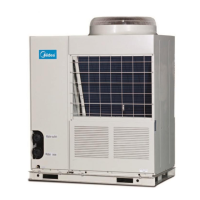
MCAC-ATSM-2011-12 Air-cooled modular chiller unit 50Hz
115
185kw module
250kw module
350
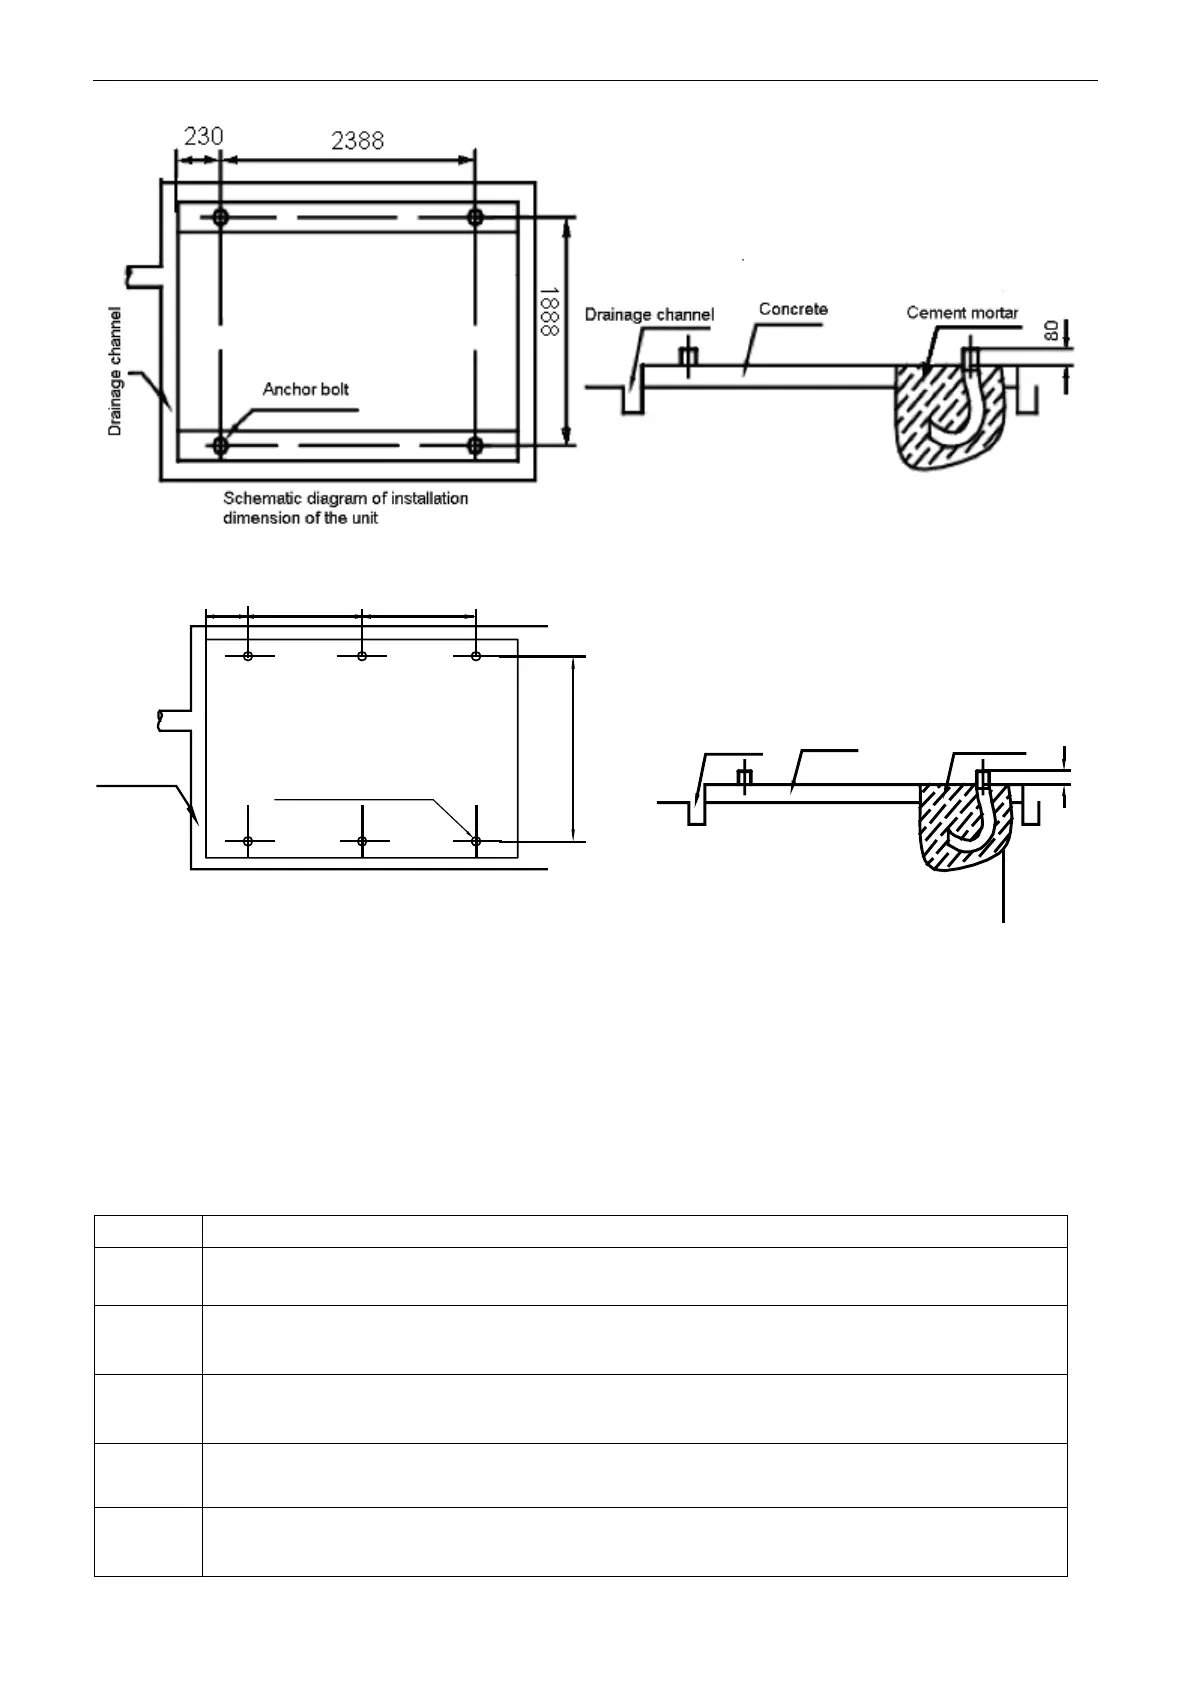
Schematic diagram of installation dimension of the unit
1551 1551
1888
Drainage
channel
Hole for anchor bolt
80
Concrete Cement mortarDrainage channel
12.4 Installation of damping devices
※ Damping devices must be provided between the unit and its foundation.
By means of the Φ15mm diameter installation holes on the steel frame of the unit base, the unit can be
fastened on the foundation through the spring damper. See figure above (Schematic diagram of installation
dimension of the unit) for details about center distance of the installation holes. The damper does not go with
the unit, and the user can select the damper according to the relevant requirements. When the unit is
installed on the high roof or the area sensitive to vibration, please consult the relevant persons before
selecting the damper.
※ Installation steps of the damper
Step Content
1
Make sure that the flatness of the concrete foundation is within ±3mm, and then place the unit on the
cushion block.
2
Raise the unit to the height suitable for installation of the damping device. Remove the clamp nuts of the
damper.
3
Place the unit on the damper, and align the fixing bolt holes of the damper with the fixing holes on the unit
base.
4 Return the clamp nuts of the damper to the fixing holes on the unit base, and tighten them into the damper.
5
Adjust the operational height of the damper base, and screw down the leveling bolts. Tighten the bolts by
one circle to ensure equal height adjustment variance of the damper.
 Loading...