Page 12
Indoor Unit
Installation
Step 4: Adjust the air inlet direction
(From rear side to under-side.)
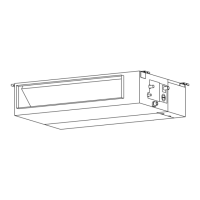
1. Take o the ventilation panel and ange.
2. Change the mounting positions of the
ventilation panel and air return ange.
Air return ange
Ventilation panel
3. When installing the lter mesh, t it into the
ange as illustrated in the following gure.
NOTE: All the gures in this manual are for
demonstration purposes only. The air conditioner
you have purchased may be slightly dierent in
design, though similar in shape.
Step 5: Fresh air duct installation
Dimension :
Duct joint for fresh air
Ø125mm(4.92”)
Ø160mm(6.3”)
MODLE
18-60
Step 6: Motor and drain pump maintenance
Motor maintenance:
Take o the ventilated panel.
Take o the blower housing.
Take o the motor.
1.
2.
3.
(the rear ventilated panel is used as an example)
Mofor
Blower housing
Ventilated panel
Pump maintainance:
Remove four screws from the drain pump.
Unplug the pump power supply and water
level switch cable.
Detach the pump.
1.
2.
3.
Pump
Fig. 4.11
Fig. 4.12
Fig. 4.13
Fig. 4.14
Fig. 4.15
Fig. 4.16
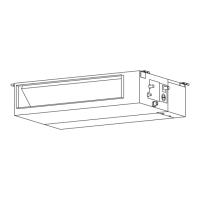
Air return ange
Ventilation panel
 Loading...