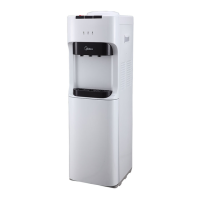
PRODUCT INSTALLATION
MACHINE INSTALLATION
08
Activate Heating & Cooling
Notice: This unit will not dispense hot or cold water until the switches are activated,
and make sure water comes out of taps before activating heating or cooling switch;
To activate, push power switches on the back side in to start heating and cooling water
and the heating pilot lamp or cooling pilot lamp is on at the same time.
- If you do not want to heat water, push bottom side of red switch to the OFF position.
- If you do not want to cool water, push bottom side of green switch to the OFF position.
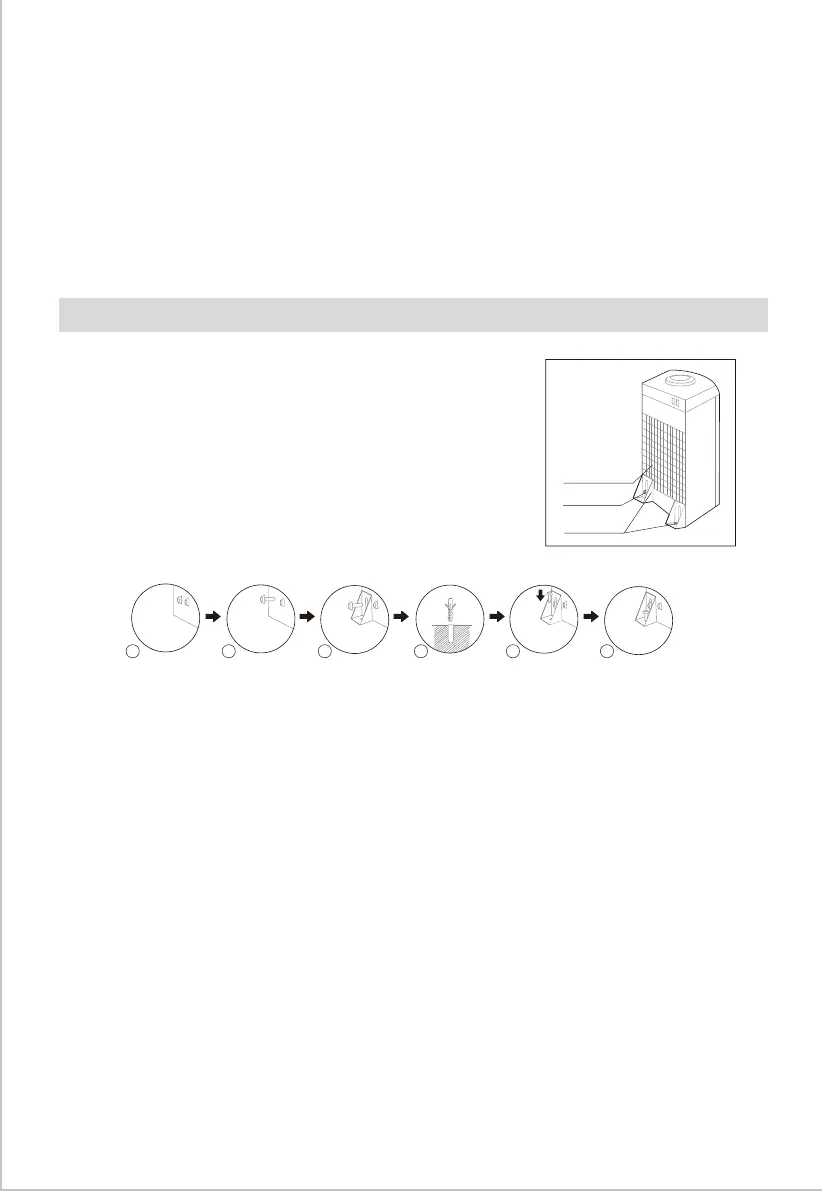
To prevent the machine from swaying to fall, please install
the bracket accordingly.
1-2. Loosen the screw of the left or right bottom angle just
as the picture shown.
3. Use the screw to fix the bracket on the left or right
bottom angle of the water dispenser.
4. Make a hole on the floor's or the desk's surface where
the water dispenser will be installed.
5. Fix the bracket on the floor by screw tightly.
6. Tighten the screw.
WARNING! To avoid a hazard due to instability of the appliance, it must be fixed in
accordance with the instructions.
Water dispenser
Bracket
The hole for
tighten screw
2 3 5 641