09
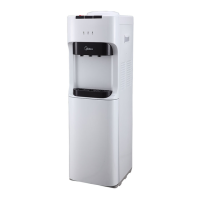
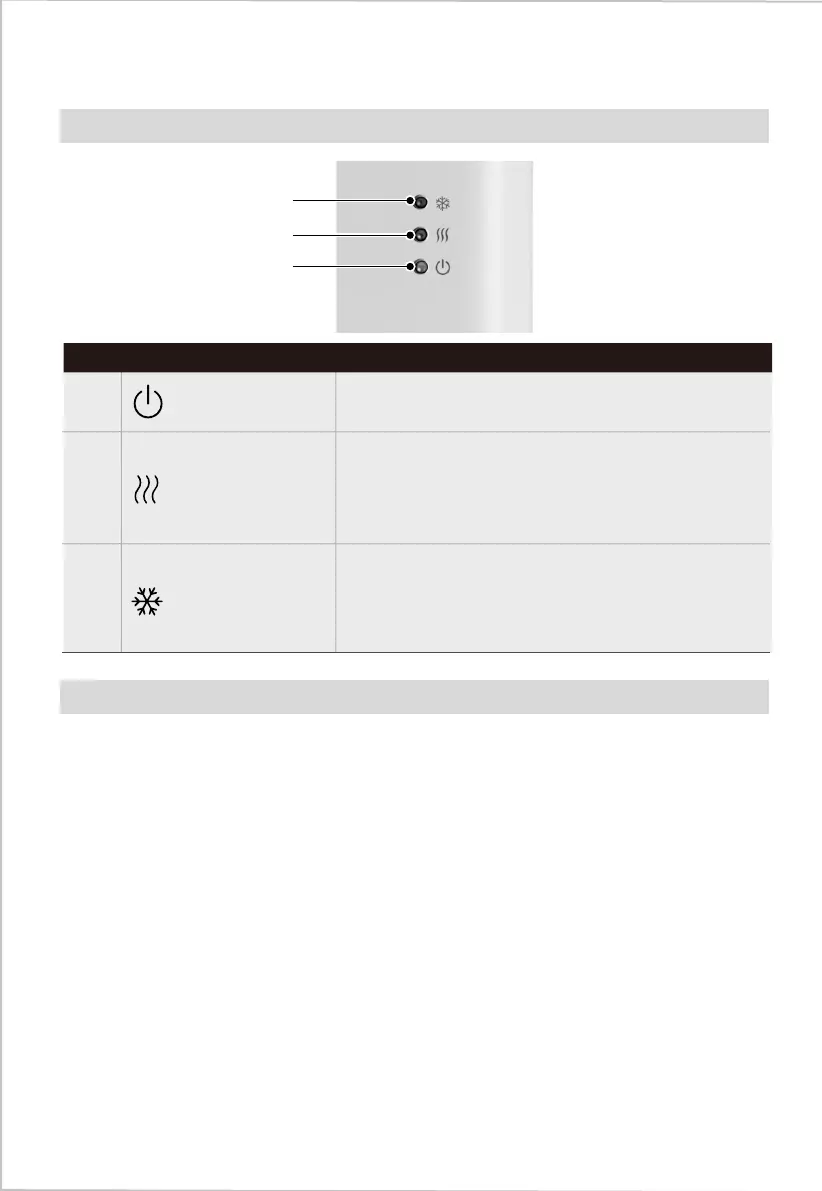
Operation Panel
OPERATION INSTRUCTIONS
Power Indicator
Light
●
Cooling Indicator
Light
●
●
Heating Indicator
Light
No.1
No.3
No.2
Description
Plug cord into a properly grounded wall outlet, turn
on the heating switch, the heating pilot lamp is on
when heating is in progress, and o when heating has
been completed; the heating pilot lamp is o and
stop heating when turn o the heating switch;
Plug cord into a properly grounded wall outlet, turn
on the cooling switch, the cooling pilot lamp is on
when cooling is in progress, and o when cooling has
been completed; the cooling pilot lamp is o and
stop cooling when turn o the cooling switch;
Plug cord into a properly grounded wall outlet, the
power pilot lamp is on, and o when unplug;
Dispensing Water
Dispensing Cold Water
Cooling water is ready after 3 hours for the 1 install. The compressor will work again and
you have to wait until the cooling light is o. During this time the compressor could run
continuously. This is normal.
1. Position bottle, glass, pitcher or cooking pot below tap.
2. Depress cold water button downward to start cold water flow.
3. Release button once desired fill level is achieved.
Dispensing Hot Water
Hot water is ready after 15 minutes for the 1 install. The water will be heated again. You
have to wait until the heating light is o.
1. Position bottle, glass, pitcher or cooking pot below tap.
2. Slide red switch left to the bottom and push hot water button downward to start hot
water flow.
3. Release button once desired fill level is achieved.
st
st
1
2
3
 Loading...