7.Operation examples:
(1) Press MIDI/SELECT keypad, you'll be in sub-function editing mode.
( the indicator is on, LCD display shows “ ”.)
(2) Press the key labeled under MIDI CHANNELS ”10”, display shows the
selected key channel NO. “10”.
(indicator light is off, the selected key channel is effective now.)
2:Transposition(e.g: changed to be A key)
(1) Press MIDI/SELECT keypad, you'll be in sub-function edit mode.
(the indicator light is on, LCD display shows “ ”.)
(2) Press the key labeled “A”, the display shows “ ” .
(the indicator light is off, the selected transposition is effective now.)
(1) Press MIDI/SELECT keypad, you'll be in sub-function edit mode.
(the indicator light is on, display shows “ ”.)
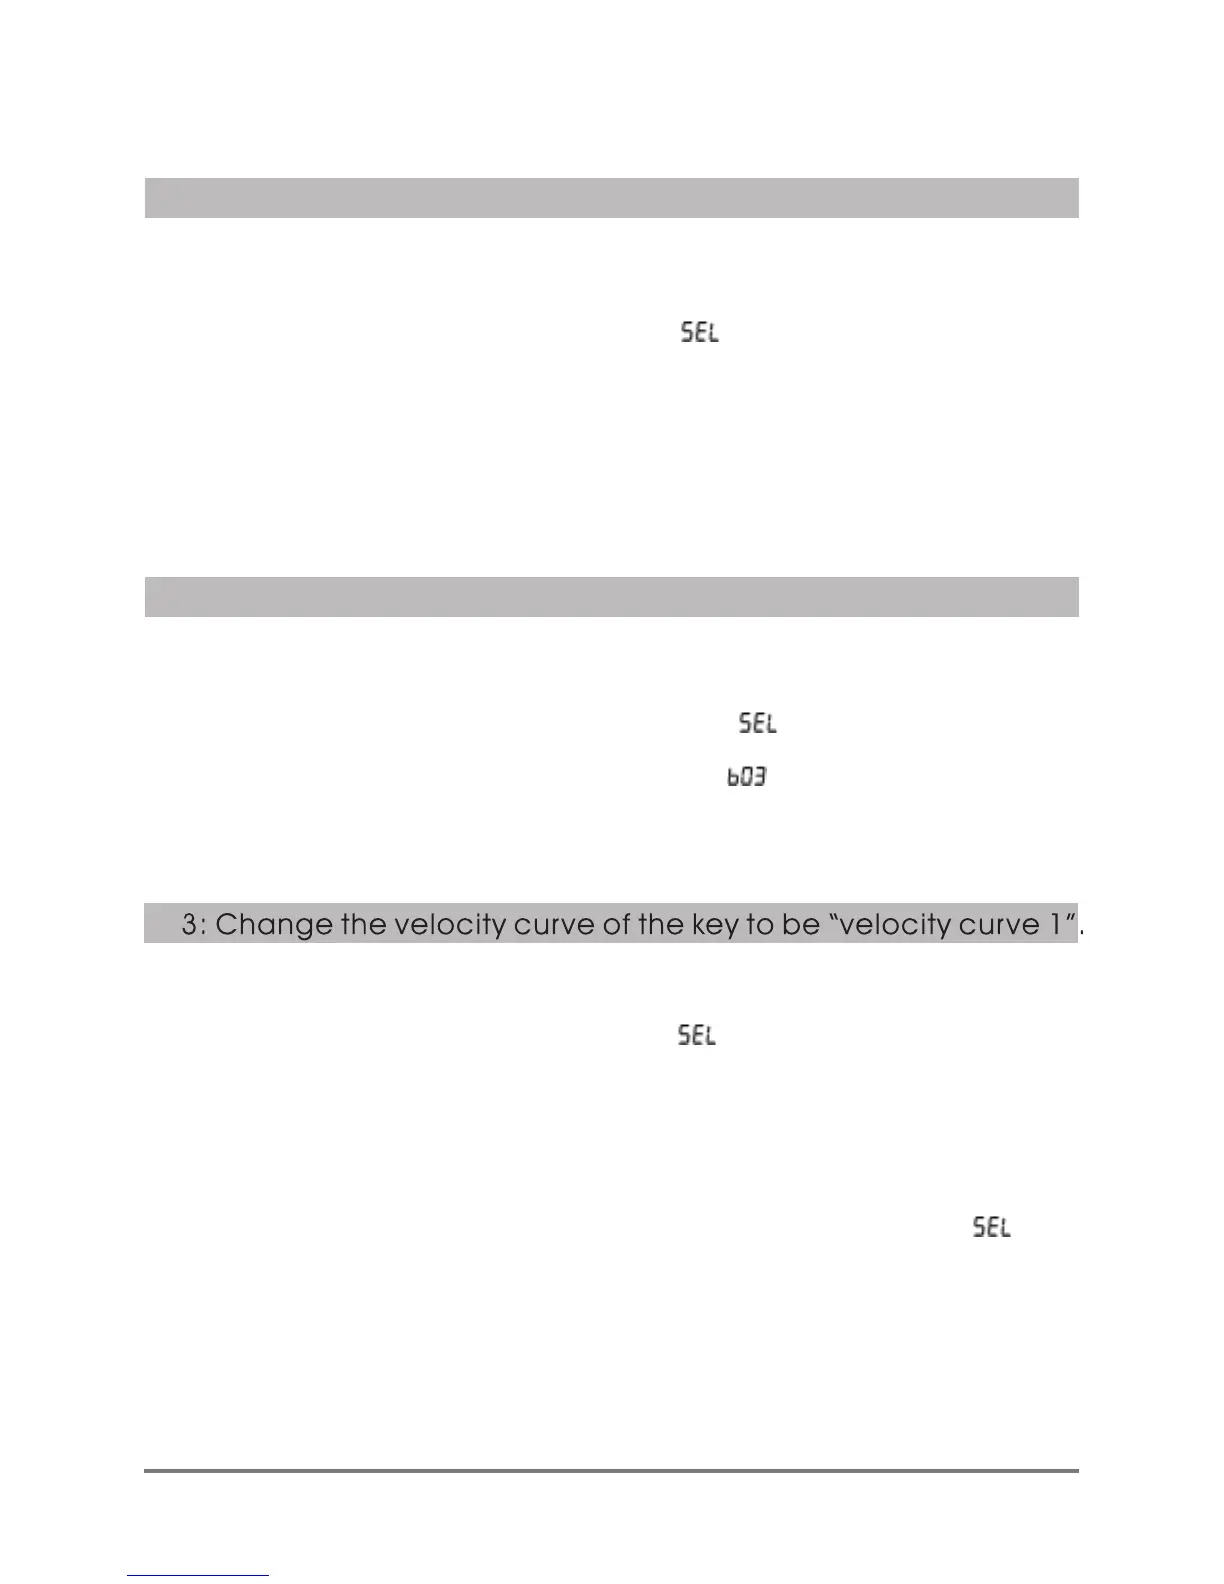
(2) Press the key corresponding to “VEL.” labeled, display shows the current
velocity curve NO., its velocity curve NO. is “4” under factor y reset.
(3) Press the key labeled number under “NUMERIC KEYPAD” on the right, input
“1”, and press the key corresponding to “ENTER”, display shows “ ”,
means setting succeed.)
(4) Press MIDI/SELECT keypad again, you'll be back in performing mode,
display shows channel number.(THE indicator light is off, the velocity curve
changes to be “ velocity curve 1” and be memorized.)
1: Switch channel(e.g:selection channel 10)
XSeries--UserManual
07
 Loading...