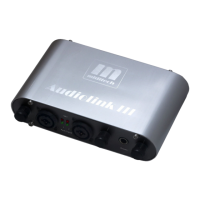
4
included USB cable, to a free USB port on your computer. When the Audiolink is attached the red
POWER LED lights up briefly to signal a good power supply to the Audiolink. The installation
under Windows will then take place automatically, a few seconds after connecting to your
computer-system it will find a "USB Audio Codec" or "USB Audio Device", which can be used in
each application and adjusted in the system control. Using the USB connection your digitized audio
data can now be transferred to your computer!
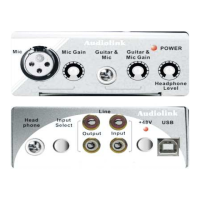
MIC and MIC/Instrument inputs
Connect your Microphone on input 1 or your electric guitar on input 2 or both together! If you use a
Microphone, which needs phantom power you find the phantom power switch on the rear panel of
the Audiolink. You can adjust the input levels of Microphone 1 and Instrument 2 independently
with the two Input level controls adjacent to the input sockets.
LINE input
Connect your Player device to the two RCA sockets marked „LINE input“ on the rear panel of the
Audiolink, the right channel is a red socket and the left channel is white. You can connect any
devices with a LINE level output, e.g. Tape deck or CD players.
LINE-Output (Stereo RCA Jacks)
Connect your amplifier to these outputs for monitor recordings or sounds from the computer.
Headphone-Output (Stereo Jack 6,3 mm)
Connect a headphone to this output to monitor recordings or sounds from the computer.
SOFTWARE INSTALLATION
Windows XP/VISTA
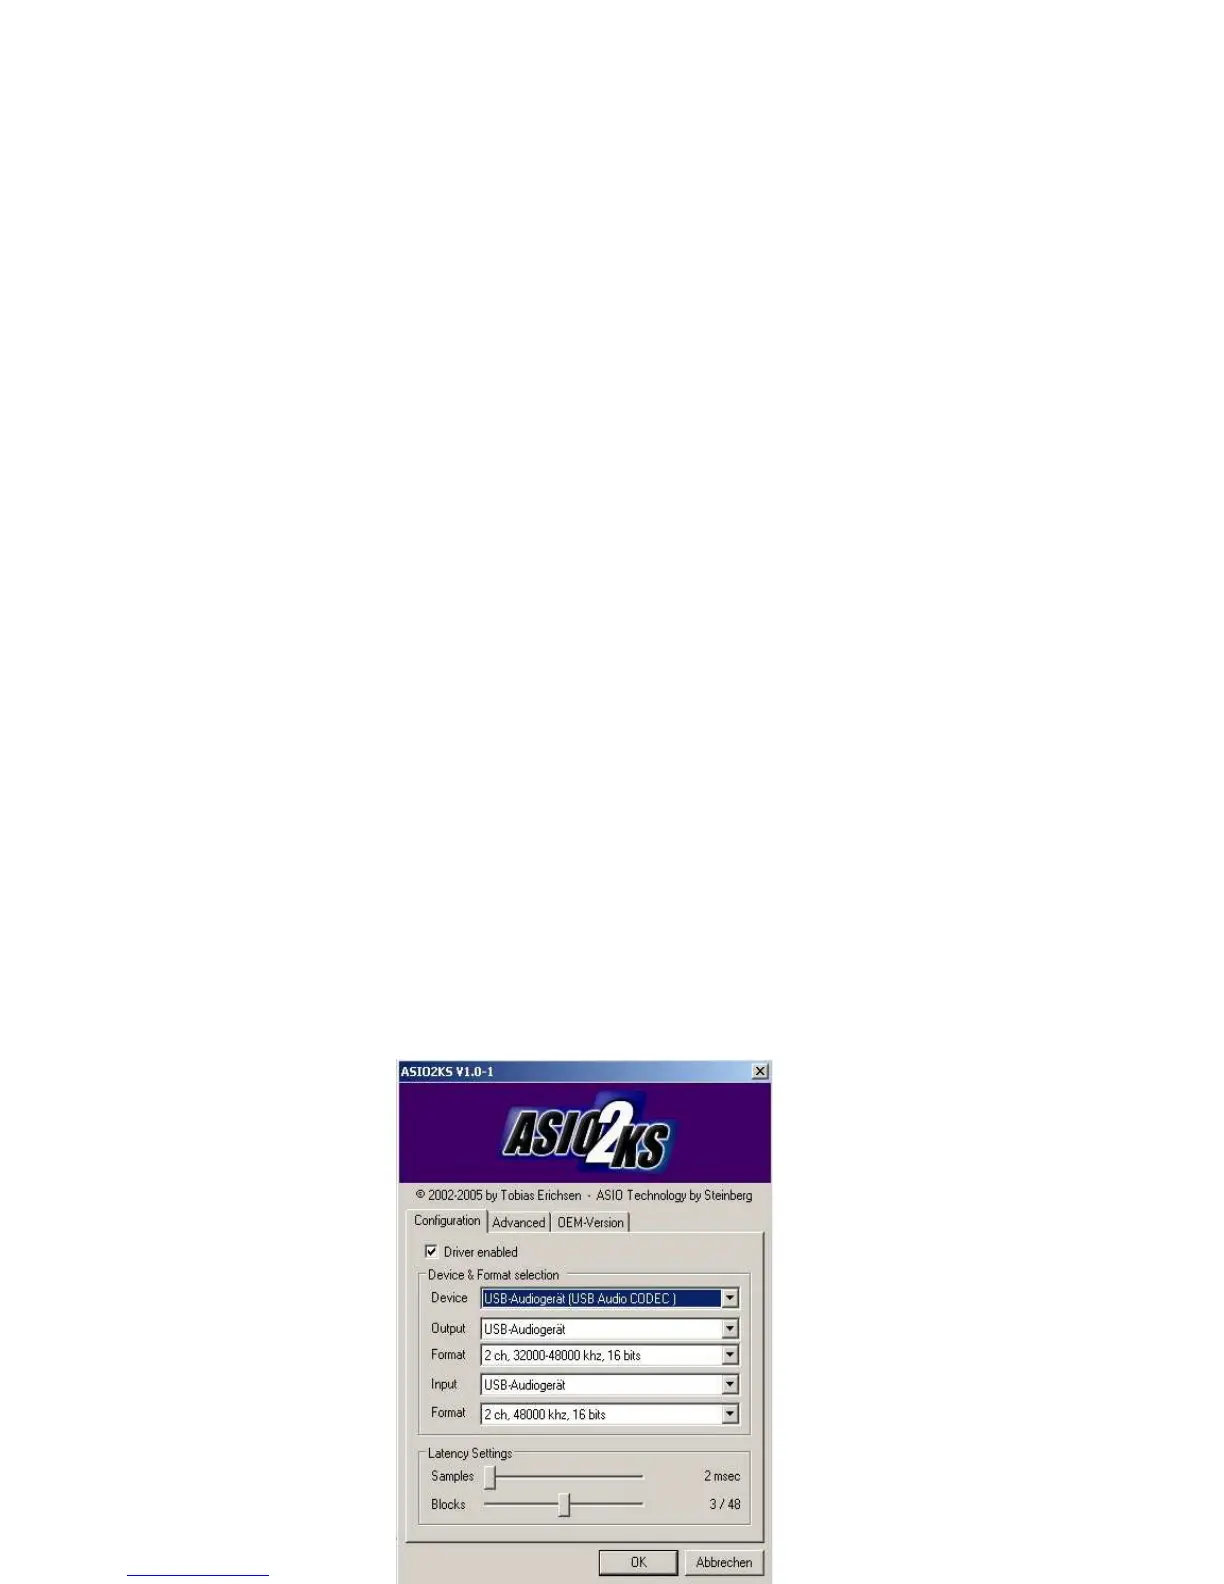
Follow these instructions to install the ASIO2ks ASIO drivers on a Windows XP/VISTA computer.
1. First connect the Audiolink Pro to your computer using the supplied USB cable, turn it on.
2. Windows will detect the new USB device and install the USB audio device automatically.
3. Insert the Software/Manual Installation CD into your CD-ROM drive. Find the asio2ks.cpl in the
AudioLink Pro series driver directory.
4. Copy asio2ks.cpl into your System32 folder.
5. Go to Control Panel, double-click ASIO2KS and make your settings.
8. Your Miditech Audiolink Pro is now ready to use.
 Loading...