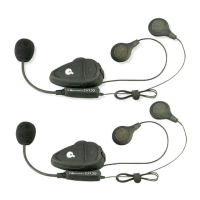
Attaching and removing the BT-Intercom from your
helmet
Installation
The installation is very simple:
•
The clamp serves as the base for the communication units and
must be attached to your helmet before using the device.
•
Use the enclosed Allen Wrench to loosen the 2 screws of the clamp
(Picture 1). Then slide the back-plate of the clamp between the
internalpaddingandtheexternalshellofthehelmet(Picture2).In
casetheexternalshellofthehelmetistoothick,usetheoptional
extensionpad.
• Before fastening the screws, make sure to adjust the clamp’s
location to an ideal position, i.e. to the spot where the attached
speaker sits opposite your ear and the microphone is located in
front
of your
mouth (Picture 3). You may need to re-position the
clamp repeatedly until you identify the ideal spot. The speaker can
be easily placed into position and removed by means of the supplied
velcro layer that attaches to the inner padding of you helmet.
Attention! Be sure that the microphone is correctly positioned:
the yellow mark on the mike must be towards your mouth.
The microphone must be placed in a vertical (not horizontal) position,
in front of your mouth, with the yellow mark towards you. It can also be
slightlyadjustedtosuityourhelmet.Makesometeststofin optimal
position.
•
Once you
have identifie the ideal position for microphone and
speaker, use the Allen Wrench to fasten the clamp.
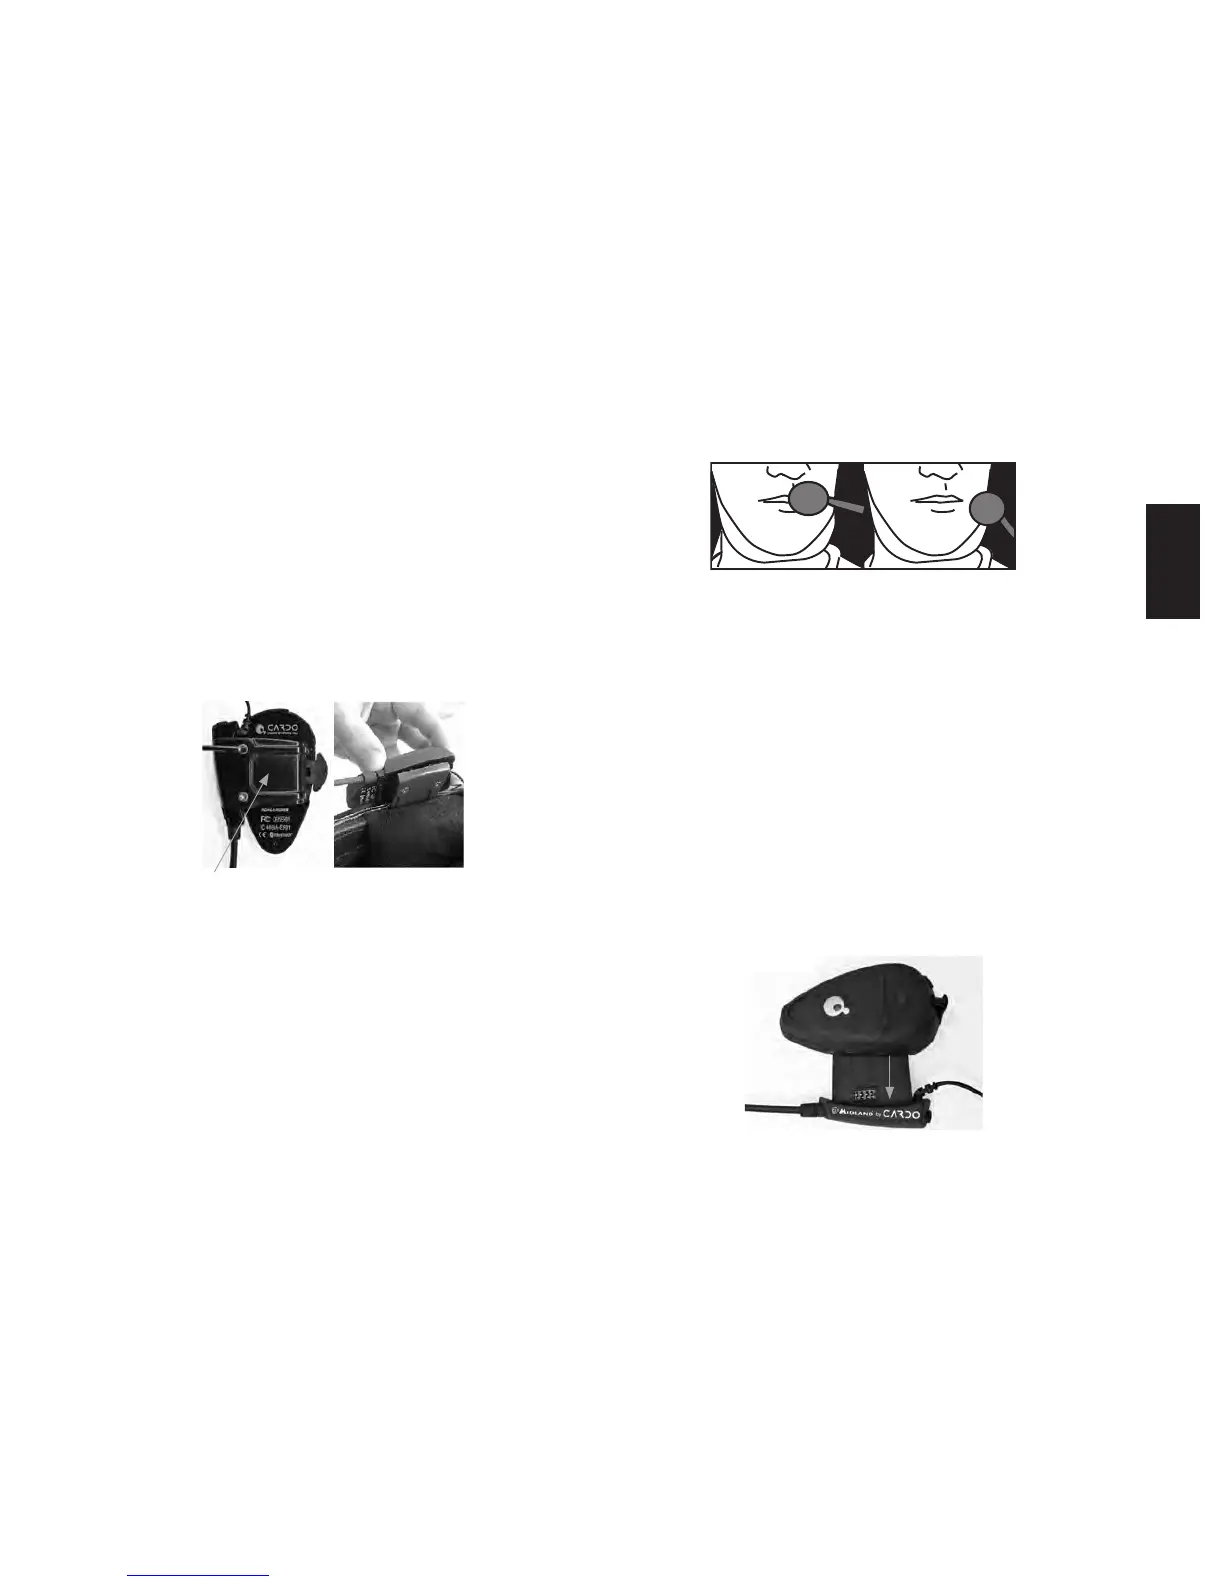
• Now slide the headset downwards along the sliding panel of the
clamp (Picture 4) until a sotf clicking sound indicates that the
headset is properly locked into place.
Picture 3
back-plate
Picture 1 Picture 2
Picture 4