UK
20 www.midlandeurope.com
Fixing the stereo speakers
The two stereo speakers have a Velcro/adhesive strip that aids their fixing into
your helmet. Beware not to keep the volume too high, you must always be able
to listen to the trac sound.
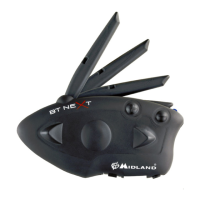
Fixing the microphone
Boom Microphone
Place the section with the Velcro/adhesive strip between the padding and the
rigid cover of the helmet, so that the microphone is correctly positioned in
front of your mouth and that the white symbol is facing your mouth. This type
of microphone is suited for Open Faced and Flip Front helmets. For open
helmets it is also available a specific optional microphone cod. C1253.
Wired microphone
Using the Velcro/adhesive strip, place the microphone inside the helmet in
front of your mouth. This type of microphone is more suited for Full Faced
helmets. The mini connector on the microphone allows you choose the mi-
crophone that best suits the helmet you are using.
Description of the Slide-in mounting kit
To fix the Midland BTX1 PRO S onto the helmet, you have to install the sli-
de-in mounting kit by using the plate with bi-adhesive strip. This method al-
lows you to safely “fix” the BTX1 PRO S unit onto your helmet and to remove
it at any time in order to recharge or store it.
Plate with bi-adhesive strip
The Bi-adhesive plate is already assembled on the slide-in mounting kit.
Clean the application area on the helmet surface, fold the two little wings to
better stick to the curved surface of the helmet, remove the bi-adhesive film
and place the fixing plate on the left side of the helmet by keeping it contact
with the surface for a few seconds.
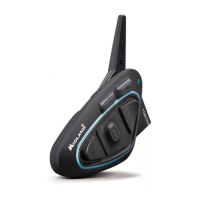
Fitting and removing your Midland BTX1 PRO S
The BTX1 PRO S can be easily fitted onto the helmet by sliding it downwards
on the sliding mounting kit. BTX1 PRO S is maintained in position thanks to
the fixing clip located on the upper section (A). To detach the BTX1 PRO S,
simply press the fixing clip and push the unit upwards.
UnlockLock
Boom microphone Wired microphone
Bi-adhesive

 Loading...