www.midlandeurope.com 21
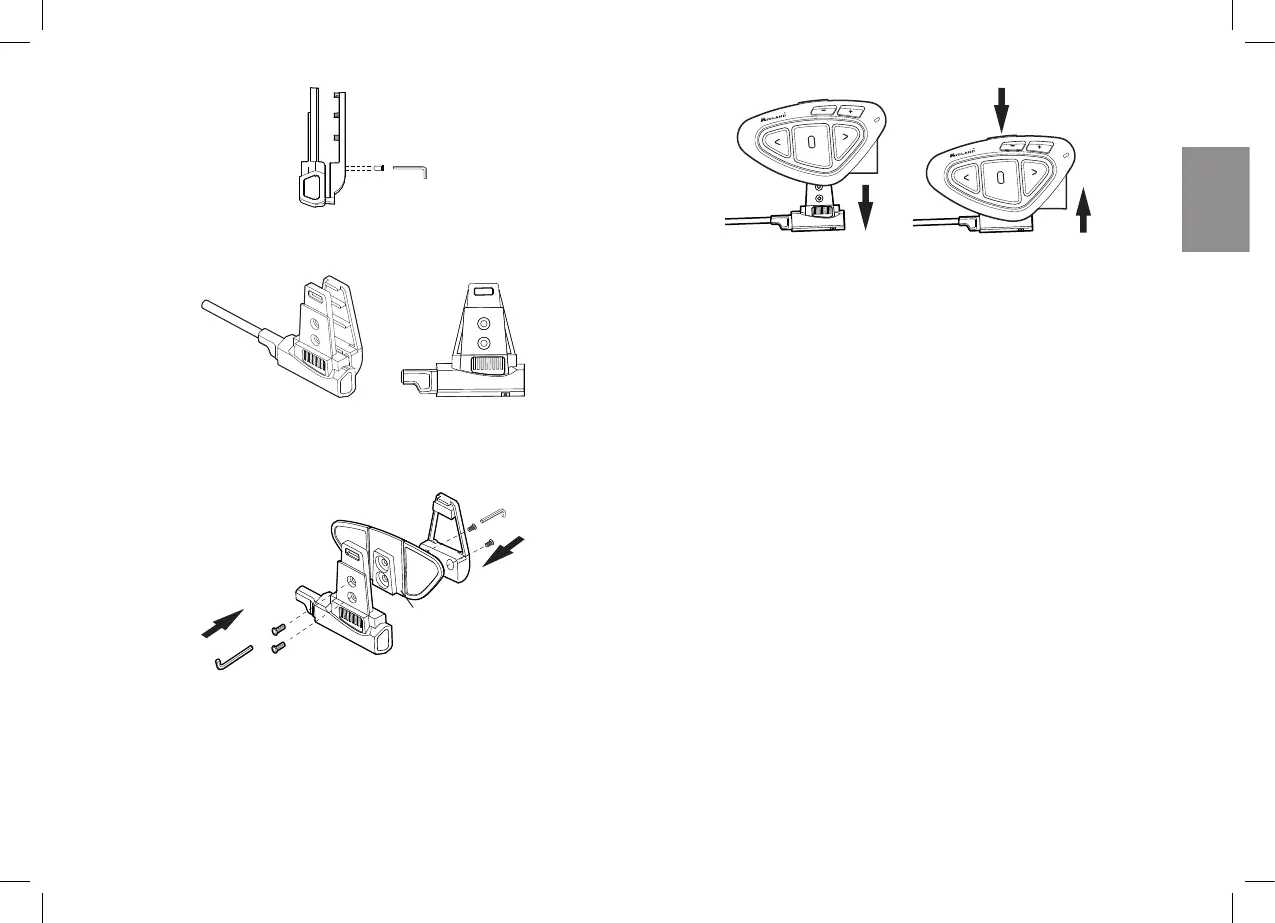
Step 3.Then, tighten more the two screws in order to firmly fix the clamp in
place on the left side of the helmet.
If necessary, you can use also the rubber plate in order to have more grip for
the screw clamp. Just use the two short screw to fix the rubber plate on the
slide-in mount and tighten the screw plate again.
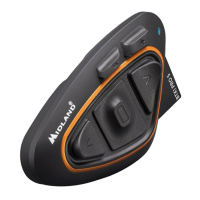
Fitting and removing your Midland BTX2 PRO S
The BTX2 PRO S can be easily fitted onto the helmet by sliding it downwards
on the sliding mounting kit. BTX2 PRO S is maintained in position thanks to
the fixing clip located on the upper section (A).
To detach the BTX2 PRO S, simply press the fixing clip and push the unit
upwards.
Switching ON and OFF your Midland BTX2 PRO S
Switching the unit on:
Press and hold “Middle” button for approximately 3 seconds until the BLUE
indicator lights.
Switching the unit o:
Press and hold both “Middle” and “Backward” buttons together for approxi-
mately 3 seconds until the RED indicator flashes 3 times, thus lessening the
chances that you might turn o the unit accidentally (especially whilst wearing
gloves).
Operative “mode”
The BTX2 PRO S can operate in three main “mode”: Intercom, Phone and
FM Radio.
The 3 multi function buttons can have dierent functionality depending on
which mode the unit is at that moment.
› In “Intercom mode” the three buttons let you manage the Intercom com-
munications between driver and passenger or bike to bike.
› In “Phone mode” you can manage your Bluetooth mobile phone to place/
answer a phone call or to listen to the music. Please use your phone respon-
sibly and safely.
› In “FM Radio mode” you can listen to your favourite radio station in stereo,
seek for a specific radio station and save it (6 memories are available).
UnlockLock
Rubber plate