English-2
© 2011 Midmark Corp. | 60 Vista Drive Versailles, OH 45380 USA | 1-800-643-6275 | 1-937-526-3662 |
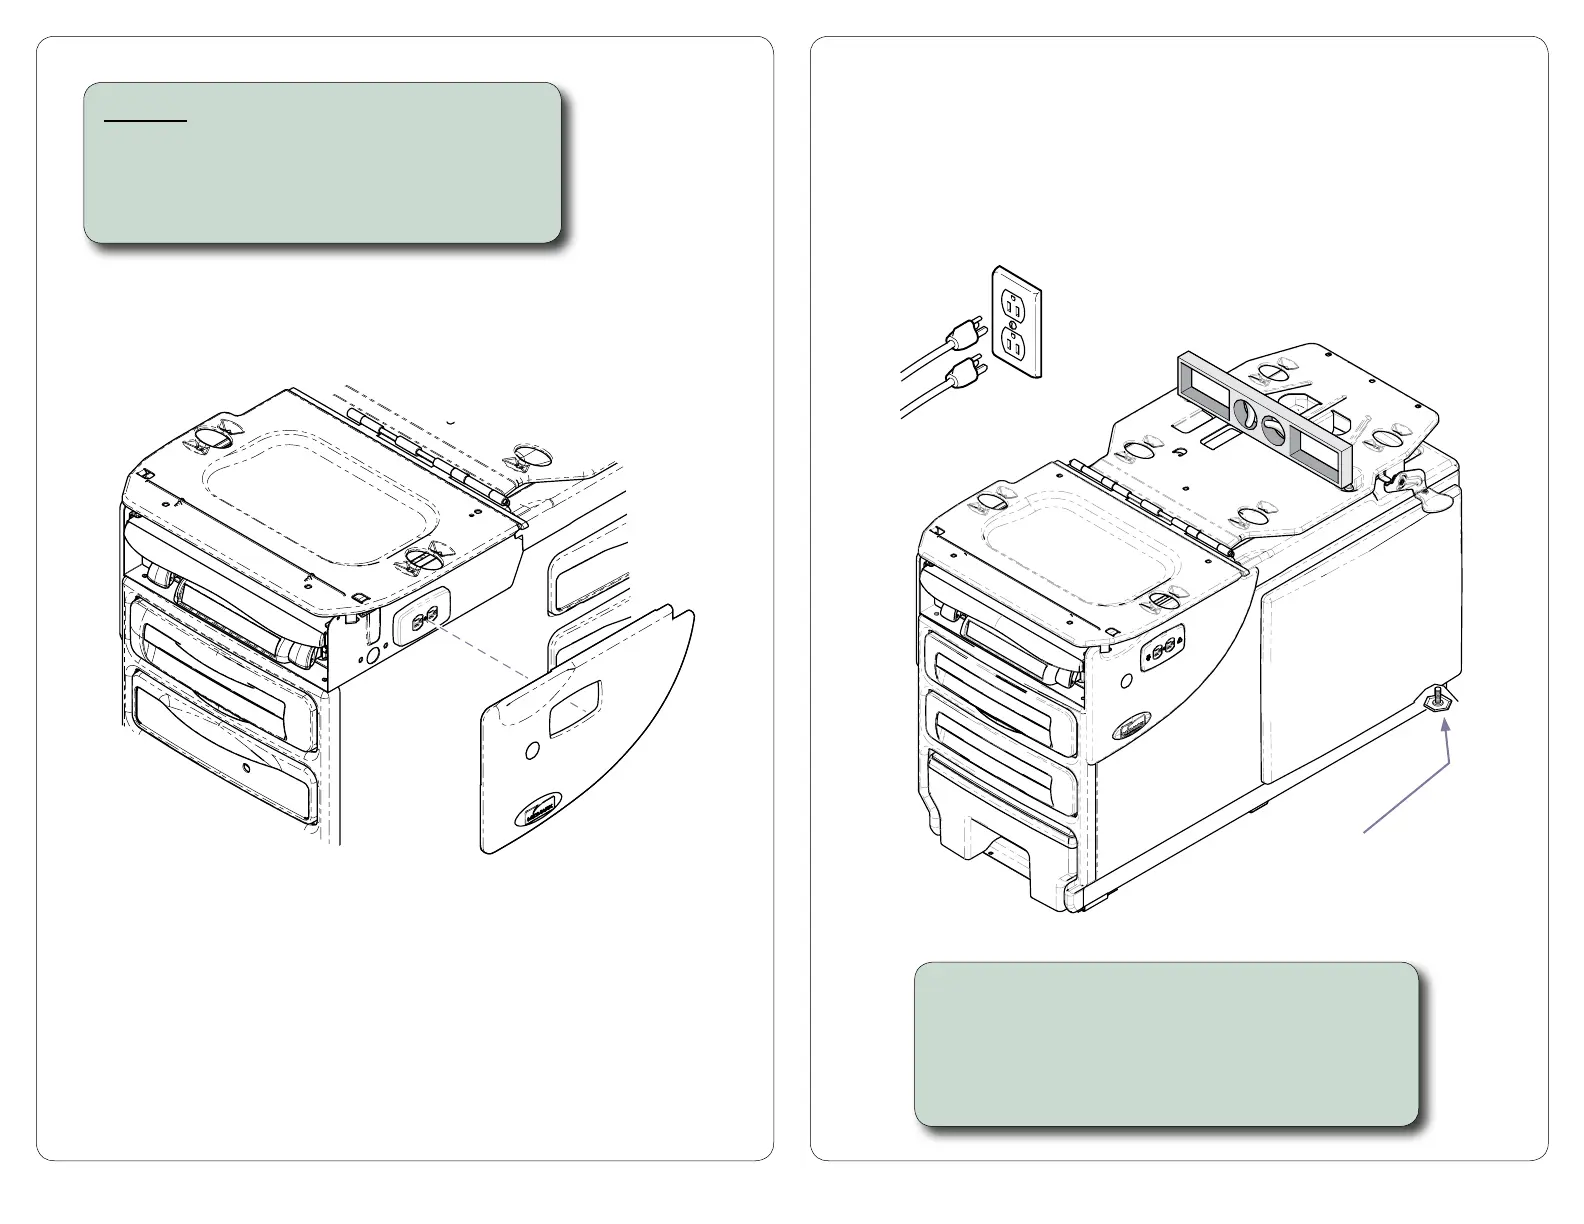
Step 3: Connect power cord / Level table.
A) Connect power cord(s) to facility receptacle*.
B) Adjust two leveling feet under head-end of table.
*Note: Some models have two power cords. Both cords must be
connected for proper operation
MA8094i
Leveling Foot
604 only
Step 2: Install magnetic side cladding.
A) Position side cladding so that top edge rests
on top edge of the upperwrap.
B) Repeat for cladding on the opposite side.
Before connecting the Midmark device power cord into an electrical power
source outlet, it is recommended to contact a local licensed electrician or a
local Authority Having Jurisdiction over the internal building power distribution
to verify that the device when powered up will comply with all local electrical codes.
Use the electrical power rating marked on the device when determining the
appropriate electrical branch circuit and outlet requirements. For 115V rated device
models with a current rating at or above 12 Amps, a dedicated branch circuit may be
required if the branch circuit protection is provided by a 15 Amp breaker.