Appendix A
Preva
128
FIGURE 146
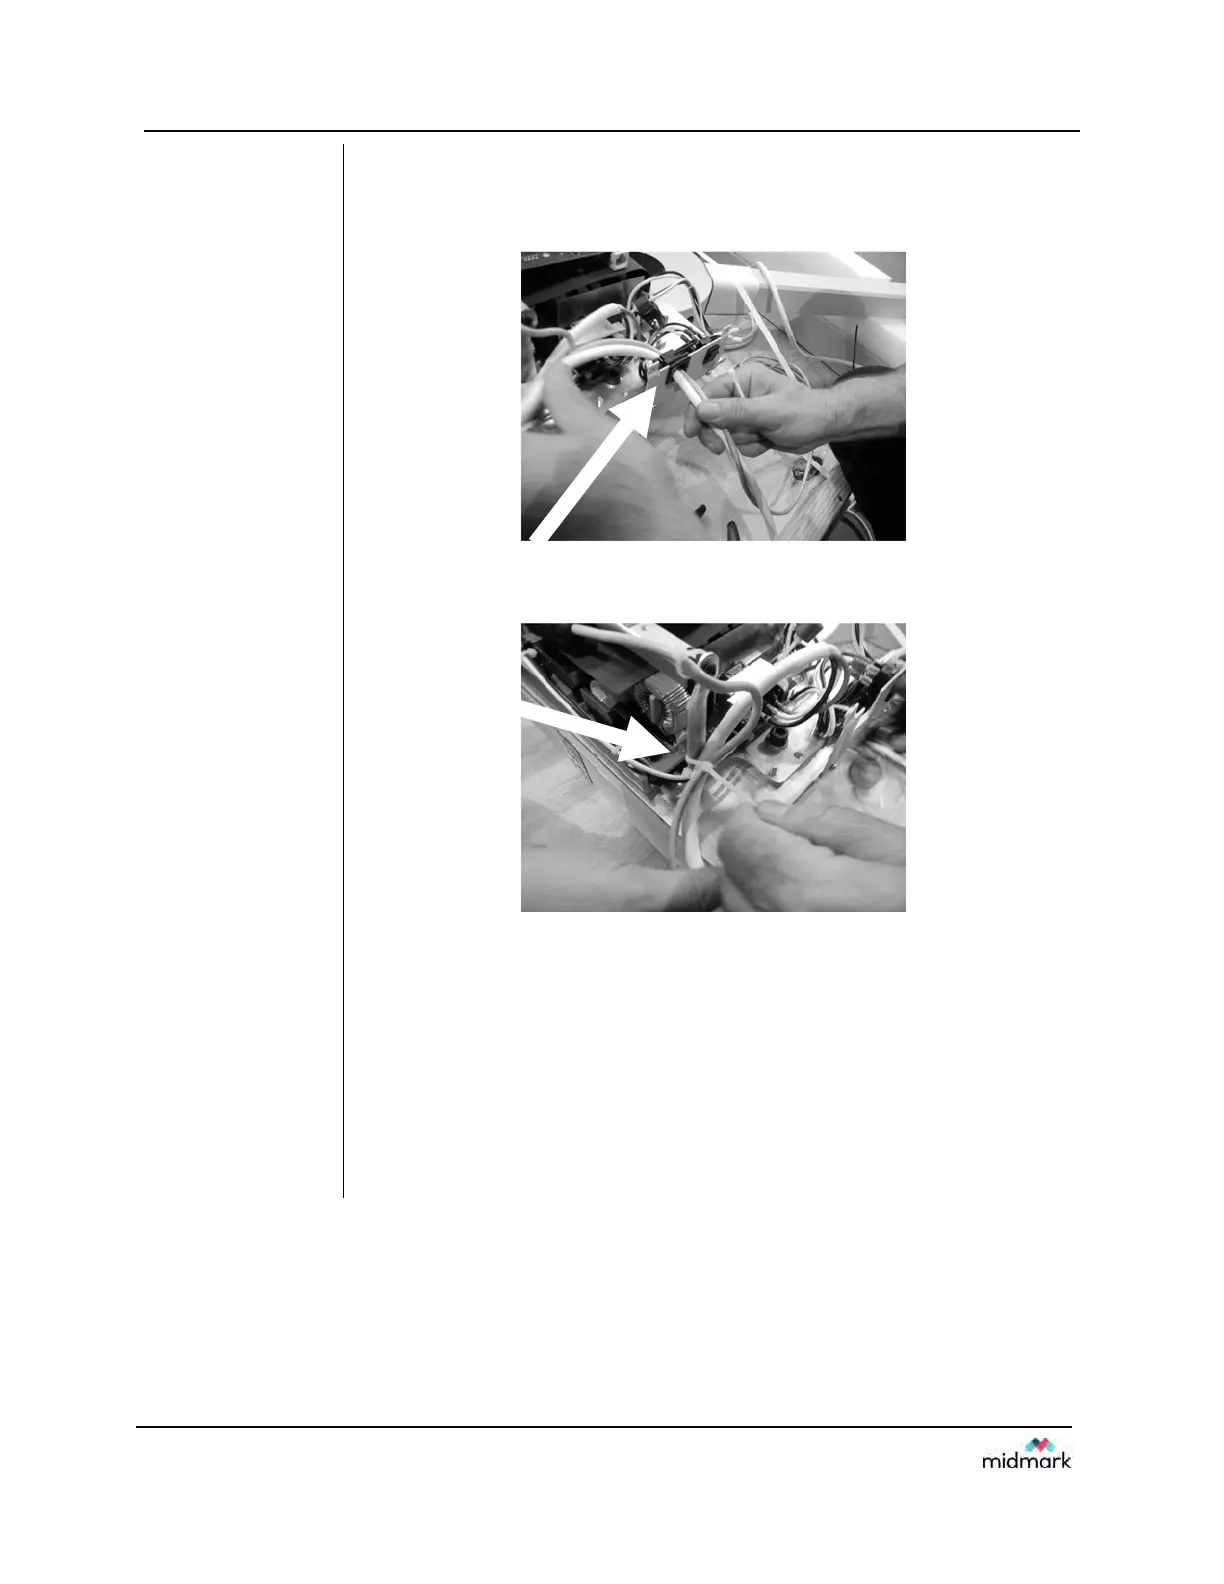
7. Snap the strain relief onto the new power cord.
8. Slide the strain relief into the bracket slot.
FIGURE 147
9. Bundle the cords with tie wrap.
10. Reinstall the terminal block cover.
11. Reinstall the control unit cover.
12. Plug the power cord into a wall outlet and test the system for normal
operation.