5:/057
0LWL,06WWL,
LWL
To print the results of the charge session, make sure the
Battery Diagnostic Station is connected to AC power and the
POWER button is pressed to the ON position. After a test the
results automatically print.
To print a second copy of the results:
1. Press the PRINT soft key.
2. Select the language for the printed results. Use the UP/
DOWN ARROWS, or press the corresponding numerical
key to move the dot to the option button of your choice.
1
ENGLISH
2
ESPAÑOL
3
FRANÇAIS
3. Press the NEXT soft key to continue.
KDlWKH3DSHUlWKH,WHUDO3UlWHU
The internal printer is shipped with a roll of thermal printing
paper installed in the paper compartment. The roll size is 2-1/4
inches wide by 1-7/8 inch in diameter.
NOTE: Due to production variances some paper
roll diameters may be too large. Please remove
paper from roll to recommended 1/ inch di-
ameter. DO NOT force cover to close if roll is too
large.
The Battery Diagnostic Station uses only thermal printing
paper. Replacement rolls are available at authorized Midtronics
distributors as well as most oce supply stores such as those
listed in the table below.
6WRUH 3DUW1XPEHU 3KRH
Ofce Depot
4XLOO
6WDSOHV
To order a 6-pack of replacement rolls of thermal printer paper
directly from Midtronics (Part No. AO95) contact Midtronics
sales at 800-766-1995.
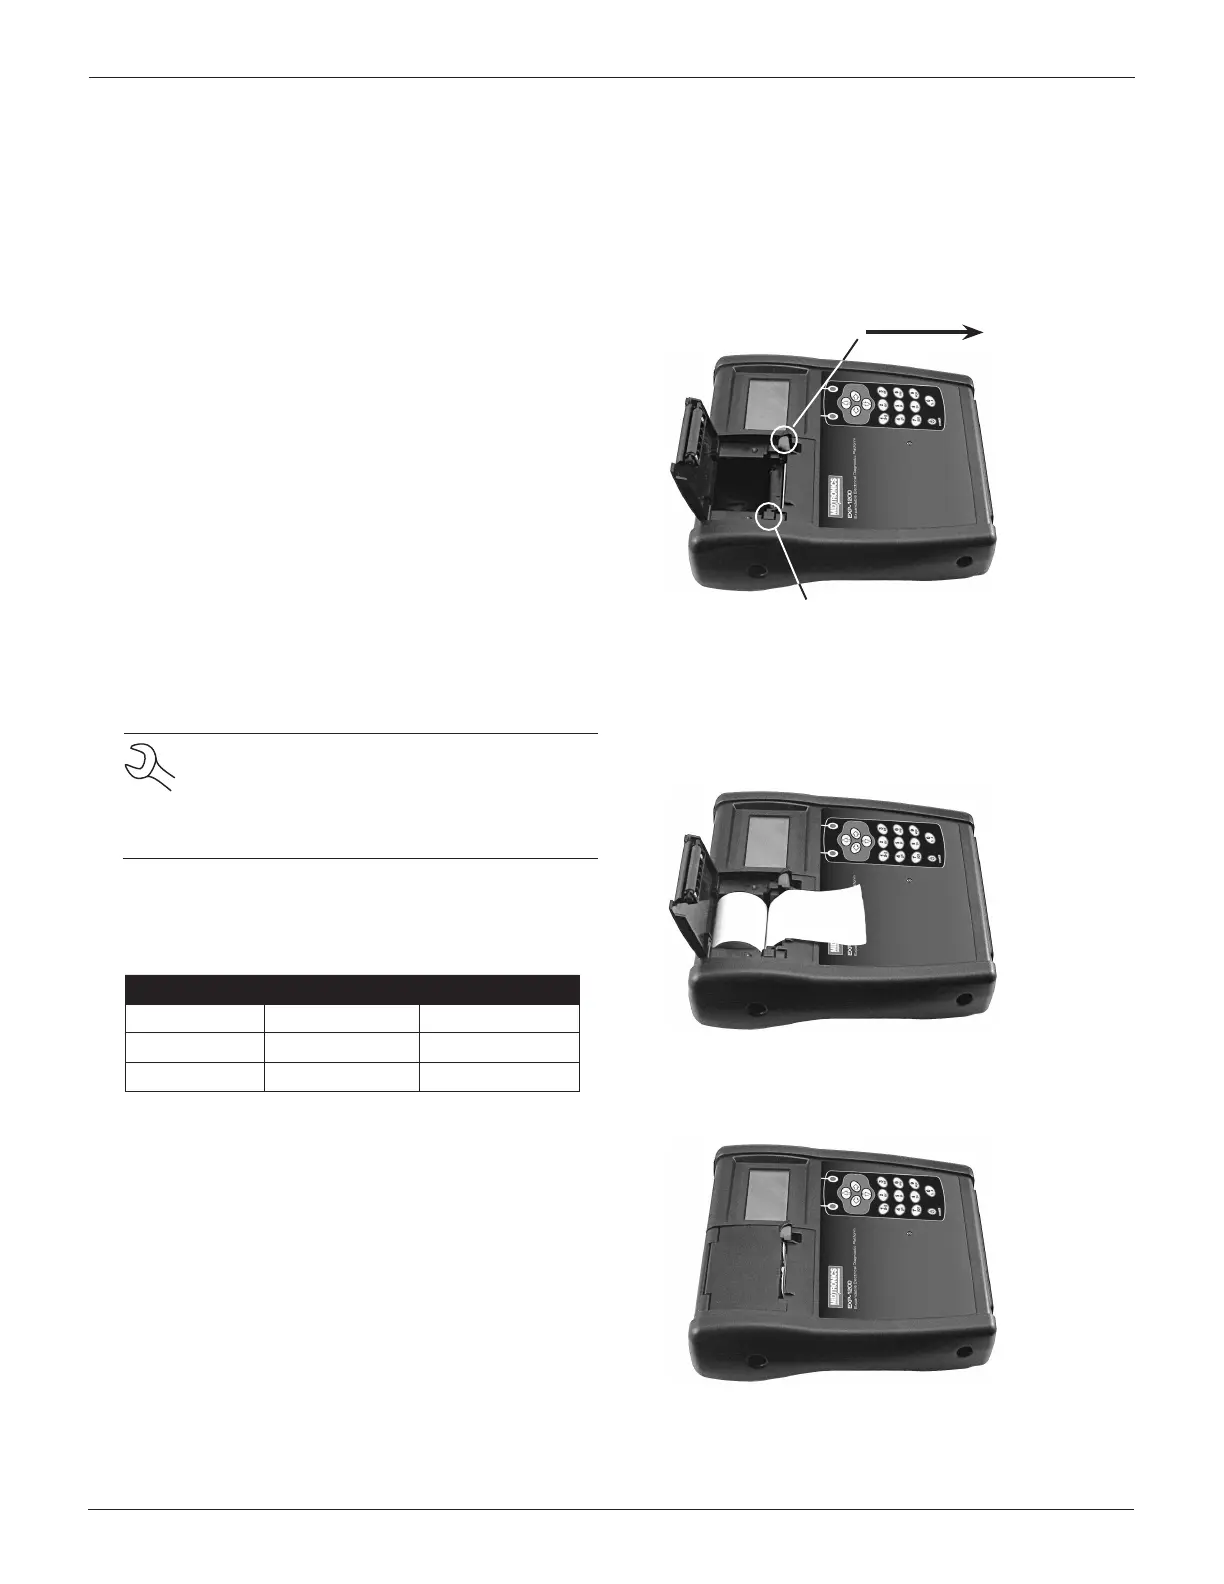
7RUHSODFHWKHSDSHUUROO
1. Unlock the printer door by gently pressing down on the
red lever.
2. Lift the printer door and remove the spent roll.
3XVKWKHOHYHULWKLVGLUHFWLR
3DSHUVHVRU
3. Place a new roll of paper in the compartment. As the dia-
gram in the paper compartment indicates, the paper feeds
from the bottom of the roll.
4. Pull the paper forward so that it extends past the serrated
edge of the paper slot.
5. Close the door and make sure the lever locks securely. For
a clean tear, pull the paper along the serrated edge. Do
not pull the paper straight out of the printer.
KDSWHU3ULWL7HVW5HVXOWV
KDSWHU3ULWL7HVW5HVXOWV