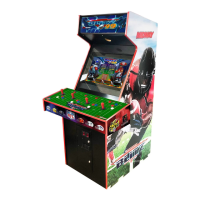
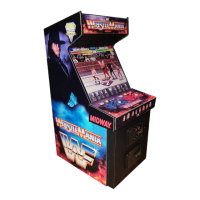
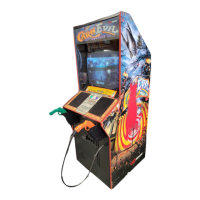
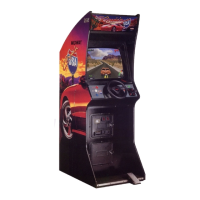
CONVERTING THE GAME CABINET
CABINET MODIFICATIONS
1.
Verify the operation of the existing game before making any changes to the cabinet. Pay special
attention to those components that are used by players (Pushbuttons, Video Monitor, Coin Door, etc).
2.
Switch off power to the game. Disconnect the line cord from the A.C. power. Clear the work area.
3.
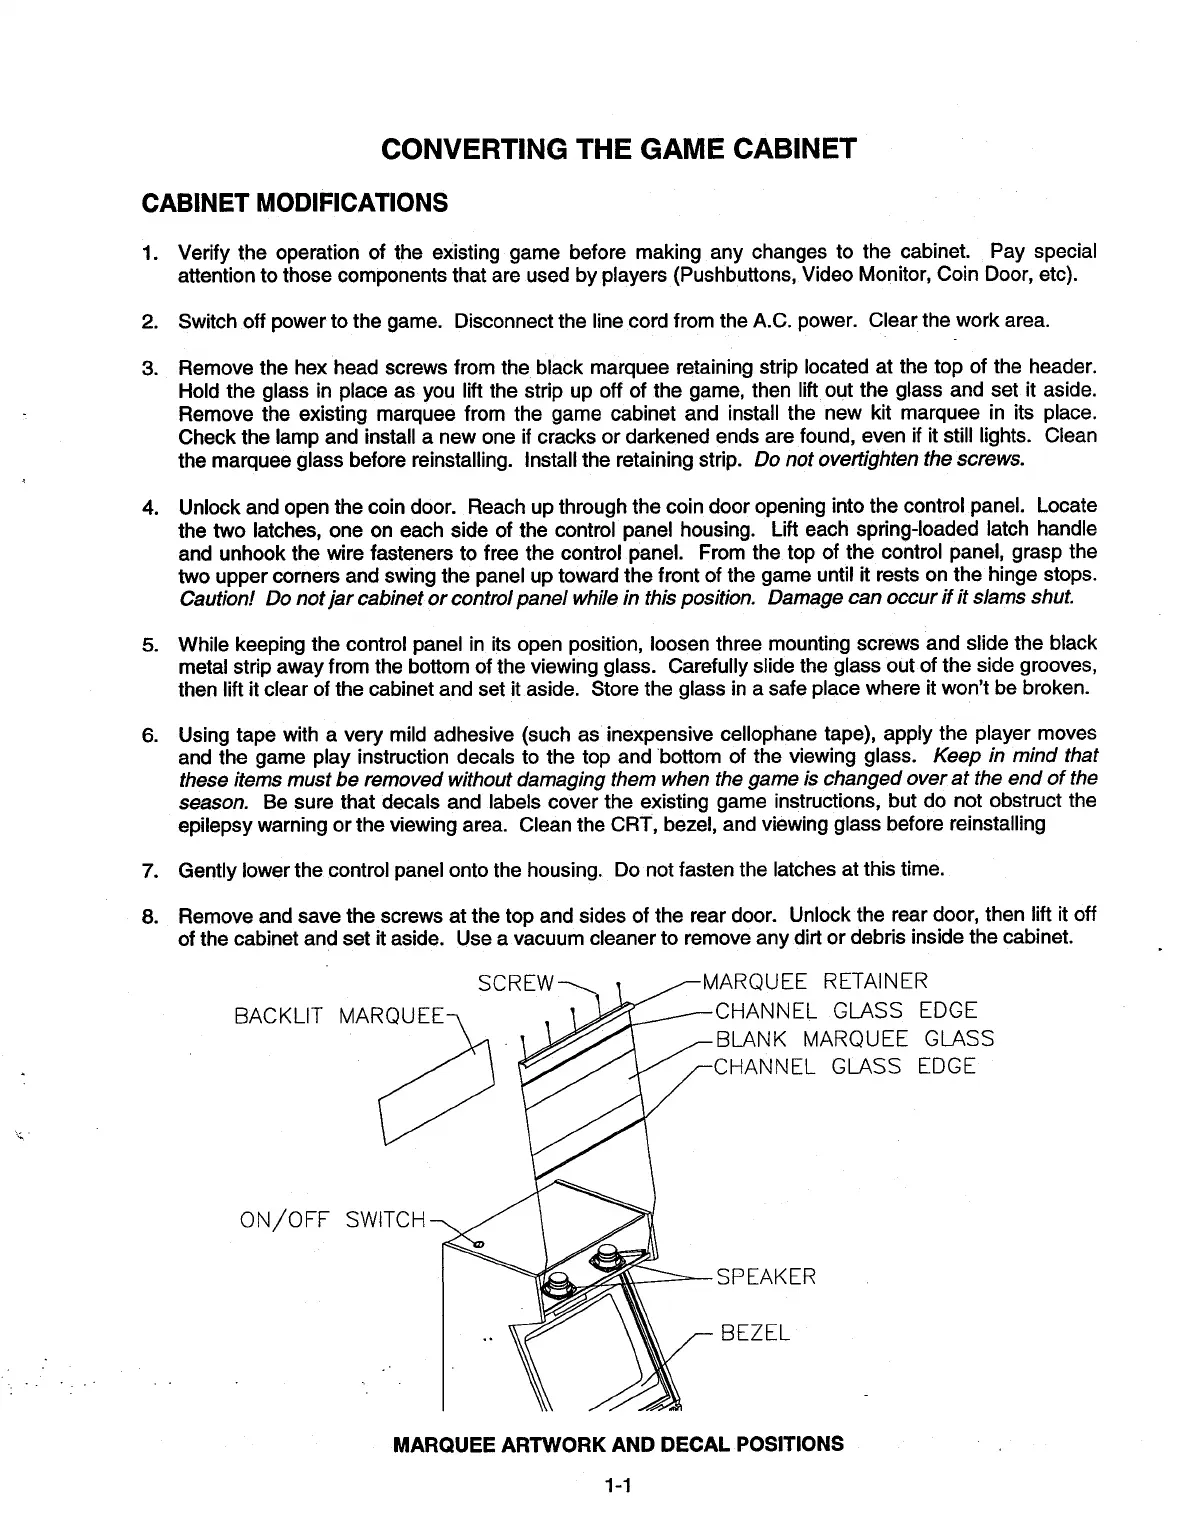
Remove the hex head screws from the black marquee retaining strip located at the top of the header.
Hold the glass in place as you lift the strip up off of the game, then lift out the glass and set it aside.
Remove the existing marquee from the game cabinet and install the new kit marquee in its place.
Check the lamp and install a new one if cracks or darkened ends are found, even if it still lights. Clean
the marquee glass before reinstalling. Install the retaining strip.
Do not overtighten the screws.
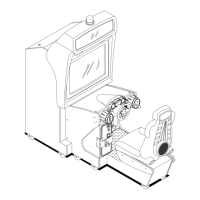
4.
Unlock and open the coin door. Reach up through the coin door opening into the control panel. Locate
the two latches, one on each side of the control panel housing. Lift each spring-loaded latch handle
and unhook the wire fasteners to free the control panel. From the top of the control panel, grasp the
two upper corners and swing the panel up toward the front of the game until it rests on the hinge stops.
Caution! Do not jar cabinet or control panel while in this position. Damage can occur if it slams shut.
5.
While keeping the control panel in its open position, loosen three mounting screws and slide the black
metal strip away from the bottom of the viewing glass. Carefully slide the glass out of the side grooves,
then lift it clear of the cabinet and set it aside. Store the glass in a safe place where it won't be broken.
6.
Using tape with a very mild adhesive (such as inexpensive cellophane tape), apply the player moves
and the game play instruction decals to the top and bottom of the viewing glass.
Keep in mind that
these items must be removed without damaging them when the game is changed over at the end of the
season.
Be sure that decals and labels cover the existing game instructions, but do not obstruct the
epilepsy warning or the viewing area. Clean the CRT, bezel, and viewing glass before reinstalling
7.
Gently lower the control panel onto the housing. Do not fasten the latches at this time.
8.
Remove and save the screws at the top and sides of the rear door. Unlock the rear door, then lift it off
of the cabinet and set it aside. Use a vacuum cleaner to remove any dirt or debris inside the cabinet.
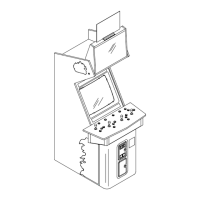
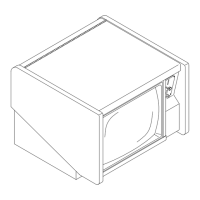
BACKLIT MARQUE
ON/OFF SWITCH
RQUEE RETAINER
HANNEL GLASS EDGE
LANK MARQUEE GLASS
HANNEL GLASS EDGE
P EAK ER
3EZEL
MARQUEE ARTWORK AND DECAL POSITIONS
1-1