Installation
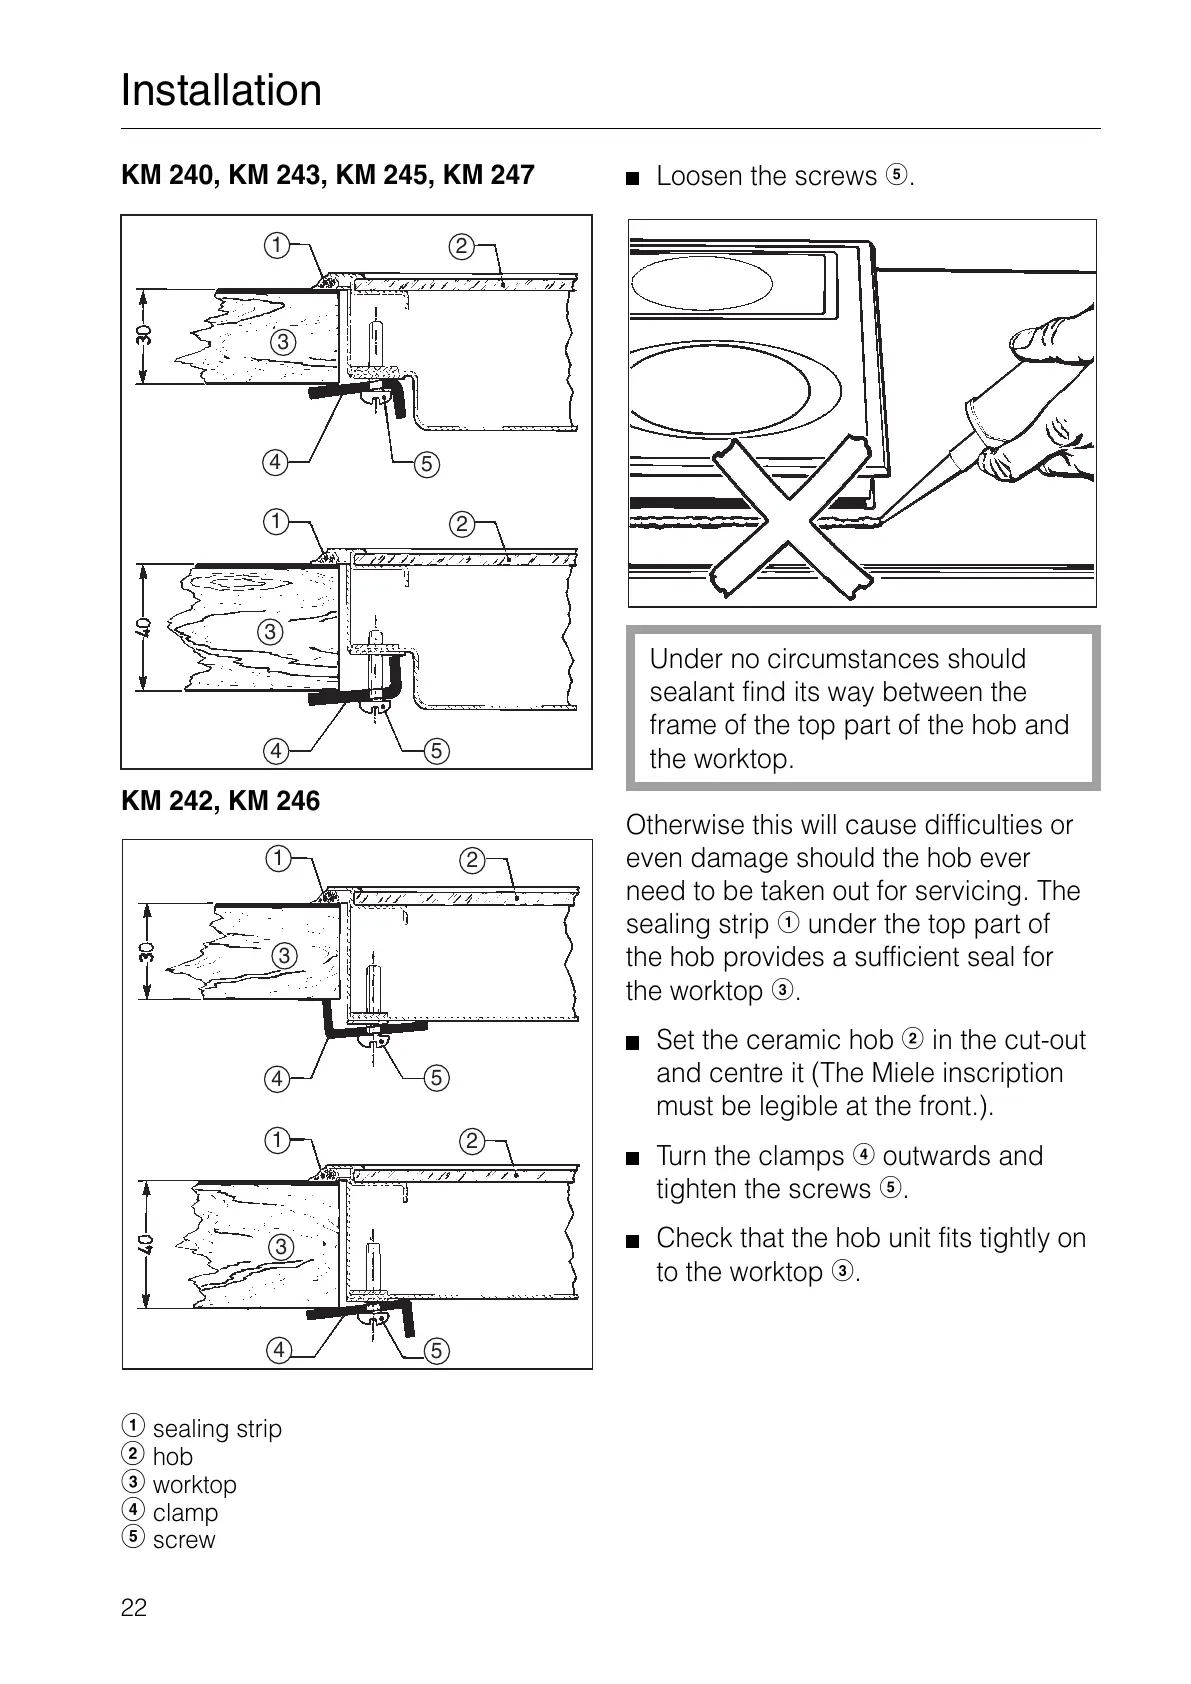
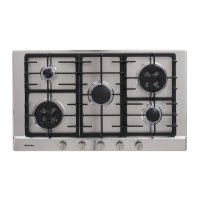
KM 240, KM 243, KM 245, KM 247
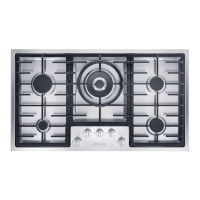
KM 242, KM 246
b
sealing strip
c hob
d worktop
e clamp
f
screw
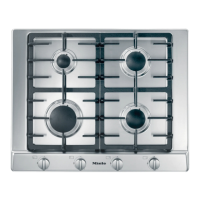
Loosen the screws f.
Under no circumstances should
sealant find its way between the
frame of the top part of the hob and
the worktop.
Otherwise this will cause difficulties or
even damage should the hob ever
need to be taken out for servicing. The
sealing strip
b under the top part of
the hob provides a sufficient seal for
the worktop
d.
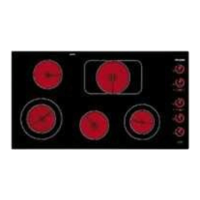
Set the ceramic hob c in the cut-out
and centre it (The Miele inscription
must be legible at the front.).
Turn the clamps e outwards and
tighten the screws
f
.
Check that the hob unit fits tightly on
to the worktop
d.
1
2
4
5
1
2
4
5
3
3
1
2
4
5
1
2
4 5
3
3
22