13
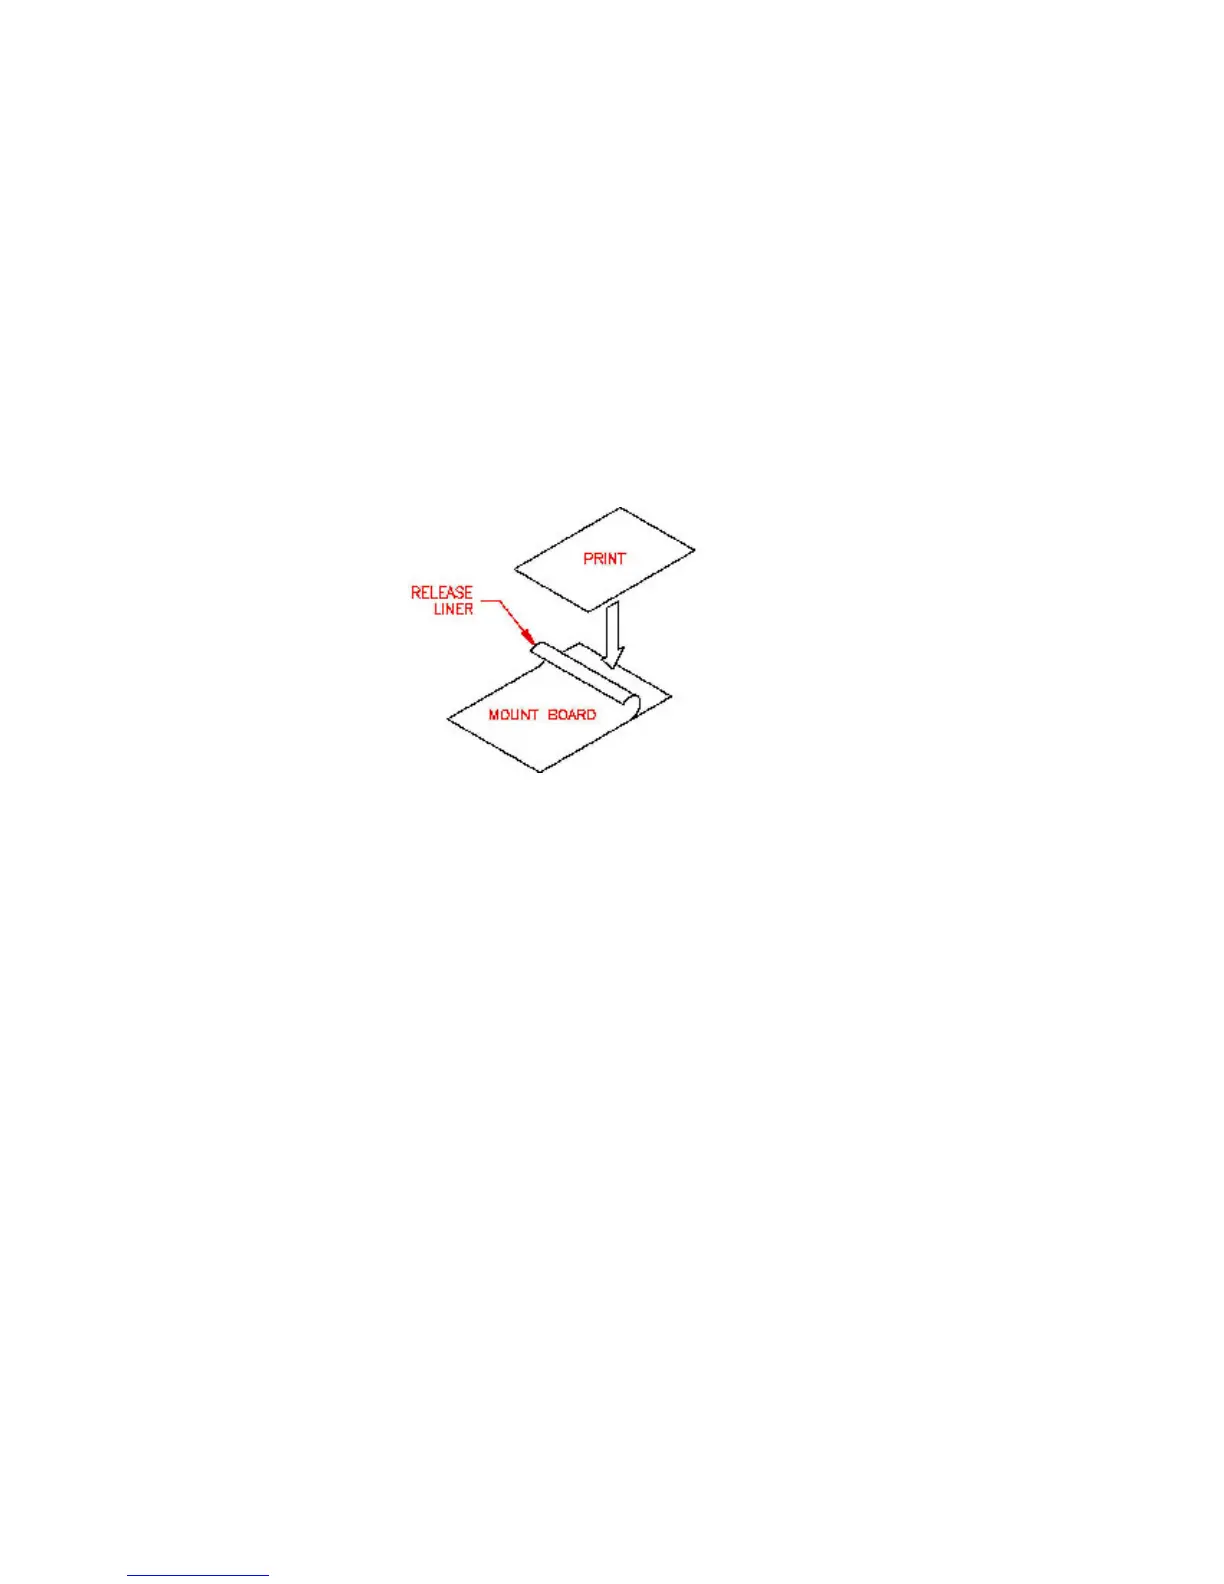
1. Peel back about 2” of release liner on your pre-coated mount board.
2. Align the top edge of your print with the top edge of the mount board (see figure 9).
Mounting your print:
1. Be sure all laminator parts (i.e. safety shield, feed table, etc.) are in their proper positions and the laminating film is
loaded correctly on top and bottom mandrels. (See page 8-9 for film loading instructions).
FIGURE 9
2. Turn the heat switch to the ON position.
3. Set the temperature using table 1 on page 10 as a guide. You may need higher temperatures than indicated for
mounting and laminating mount board.
4. Turn the fans on.
5. Perform a test mount to ensure proper settings for successful mounting. If any adjustments are necessary make them
now and run another test. Repeat this step until you obtain desired results.
6. Feed the print and mount board slowly and evenly into the laminator behind a leader board so that the leading edge
of your mount board does not become compressed. Pull back the peeled back release liner before it enters the rollers.
7. You may mount subsequent prints now, one directly behind the other so that the board in front becomes the leader
board.
8. Once your last print has completely exited the laminator, turn the MOTOR and FAN switches OFF and use the
trimmer to remove the mounted and laminated prints.