Or Keep holding the button for 5 more seconds until LED turns off, then release it to make the
RouterBOARD look for Netinstall servers.
Regardless of the above option used, the system will load the backup RouterBOOT loader if the button
is pressed before power is applied to the device. Useful for RouterBOOT debugging and recovery.
Mounting
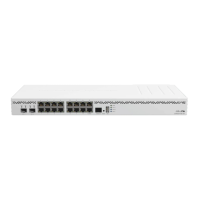
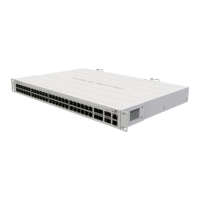
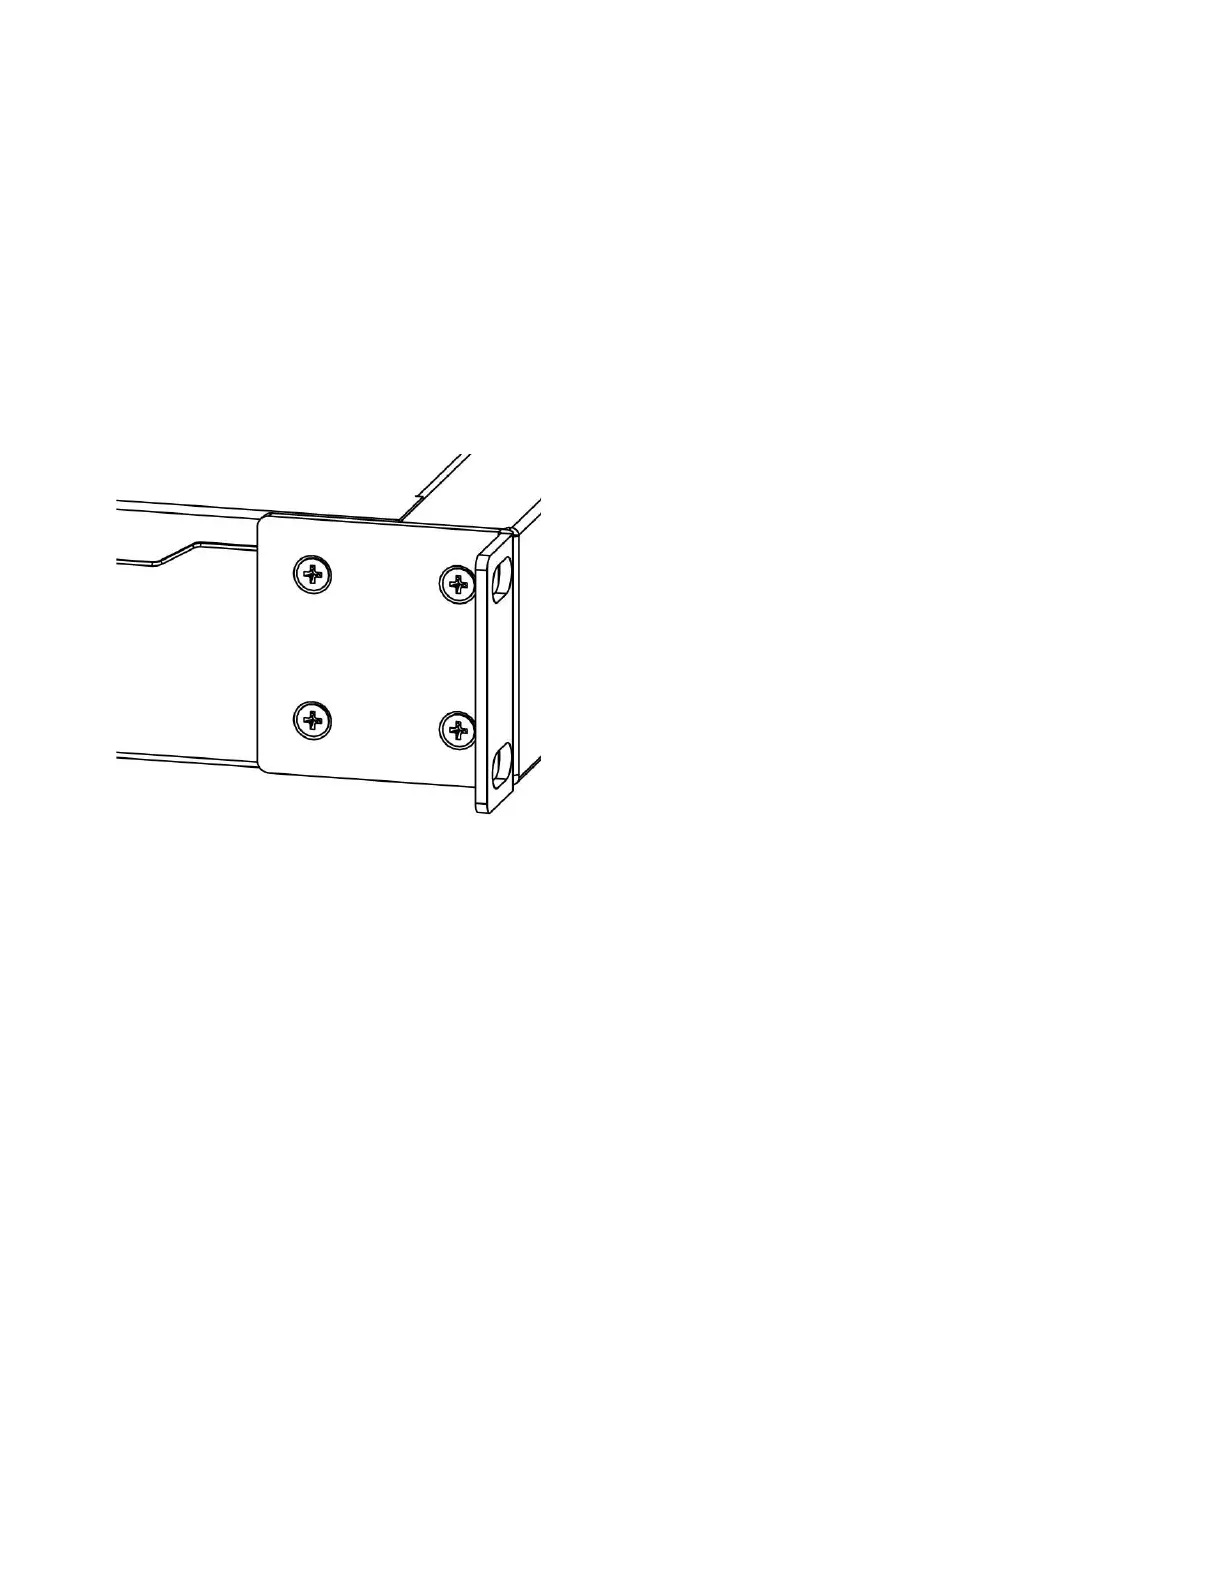
The device is designed to use indoors and it can be mounted in a rackmount enclosure using provided
rack mounts, or it can be placed on the desktop. Use a Phillips screwdriver to attach rackmount ears on
both sides of the device if designated use is for rackmount enclosure:
1. Attach rack ears to both sides of the device and tighten four screws to secure them in place, as shown
on the picture to the right;
2. Place the device in rackmount enclosure and align with the holes so that the device fits conveniently;
3. Tighten screws to secure it in place.
The device has no protection from water contamination, please ensure the placement of the device in a
dry and ventilated environment. We recommend Cat6 cables for our devices.
 Loading...