Do you have a question about the MikroTik CCR1036-8G-2S+ and is the answer not in the manual?
General safety precautions for electrical circuitry, installation, environment, and product usage.
Steps to connect the device, configure network settings, and set a password using WinBox.
Instructions on how to check for and install software updates for the device.
Information on RouterOS configuration options and tools for advanced setup.
Details on the device's dual removable power supply units and maximum power consumption.
Explains the two functions of the reset button for configuration reset and Netinstall.
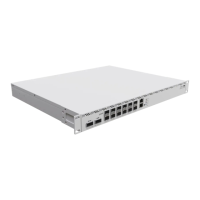
Instructions for mounting the device in a rackmount enclosure or on a desktop.
Describes the four LED lights and their indications for power, faults, and user configuration.
Information on supported RouterOS versions and compatibility.
Step-by-step guide for installing an M.2 SSD into the PCIe slot.
Details on the M.2 slot's PCIe connection and recommended SSD specifications.
Warnings regarding electrical shock hazards and proper environmental disposal procedures.
FCC compliance rules for Class A digital devices, potential interference, and modification cautions.
Compliance statement for Industry Canada's license-exempt RSS standards.
Information regarding the Eurasian Conformity Mark and manufacturer details.
Statement on energy efficiency compliance with NOM-029-ENER-2017.
Information on the EU Declaration of Conformity and manufacturer details.
| Product Code | CCR1036-8G-2S+ |
|---|---|
| Architecture | TILE |
| CPU Model | Tilera Tile-Gx36 |
| CPU Core Count | 36 |
| CPU Frequency | 1.2 GHz |
| RAM | 4 GB |
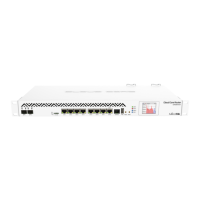
| 10/100/1000 Ethernet Ports | 8 |
| SFP+ Ports | 2 |
| Console Port | RJ45 |
| Power Consumption | 60W |
| Operating System | RouterOS |
| RouterOS License | Level 6 |
| CPU Temperature Monitor | Yes |
| PCB Temperature Monitor | Yes |
| Voltage Monitor | Yes |
| Weight | 3.5 kg |
| USB Port | Yes |
| Power Input | AC 100-240V |