Mounting
The device is designed to be used indoors and placed on a flat surface with all needed cables connecting to the
front of the unit.
Alternatively, the unit can be mounted on the wall, the kit can be obtained separately, please visit our product page
for detailed info: https://mikrotik.com/product/RBWMK
Grounding screw is located on the backside of the device case, please connect it accordingly to efficient ground.
When mounting on the wall, please ensure that cable feed is pointing downwards.
The IPX rating scale of this device is IPX0. We recommend using Cat6 shielded cables.
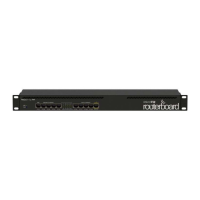
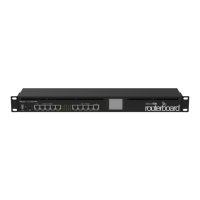
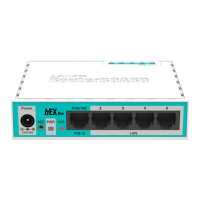
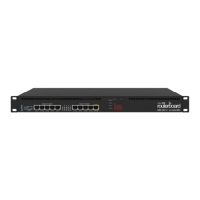
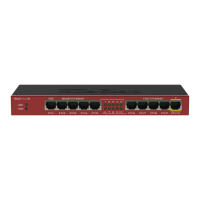
Extension Slots and Ports
• Five 10/100/1000 (Gigabit) Ethernet ports (Auto MDI/X)
• Five 10/100 (Fast) Ethernet ports (Auto MDI/X)
• Ether10 supports 500 mA output power, ~2 V below input voltage. Power out support auto-detect to protect
non PoE devices.
Buttons and Jumpers
The RouterBOOT reset button has the following functions. Press the button and apply the power, then:
• Release the button when a green LED starts flashing, to reset RouterOS configuration to defaults.
• Release the button when the LED turns solid green to clear all configuration and bridge all interfaces.
• Release the button after LED is no longer lit (~20 seconds) to cause a device to look for Netinstall servers
(required for reinstalling RouterOS over the network).
Regardless of the above option used, the system will load the backup RouterBOOT loader if the button is pressed
before power is applied to the device. Useful for RouterBOOT debugging and recovery.
Specifications
For more information about this product, specification and pictures please visit our web page:
https://mikrotik.com/product/RB2011iL-IN
Operating System Support
The device supports RouterOS software version 6. The specific factory installed version number is indicated in the
RouterOS menu /system resource. Other operating systems have not been tested.
See mikrotik.com/products for the latest version of this document. Page 2, Document #52416 Modified on: 01.OKT.2019
 Loading...