Assembly
• Donotraisethecuttingattachmentabovewaistlevelduringoperation,
because that would increase the risk of thrown objects striking your face.
•Avoidsteepslopesthatwouldrequireholdingthecuttingattachmentabove
waistlevel.Avoidslipperyslopesthatmightcauseyoutoloseyourbalance.
Main Engine/ Shaft Assembly
1. Fit the shoulder strap (8) to the main shaft (1).
2.Attachthemainshafthandle(7)totheshaft(1)
by removing the attaching the clamp around the
shaft and tightening the bolts.
Line Trimmer/ Brush Cutter Attachment Assembly
1.Assemblethesafetyguard(8)tothelinttrimmer/brushcutterattachment.
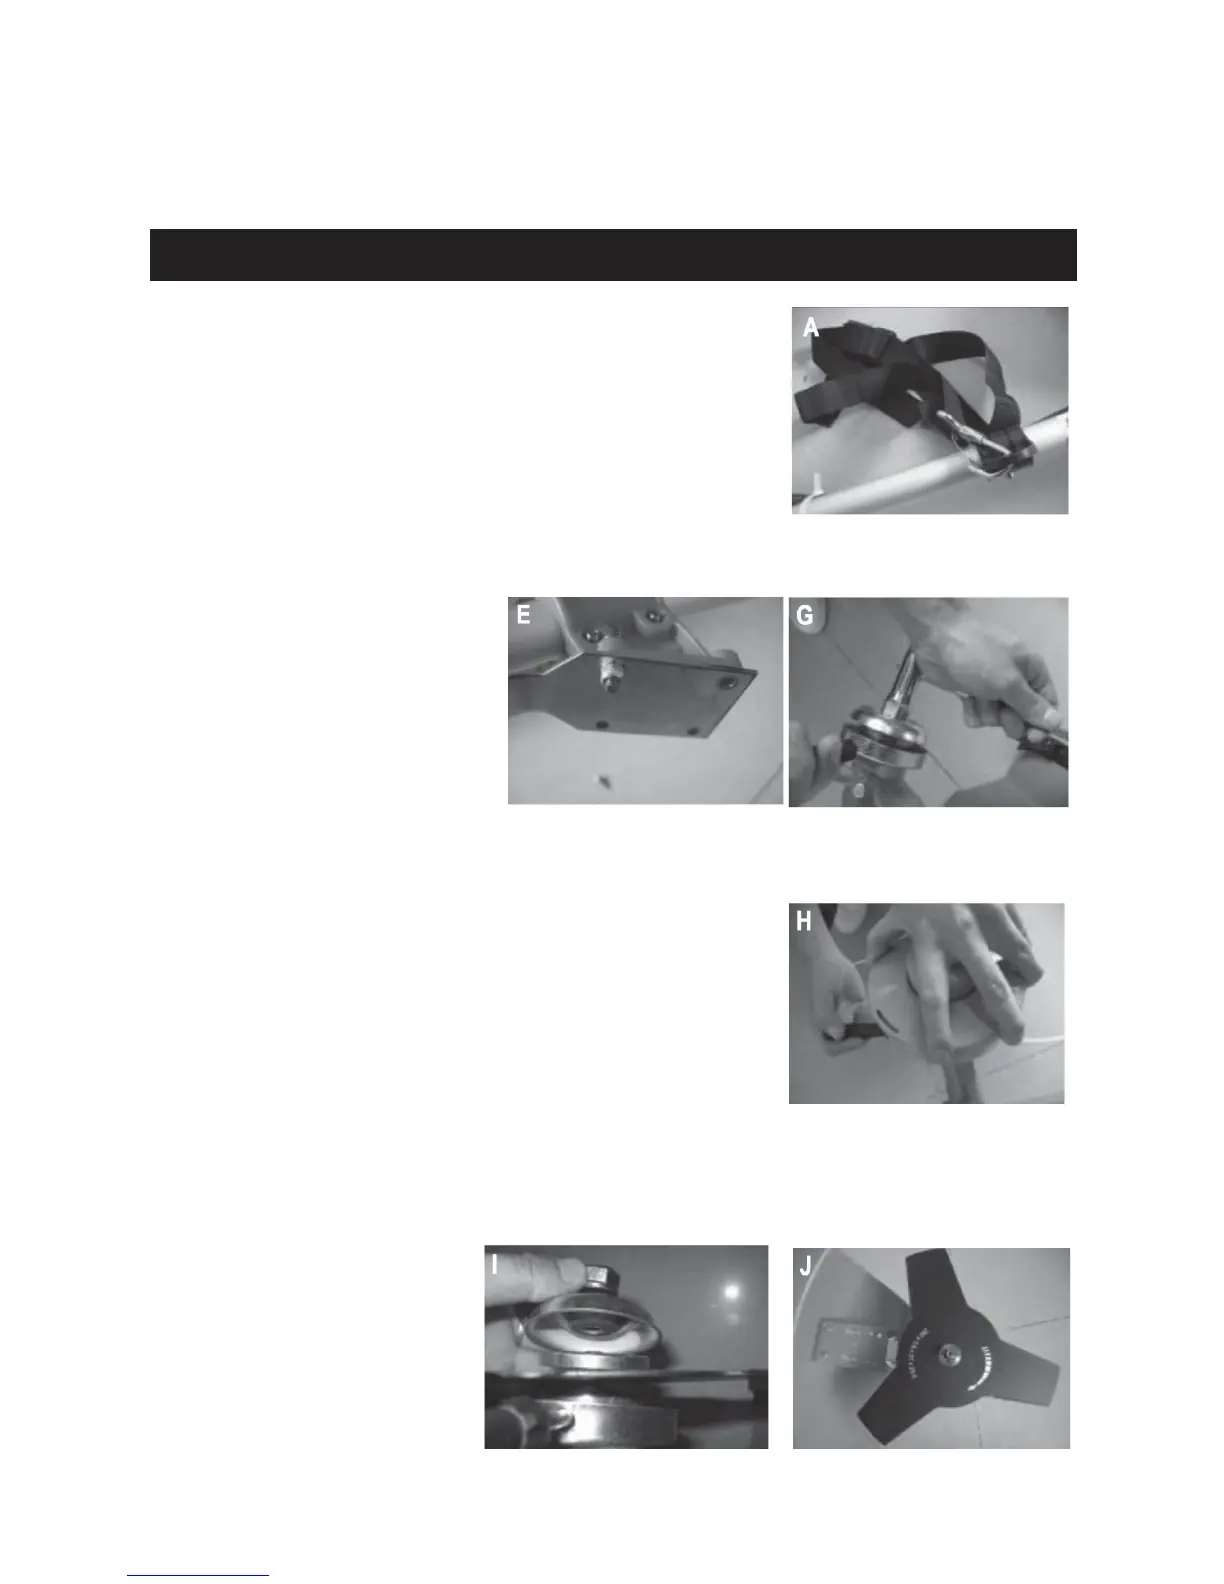
2.Releasethenut.Lineup
thetwoholesofangeand
shield. Use screwdriver to
holdtheangeandturnthe
socket wrench clockwise (G).
The nut will be released
Fitting the Nylon Cutting Head
1.Totthenyloncuttinghead,removetheshieldafterreleasingthenut.Still
holdingtheange,placethenyloncuttingheadontheshaftandrotate
counterclockwise(H).Thenyloncuttingheadis
nowtted.
2. To remove the nylon cutting head, use screwdriver
toholdangeandrotateclockwise.
Fitting the Blade
1.Tottheblade,taketheouterangeoffafterreleasingthemainnut,then
puttheblade,outerangeshieldandnutaccordingtopriority(1).Notethe
bladerotationdirection(J).Usescrewdrivertoholdangeandtightennut
counter- clockwise. Ensure the nut is well tightened.
2. To release the blade, use
screwdrivertoholdange
and release nut, the blade
than then be removed.
WARNING: Please make
sure the cutting head has
been assembled correctly before use.