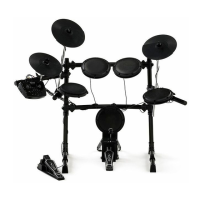
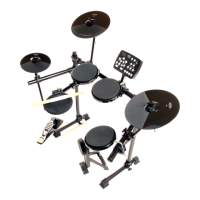
Assembling the cymbal
1. Open the legs (29) so that the hi-hat stand is stable.
2. Place the upper part of the stand (30) into the base.
3. Open the wing nuts of the upper part of the stand (30). Extend the cymbal rod (31) and adjust the position as shown in the
gure.
4. Place the thin felt washer (32), the cymbal pad (33), the thick felt washer (34), the washer (35) and the wing nut (36) one
after the other on the rod (31) as shown in the gure.
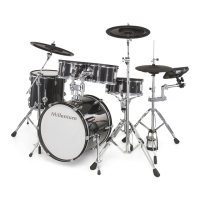
Set-up and cabling
Set up the rack, the pads and the cymbals according to your needs. Finally, position the pedal with the bass drum pad in front of
the rack and connect all triggers to the drum module.
The tension of the mesh heads is relatively low in the delivery state in order to avoid damage during transport. For good playability
and better trigger behaviour, adjust the drum head tension to your playing habits.
Assembly
MPS-750X PRO
15
E-Drum Set