Do you have a question about the Milwaukee 49162748 and is the answer not in the manual?
Read all safety warnings, instructions, illustrations, and specifications before use.
Always wear eye protection when operating the trimmer head assembly.
Do not use blades, brush cutting wheels, or accessories not recommended by MILWAUKEE.
Remove battery, lock gear with pin, and rotate head anticlockwise to remove from spindle.
Thread the new trimmer head onto the spindle and hand-tighten securely clockwise.
Measure 6.1m (20') of 2.4mm line or 7.6m (25') of 2.0mm line for installation.
Use only MILWAUKEE 2.0mm or 2.4mm diameter line to avoid performance degradation or damage.
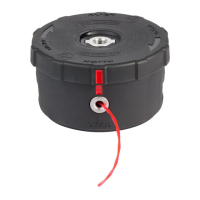
Align red indicators, insert line into eyelets, and wind housing plate until 100-150mm extends.
Ensure exposed line does not exceed the line blade; trim or wind further if too long.
Remove battery, turn head over, press release tabs to remove the housing cover.
Remove old line, install new line as directed, and reattach housing cover until tabs click.
Store extra line in a sealed plastic bag with a tablespoon of water to prevent drying.
Periodically sharpen the line cutter to prevent line extension overload and motor damage.
Details available trimmer line diameters and lengths: 2.0 mm x 4.5 m and 2.4 mm x 7.6 m.
Warranty applies to product sold by authorized dealers in Australia and New Zealand.
Contact authorized dealer or MILWAUKEE Customer Service for problems or service agents.
Provides toll-free numbers for Australia and New Zealand, and website addresses.
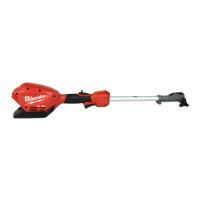
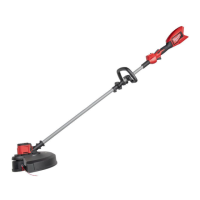
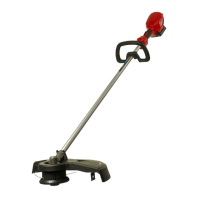
This document describes the Milwaukee Easy Load Trimmer Head, model number 49162748, an accessory designed for string trimmers.
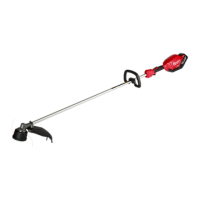
The Milwaukee Easy Load Trimmer Head is a replacement accessory for string trimmers, facilitating the easy loading and replacement of cutting line. It is designed to be used with Milwaukee power tools, battery packs, and chargers, and is intended for cutting grass and light vegetation. The head is engineered for quick installation and line replacement without extensive disassembly.
The trimmer head supports various line diameters for optimal performance:
The Easy Load Trimmer Head is designed for user convenience in installation and line replacement:
This procedure is for when there is existing line in the head that needs to be discarded or replaced.