5
WARNING
ASSEMBLY
WARNING
-
OPERATION
WARNING
-
WARNING
WARNING
1. Loosen the side handle by unscrewing the side
handle grip (5426-21) or ball (5446-21) until the
side handle rotates freely.
2. Rotate the side handle to the desired position.
3. Tighten the side handle grip or ball securely.
1. Remove the side handle by unscrewing the side
handle grip until it comes free.
2. Screw the side handle into the alternate loca-
tion.
3. Tighten the side handle grip securely.
1. Press in the clamp lever.
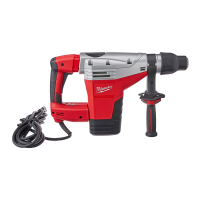
2. Slide the depth gauge rod backward or forward
until it is set for the desired depth.
The drilling
depth is the distance
between the tip of the
bit and the tip of the
depth gauge rod.
3. Release the clamp le-
ver.
Be sure that the shank of the bit is clean. Dirt par-
ticles may cause the bit to line up improperly. Do not
use bits larger than the maximum recommended
capacity of the drill because gear damage or mo-
tor overloading may result. For best performance,
be sure that the bit is properly sharpened and the
shank is lightly greased before use.
Only use accessories with SDS Max shanks.
1. Unplug the tool.
2. Lightly grease the bit or chisel shank.
3. Insert the bit or chisel into the nose of the tool.
4. Rotate bit slowly until it aligns with the locking
mechanism.
5. Push bit into tool until it locks.
6. Check that the bit is locked properly; it should
be possible to pull the bit back and forth slightly
(about 1/4”).
7. To remove bits and chisels, pull bit holder toward
the rear of tool and remove bit.
Use caution when handling hot bits and
chisels.
These hammers have an Electronic Feedback
Control Circuit (EFCC) which helps improve the
operation and life of the tool. It allows the tool to
maintain constant speed and torque between no-
load and load conditions.
The Soft-Start feature reduces the amount of torque
reaction at startup to the tool and the user. This
feature gradually increases the motor speed up
from zero to the top no-load speed.
WARNING
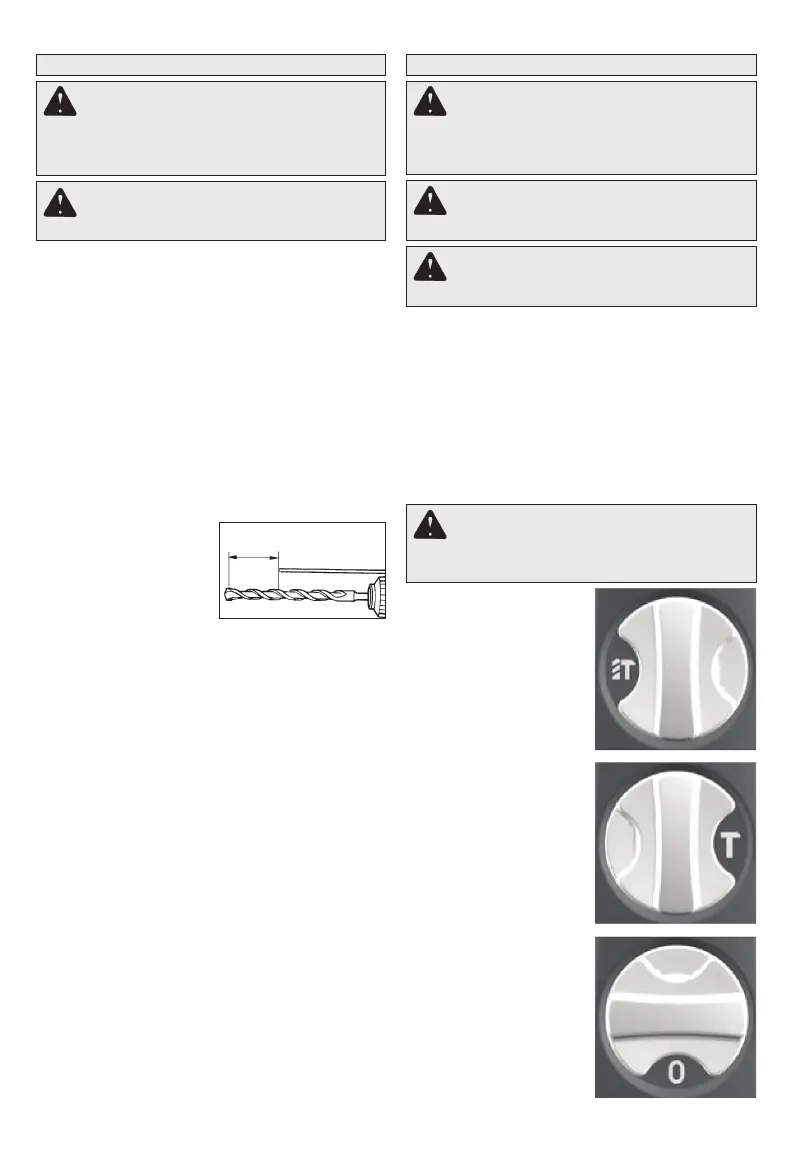
1. For
, turn the selec-
tor lever to display the
hammer and twist drill
symbols. (Not available
on Cat. No. 5446-21)
2. For ,
turn the selector lever
to display the hammer
symbol. (See "Selecting
Hammering Speed")
3. To the bit
to the desired angle for
chiseling only, turn the
selector lever to display
the 0 symbol.
Drilling
Depth