Do you have a question about the Minolta 5200I PROGRAM FLASH and is the answer not in the manual?
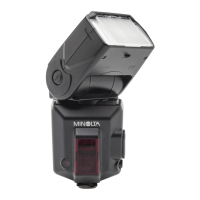
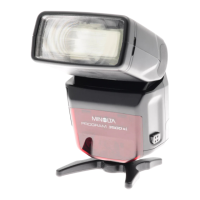
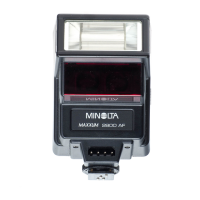
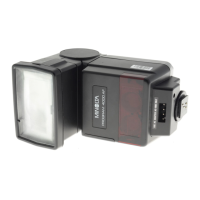
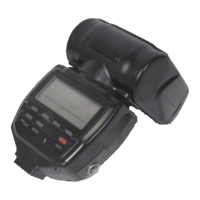
Identifies external parts such as the flashtube and mounting foot.
Details the mounting-foot release and external-power terminal.
Describes the operation of the MENU and ON/OFF buttons.
Explains the various indicators displayed on the flash data panel.
Details the process for installing batteries into the flash unit.
Explains how to check battery charge and performance.
Provides guidance for using the flash in cold temperatures.
Lists important warnings and precautions regarding battery usage.
Explains the distance range displayed in TTL autoflash mode.
Describes the single distance displayed in manual flash mode.
Shows extended flash range indications for TTL and manual modes.
Explains how to select between feet and meters for range display.
Describes the process of sliding the flash onto the camera's accessory shoe.
Details how to release and slide the flash off the accessory shoe.
Specifies recommended ISO film speed ranges for different camera models.
Explains how the flash data panel indicates ON/OFF status.
Details how P/S vs. A/M modes affect AUTO ON and ON display.
Explains how the test button fires the flash for operational checks.
Details when the AF illuminator activates and its operational range.
Explains how flash/camera illuminators work together or independently.
Notes conditions where the AF illuminator may not operate.
Explains how TTL metering controls flash output for correct exposure.
Describes the OK signal indicating sufficient exposure after a flash.
Details simple, high-quality results with P mode autoflash.
Notes that S mode autoflash operation is similar to P mode.
Explains viewfinder flash-on and flash-ready signals for different camera models.
Describes A mode operation, setting aperture for depth of field.
Notes how large apertures in A mode reduce flash recycling time.
Explains M mode operation, setting shutter speed slower than X-sync.
Explains fill flash as a secondary light source to illuminate shadows.
Describes automatic fill flash in P/S modes and manual firing in A/M modes.
Notes metering settings for automatic fill flash on Dynax 8000i.
Increases ambient exposure of background areas with controlled flash.
Details the steps for activating slow-shutter sync.
Advises on tripod use and shutter speed reduction conditions.
Lists the six selectable power levels from 1/1 to 1/32.
Explains how to change the power level using the LEVEL/RATIO button.
Notes that the data panel's flash range updates with power level changes.
Explains automatic zoom (A ZOOM) and manual zoom (M ZOOM) modes.
Details the 24mm to 85mm focal length coverage.
Describes how to change zoom settings with the ZOOM/REPS button.
Notes potential issues with zoom settings outside actual focal length.
Provides softer lighting compared to direct flash by reflecting off surfaces.
Details vertical and horizontal rotation angles of the flash head.
Advises on using light-toned, broad-dispersing, neutral surfaces.
Shows recommended flash head angles for vertical bounce flash.
Suggests minimum sideways rotation angle for bounce flash.
Explains TTL OTF metering for flash exposure control.
Details how to adjust exposure for lighter or darker subjects.
Describes manual flash exposure using aperture and power settings.
Step-by-step guide to setting up and using manual flash exposure.
Explains the single distance display in manual flash mode.
Enables creating series of images on a single frame for moving subjects.
Details how to set the camera to M mode and select multi-burst.
Explains how changing camera mode cancels multi-burst and restores TTL.
How to restore main menu while retaining multi-burst settings.
Explains how to select firing frequency using TTL-M/FREQ button.
Notes that coverage indicator disappears but zoom position is retained.
Details how to select burst repetitions using ZOOM/REPS button.
Provides a table for optimal shutter speeds based on frequency and bursts.
Allows control of output levels between the 5200i and other i-series flashes.
Explains connecting second flash via accessory terminal for ratio control.
Details setting output ratios to 2:1 or 1:2 for flash units.
Step-by-step guide to setting up and operating flash ratio control.
Notes automatic shutter speed setting in autoexposure modes with ratio control.
Explains automatic TTL metering when ratio control is selected.
Notes that ratio control can be selected directly from multi-burst mode.
Details controlling up to four flashes and limitations with specific cameras.
Never fire flash at eyes; be aware of flash-range alignment differences.
Ensure flash is charged before firing; exposure may be insufficient otherwise.
Explains red-eye effect and how to minimize it by adjusting lighting.
Notes that flashtube may become hot and requires ventilation space.
Details off-camera cables for positioning and multiple flash setups.
Describes the EP-1 set for faster recycling and more exposures.
Compact charger for AA-size Ni-Cd batteries, indicates charging status.
Accessory for bounce flash providing soft, natural effects.
Chart showing selectable settings for P, A, S, and M exposure modes.
Diagram illustrating mode selection paths via MENU button.
Chart showing available accessories and their connections.
Details flash type, AF illuminator, and exposure control methods.
Lists controls, coverage range, and zoom adjustment capabilities.
Provides flash duration, multi-burst, and ratio control specifications.
Details flash head rotation angles and guide numbers at ISO 100.
Explains LCD panel indicators and power source options.
Provides data on flashes per charge and recycling times for battery types.
Lists functions enabled by flash-camera contacts.
Covers other specs like program-reset function, dimensions, and weight.
| Mount | Hot Shoe |
|---|---|
| Bounce Angle | Up to 90 degrees |
| Power Source | 4 x AA Batteries |
| TTL | Yes |
| High Speed Sync | No |
| Guide Number | 52 (ISO 100, in meters) |
| Coverage | 24mm |
| Weight | 350g (without batteries) |
| Compatibility | Minolta AF cameras |