Do you have a question about the Mio MiVue C570 Series and is the answer not in the manual?
Important safety and operational guidelines for vehicle use.
Step-by-step instructions for securely mounting the dash cam.
How to insert and format the memory card for optimal performance.
Details on continuous and event recording during driving.
Enabling and using the parking recording function.
Essential safety information regarding charging, battery, and usage.
This document is a user manual for the Mio MiVue C570 Series dash cam. It provides comprehensive instructions on how to use, maintain, and troubleshoot the device, ensuring optimal performance and user safety.
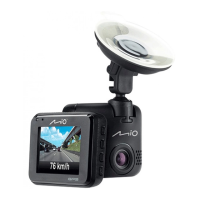
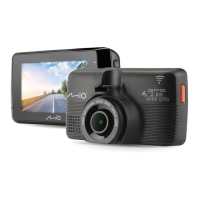
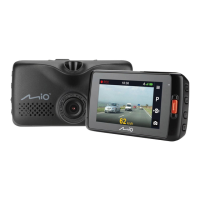
The Mio MiVue C570 Series is a dash cam designed to record video while driving, offering features such as continuous recording, event recording, and parking mode. It also includes safety camera alerts and a camera mode for taking photos. The device is equipped with a GPS module for accurate time and location stamping of recordings.
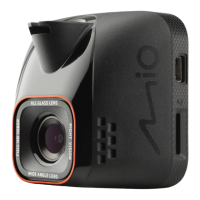
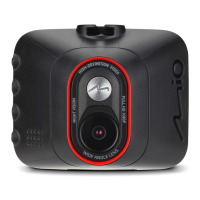
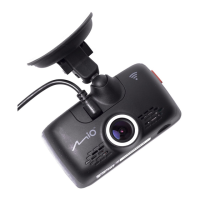
The manual begins by familiarizing the user with the dash cam's components, including the device mount socket, Mini-USB connector, memory card slot, microphone, system indicator, LCD screen, camera lens, speaker, power button/function keys, and shutdown button.
To ensure secure mounting, the manual advises parking the car on level ground. Before attaching the device mount to the windscreen, it's recommended to clean the windscreen with rubbing alcohol to remove dust, oil, and grease. The mount is then attached to the windscreen, and a tab is pressed to lock the suction cup. When adjusting the angle, the camera's view should be parallel with the ground, with a ground/sky ratio close to 6/4. The cable should be routed through the top ceiling and A-pillar, ensuring it doesn't interfere with driving or vehicle airbags.
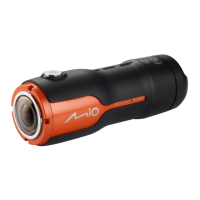
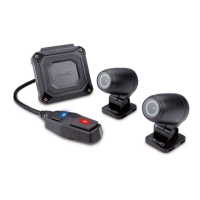
For models supporting a rear camera (sold separately), the manual illustrates how to connect it to the dash cam using a Y cable and a car charger. The rear camera features a mounting pad, camera lens, adjustment bolt, and Micro-USB connector.
The dash cam requires a Class 10 MicroSD memory card with 8 GB to 128 GB capacity. Users are advised not to apply pressure to the center of the card and to format it before recording to prevent malfunctions. Separate cards are recommended for recording and data storage. To insert, hold the card by the edges and gently push it into the slot. To remove, gently push the top edge inwards to release it. Formatting the card erases all data.
The dash cam automatically turns on when the vehicle engine starts, provided it's installed correctly. It can also be manually turned on or off by pressing and holding the Power button for 2 seconds. If the device becomes unresponsive, a hardware reset can be performed by inserting a small rod into the Shutdown button.
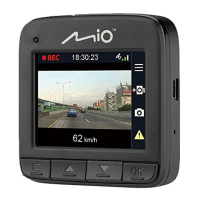
The status bar displays various system icons, including a recording indicator, time display, microphone status, GPS signal, and current GPS car speed. The device has four function keys whose functions vary depending on the screen. These keys can open the menu, add custom safety cameras, take photos, manually start event recordings, act as BACK/ENTER buttons, and navigate options.
When a rear camera is connected and recording, an icon appears on the screen, allowing users to switch between front and rear camera images.
To ensure accurate recordings, users can set the date and time via the System > Date/Time menu. Options include using GPS time with a selected time zone or manually adjusting the date and time using the +/- buttons.
This feature requires an additional power source, such as a Mio uninterruptible power cable (sold separately). Parking mode is disabled by default. Users must allocate storage for parking recordings via System > Storage Allocation, noting that changing allocation will erase the memory card. The mode can be enabled via Parking Mode > Detection > On. The device enters parking mode after about 5 minutes of the car being stationary. Recordings are triggered by movements or vibrations and save footage from seconds before and after the event. Older parking recordings are overwritten when the memory card is full. The parking mode can be manually entered, and users can configure detection methods (Only G-Sensor, Only Motion, or Both) and sensitivity levels.
The dash cam can take photos. While recording, users can press the photo button. If a rear camera is connected, this function is unavailable. Photos are stored in the "Photo" category.
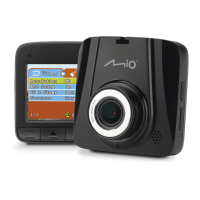
Users can play back recorded videos and photos by selecting File Playback and choosing the desired type. During playback, users can navigate files, play/pause, adjust playback speed, mute/unmute volume, adjust volume level, view in full screen, and track playback progress. For videos recorded with both front and rear cameras, an "D" icon indicates a corresponding rear video, allowing users to switch between front and rear views. Files can be moved to the "Event" category or deleted.
(Note: This function may not be available in all countries due to legal reasons.) The dash cam provides alerts for safety (speed) camera locations, helping users monitor their speed. Visual and audio alerts are given when a camera is detected. Alert sounds can be set to Beep or Voice. Different beep alerts are provided for approaching a camera, exceeding the speed limit near a camera, and passing a camera. Settings for alert distance (Short, Medium, Long) and alert method (Smart Alert based on GPS speed, Standard Alert based on speed limit, Threshold for alerts, Cruise Speed Alert) can be customized.
Users can add up to 100 custom safety cameras when a GPS fix is established. This is done by pressing the custom safety camera button on the recording screen. Custom cameras can be viewed and removed via the SafetyCam menu.
MiTAC may provide updates for safety camera data, which can be downloaded from the Mio website.
Various system settings can be customized:
This software allows users to view videos recorded on the dash cam. It can be downloaded from the Mio website (www.mio.com/support). To play files, remove the memory card, access it via a card reader, and copy files to the computer for backup. Then, open MiVue Manager. The manager displays a calendar and file list, allowing users to select file types (Event, Normal, Parking) or view all files. Playback controls include skipping files, play/pause, speed adjustment, volume control, full-screen view, and a track bar for navigation. During playback, driving information and a 3-axis G sensor chart are displayed. The dashboard panel can show a map screen. The toolbar allows users to select folders, print images, save files, capture images, access settings (language, skin, update check, about), export GPS information to KML, and upload to Facebook/YouTube. For models with front and rear videos, "F" and "R" marks indicate corresponding files, and a picture-in-picture mode allows switching between views.
GPS is operated by the United States government, and its performance can affect accuracy. GPS signals cannot pass through solid materials (except glass). Positioning may be unavailable in tunnels or buildings, and signal reception can be affected by bad weather or dense overhead obstacles. GPS data is for reference only.
| GPS | Yes |
|---|---|
| G-Sensor | Yes |
| Wi-Fi | Yes |
| Storage | MicroSD card (up to 128 GB) |
| Frame Rate | 30fps |
| Loop Recording | Yes |
| Night Vision | Yes |
| Aperture | F1.8 |
| Parking Mode | Yes (Smart Parking Mode) |