These instructions are to be used in conjunction with the Mira Advance ATL Installation
and User Guide (IUG) to make sure that key installation and operation actions are
followed. Leave these instructions with the user.
Please tick the boxes to conrm the following actions:
If you encounter any problems with the operation of this product
please contact Kohler Mira Customer services Department.
1. Flush a minimum of
10 litres (2 gallons)
through pipework
prior to connection.
2. Isolation valve tted
and tested for leaks.
3. Check for leaks
BEFORE connecting
electricity.
3. Ret the splash guard and
connect the ribbon cable to the
inside of the cover.
4. Ret the cover. inserts are
provided to nish the cover as
required.
Prime the Unit and Fit the Cover
4. Prime the appliance and t the
cover (refer to next section).
5. Set the maximum temperature
and commissioning cycle (refer to
section overleaf).
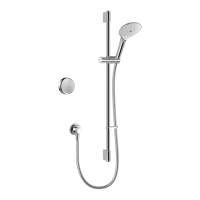
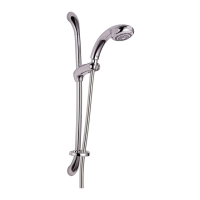
1. Connect hose and showerhead,
pointing into bath or tray.
2. Make sure electricity is isolated!
Push down and hold air bleed
button to prime appliance until
water appears from shower head.
Failure to prime will seriously
affect shower performance!
Carefully dry off water before
connecting/reinstating electricity.
Installer Checklist
1075282-W4-D © Kohler Mira Limited, December 2008