2.INSTALLATIONINSTRUCTIONS(continued)
INSTALLATION(CONTINUED)
WARNING:RISKOFELECTRICALSHOCK
Thisrangehoodmustbeproperlygrounded.Makesureitisinstalledbyaqualifiedelectricianinaccordance
with all applicable national and local electrical codes. Before connecting wires, switch power off at the
servicepanelandlockservicepaneltopreventpowerfrombeingswitchedonaccidentally.
INSTALLATIONOFTHEUNIT
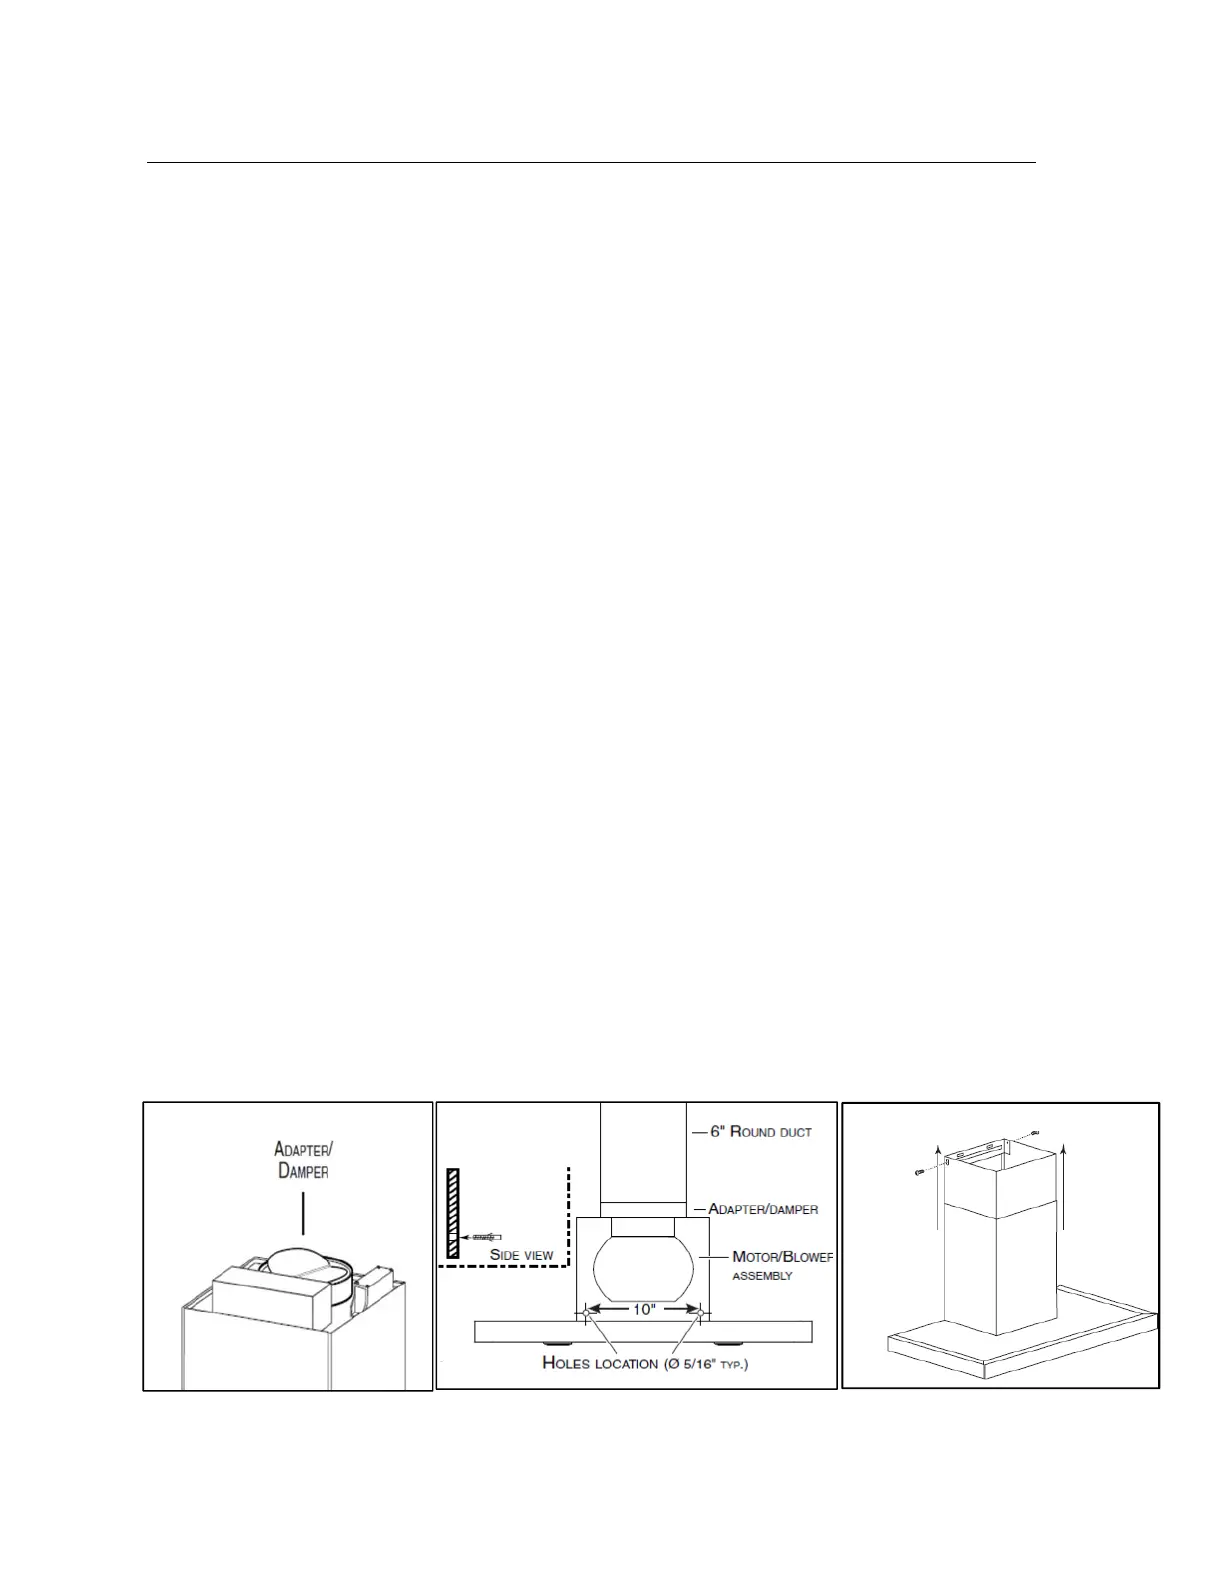
Install6"roundadapter/damperontopofthehoodusingfour(4)no.8x7/16"mountingscrews.
Align the hood and center it above the hood mounting bracket. Gently lower the hood until it
securelyengagesthebracket.
With the hood hanging in place, drill through both
holes located atthebackofthe hoodusinga
5/16"drillbit(seeFig.2).
Inserttheincludeddrywallanchorsintothedrilledholes(oneforeachhole).Inserttwo(2)no.8x
1¼"mountingscrewsintwo(2)washers,theninsertintothedrywallanchors.Verify
thatthehood
iscenteredandleveled.Tightenallscrewscompletely.
Removeprotectiveplasticfilmcoveringthelowerchimneyonly.
Ifpossible(whenspaceissufficient),installthelowerchimneybrackettothechimneyusingtwo(2)
no.8x7/16"mountingscrews,makingsurethattheslotspoint
up(seeFig. 3).
Carefully place both chimneys on top of the hood. NOTE: Slightly slide up the up per chim ney to
avoiddamagingit.
Slidea6"metalroundductovertheadapter/damper(seeFig.2).Usemetalfo il ducttapetoseal
thejoint.
Plughood
powercordintotheoutlet.
Slideuptheupperchimneyuntilitisalignedwithitsmountingbracket.Thebracketmustbeinside
thechimney.Securetheupperchimneytoitsbracketusingtwo(2)no.8x7/16"mountingscrews.
Removeprotectiveplasticfilmcoveringtheupperchimney
andthehood.
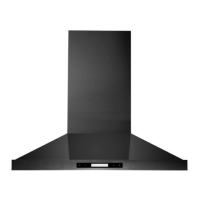
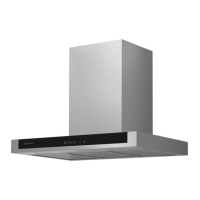
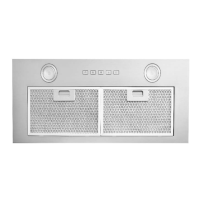
Note:Thisimageisforreferenceonly.Yourunitmightdifferfromtheoneshowninthisdiagram.
Fig.1
Fig.2
Fig.3
Upper
chimney
mounting
bracket
10
 Loading...