SERVICE MANUAL
CONTENTS
1. TECHNICAL CHANGES ··································· 2
2. PART NAMES AND FUNCTIONS ····················· 4
3. SPECIFICATION ················································ 5
4. NOISE CRITERIA CURVES ···························· 14
5. OUTLINES AND DIMENSIONS ······················ 17
6. WIRING DIAGRAM ·········································· 21
7. REFRIGERANT SYSTEM DIAGRAM ············· 50
8. PERFORMANCE CURVES ····························· 59
9. ACTUATOR CONTROL ··································· 87
10. SERVICE FUNCTIONS ···································· 88
11. TROUBLESHOOTING ····································· 92
12. DISASSEMBLY INSTRUCTIONS ·················· 121
INDOOR UNITS COMBINATION SHEETS
Models
No. OBH626
REVISED EDITION-F
SPLIT-TYPE AIR CONDITIONERS
OUTDOOR UNIT
Indoor unit service manual
MSZ-EF•VE Series (OBH589)
MSZ-SF•VA Series (OBH555)
MSZ-SF•VE Series (OBH600)
MSZ-FH•VE Series (OBH623)
MFZ-KA•VA Series (OB409)
MFZ-KJ•VE Series (OBH666)
MLZ-KA•VA Series (OBH483)
SLZ-KA•VA Series (OC320)
SEZ-KD•VA Series (HWE07110)
PLA-RP•BA Series (OCH412)
PCA-RP•KA Series (OCH454)
PEAD-RP•JA Series (HWE08130)
NOTE:
RoHS compliant products have <G> mark
on the spec name plate.
PARTS CATALOG (OBB626)
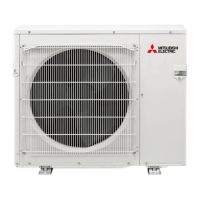
MXZ-2D33VA
MXZ-2D40VA
MXZ-2D42VA
MXZ-2D53VA MXZ-2D53VAH
Please void OBH626 REVISED EDITION-E
MXZ-2D33VA
-
E1
,
E2
,
ER2
,
ET2
MXZ-2D40VA
-
E1
,
ER2
MXZ-2D42VA
-
E2
,
ET2
MXZ-2D53VA
-
E1
,
E2
,
ER2
,
ET2
MXZ-2D53VAH
-
E1
,
E2
,
ER2
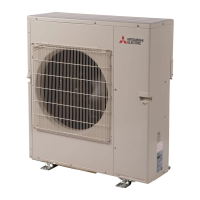
MXZ-3D54VA
-
E1
MXZ-3D54VA2
-
E2
,
ER2
,
ET2
MXZ-3D68VA
-
E1
,
E2
,
ER2
,
ET2
MXZ-4D72VA
-
E1
,
E2
,
ER2
,
ET2
MXZ-4D83VA
-
E1
,
E2
,
ER1
,
ER2
,
ET2
MXZ-5D102VA
-
E1
,
E2
,
ER1
,
ER2
,
ET2
Revision F:
•
MXZ-2D33/2D42/2D53/3D68/4D72/4D83/5D102VA
-
ET2
and MXZ-3D54VA2
-
ET2
have been added.