Instructions for use
CO
2
CELL Comfort 190_np_en 1301_mmm_V1.02 5
3 DELIVERY,
TRANSPORTATION
AND STORAGE
3.1 UNPACKING
Inspect the packaging for signs of transportation damage.
Carefully undo the top of the cardboard packaging and
gently slide the packaging over the incubator.
Inspect the incubator and inform the carrier immediately if
there are any signs of transportation damage.
Remove any packaging material from within the chamber.
Remove any protective coverings from the surfaces of the
inner chamber.
Remove the operating manual and accessory kit from within
the chamber. Keep these safe.
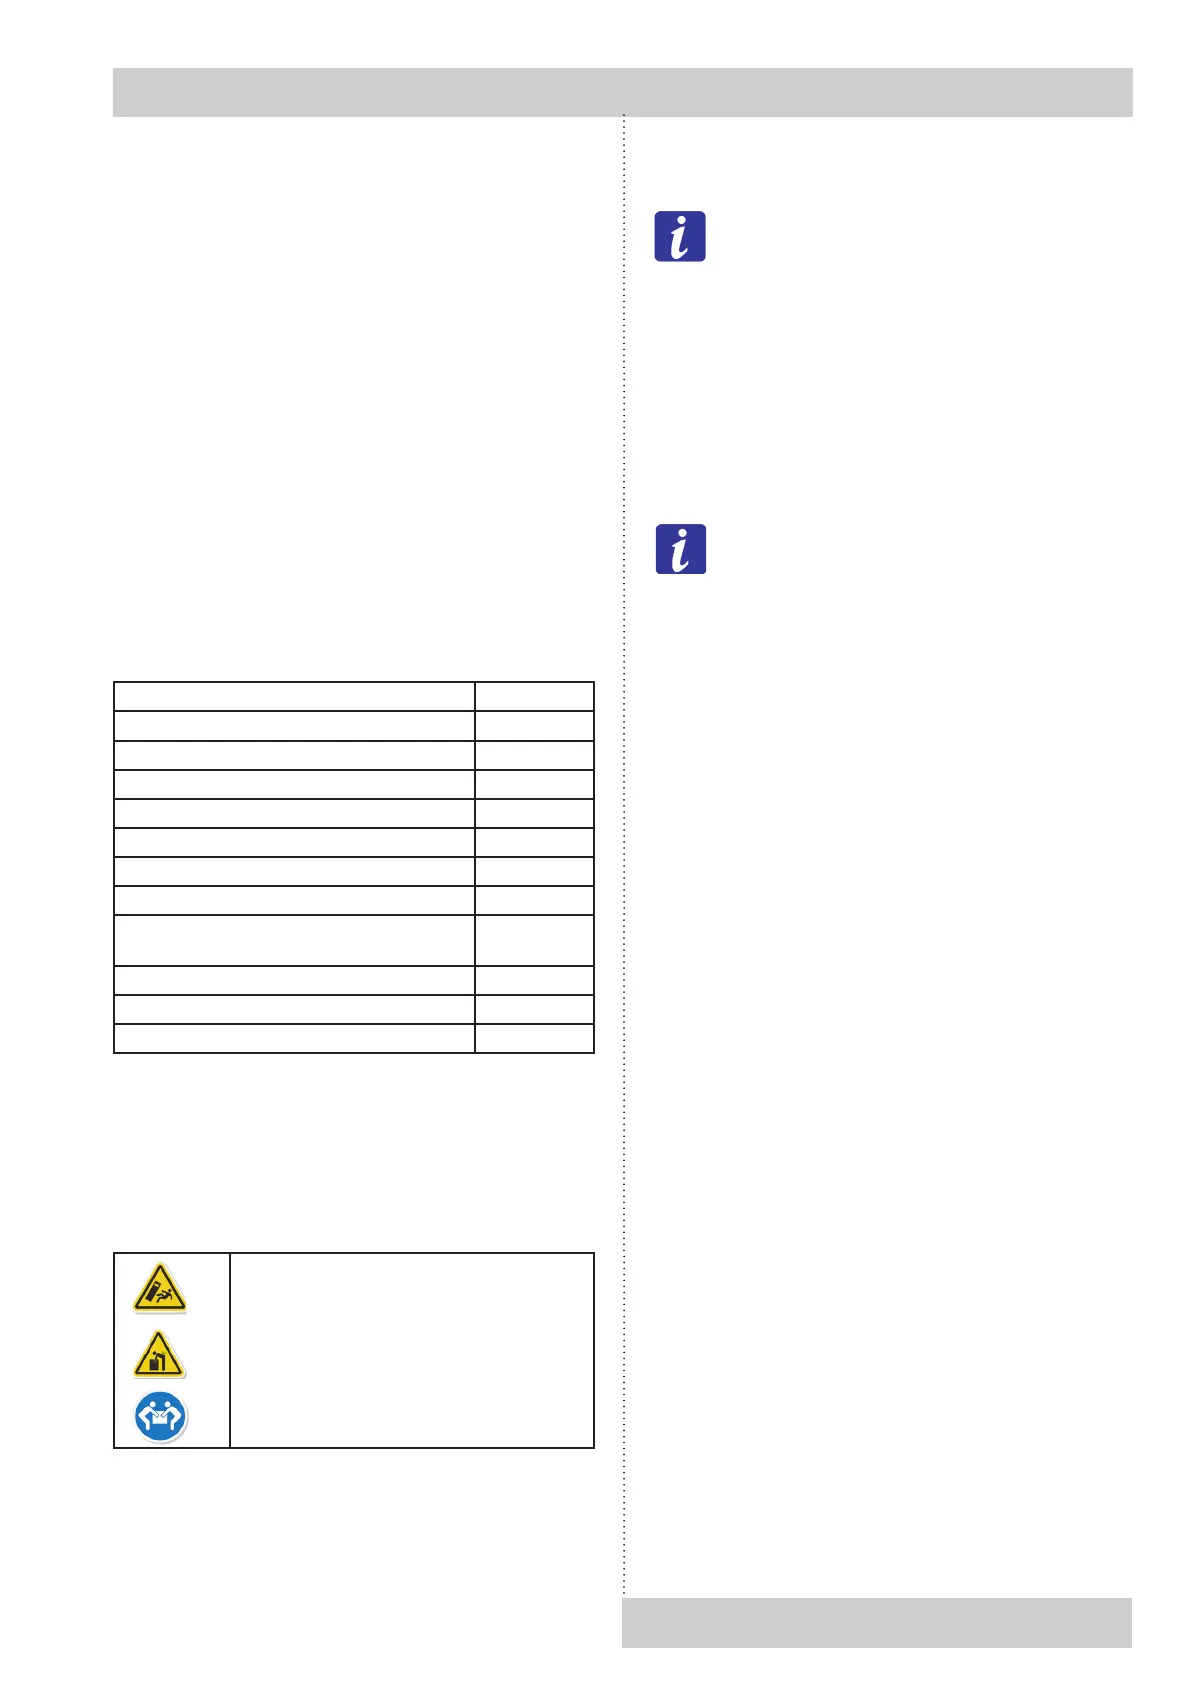
Please check that the accessory pack contains the following
items. Contact your dealer with details of any shortages.
Comfort 190 accessory pack Qty
Stainless steel perforated shelves 4
Shelf racking (left and right hand) 1 set
Racking support bar 1
Stainless steel water tray 1
Service port bungs 2
Formatted 2Gb SD card 1
Instructions for use 1
3.5 meter length of CO
2
tubing with HEPA
¿OWHU
1
Hose clips 2
Test report 1
IEC mains power lead 1
3.2 LIFTING AND MOVING
These incubators are heavy. The weights are as follows:
Comfort 190 is 94,5 Kg
Comfort 190S is 104 Kg
Please refer to Manual Handling Policy of your organisation
before attempting to lift the incubators.
Risk of unit sliding or tipping.
Risk of injury by lifting heavy loads.
Risk of damage to the unit.
Always lift using the handles on the outside
of the incubator.
Lift with 4 people.
Do not lift by using the door.
3.3 STORAGE
If the incubator has been in a cold location for a
period then it needs to acclimatise to room
temperature.
0RYHWKHLQFXEDWRUWRLWV¿QDOORFDWLRQDQGZDLWIRUKRXUV
before start up. This will allow any condensation that may
have formed to dry. It will also stop the incubator from
overshooting temperature set point.
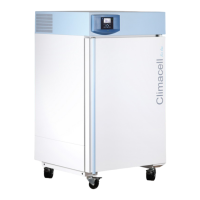
4 INSTALLATION
4.1 LOCATION AND AMBIENT
CONDITIONS
The incubator can be placed on a table or worktop.
3OHDVHHQVXUHWKDWWKHVLWHLVVXI¿FLHQWO\VWURQJ
enough to carry the weight of the incubator.
MMM do not recommend placing the incubator directly on
WKHÀRRUDVWKLVLQFUHDVHVWKHULVNRIFRQWDPLQDWLRQ
Wheeled platform forms are available that lift the incubator
RIIWKHÀRRU$OWHUQDWLYHO\WZRLQFXEDWRUVFDQEHVWDFNHG
using the stacking kit. DSection 10.
Correct location of an incubator is very important. The
incubator is designed to work in a typical laboratory
environment.
For good performance the ambient conditions should be at
least 6 °C below the working temperature.
E.g. for a set point of 37.0 °C the ambient temperature must
not exceed 31.0 °C.
If the difference between the set point and ambient
temperatures is less than 6.0 °C then the set point can be
H[FHHGHGDQGWHPSHUDWXUHÀXFWXDWLRQZLOORFFXU
Our performance data was produced at the ideal ambient
condition of 25.0 °C. For best performance the ambient
WHPSHUDWXUHVKRXOGQRWGUDVWLFDOO\H[FHHGWKLV¿JXUH
Maximum ambient humidity is 70 % rH, non-condensing.
&RQGHQVDWLRQFDQRFFXUZLWKLQWKHFKDPEHULIWKLV¿JXUHLV
exceeded.
A poorly located incubator can experience temperature
ÀXFWXDWLRQVSRRUFHOOJURZWKDQGFRQWDPLQDWLRQRIFHOO
cultures. These guidelines will ensure best performance:
x 7KHLQFXEDWRUVKRXOGEHVLWHGRQDÀDWHYHQVXUIDFH
x It should be in a well ventilated and dry area, but not
sited directly in the path of ventilation ducts.
x It should be free from vibration.
x It should be kept away from heat sources e.g. radiators,
heating pipes, refrigeration plant.
x It should not be in direct sunlight.
x To avoid contamination it should not be placed directly
RQWKHÀRRU
x $OORZVXI¿FLHQWGLVWDQFHVEHWZHHQDGMDFHQWHTXLSPHQW
x There should not be big swings in ambient temperature.
Leave a clearance of 50 mm from each side and 100 m from
the rear.
Level the incubator by adjusting the two front feet. Place a
small spirit level on the centre position of the middle shelf as
a guide.