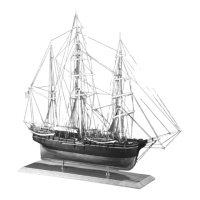
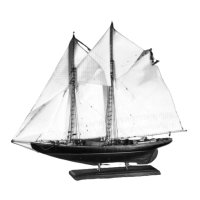
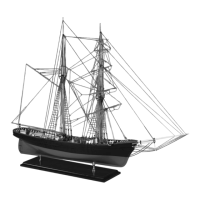
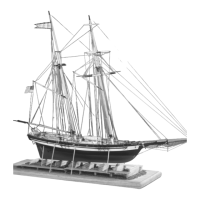
5
This kit differs from most in that its large scale (1/4” = 1 ft.)
will permit the model maker to fabricate or “scratch build”
most parts with great accuracy, and in some cases, duplicate
full-size construction or techniques in miniature. For this rea
-
son, the “hows” and “whys” of the vessel’s building and oper-
ation will be explained in greater detail than is otherwise cus-
tomary.
The novice who attempts this kit should accept this challenge
to the full limits of his or her abilities. Aspects of construction
which may possibly seem too difficult or superfluous to the be
-
ginner will be mentioned as such in that particular discussion.
While the modeling progresses, you will see where you may
want to substitute some of the kit fittings with your own cre-
ations. By all means try them, especially if you think you can
improve the model. The worst that can happen is a little lost
time. But, the experience gained will be most valuable for fu-
ture projects. For further reading on modeling techniques refer
to the Bibliography at the back of this manual.
Please note that while all of the necessary materials for a beau-
tiful model have been provided, some detailing work has been
left to the imagination of the individual modeler. For instance,
fishing nets can be made from darkened or stained cheesecloth;
knives and hatches from scrap wood and metal; fish cleaning
trays from scrapwood; and so on. Also, the kit will contain the
minimal number of rigging and block sizes needed for com-
pleting the model. You may want to buy other rigging line or
scratch build blocks to make the model as close to scale as pos-
sible. The detailing possibilities are endless and to provide for
all of them with individual parts would result in a kit far too
pricey for most modelers.
Assuming a modeler works with reasonable skills about 20
hours per week as a hobby, the
Benjamin W. Latham model
should take about 5 months to complete (roughly 400 hours).
The most time-consuming tasks will be planking the hull and
completing the masts and rigging. Of course, the time will be
extended if any scratch-built items are substituted. But, don’t
let time govern your progress. The best approach for the begin-
ner, and experienced modeler alike, is to tackle the job as a se-
ries of small projects which are conveniently laid out for you in
stages. So, don’t look too far ahead, or you may become dis
-
couraged. Assume each small project is an end unto itself and
work on it until it is correct. You will ultimately do a better job
on that particular part, and the overall completed model will
approach perfection.
Beginners, no doubt, will have some problems, especially if
this is the first modeling attempt. The important thing, howev-
er, is to learn from making mistakes. Seek help from more ex-
perienced modelers or the excellent reference material that is
available to you. And regardless of how the model is turning
out, finish it completely. Improvement takes experience; it can-
not be gained with half-completed models. It would be advis
-
able to follow the instructions in sequence until you gain the
experience to work up your own procedures. Have fun with
the project and think about how nice it will look on display
when it is completed. Good Luck!
BEFORE YOU BEGIN


 To Next Page