Do you have a question about the Moen Nebia and is the answer not in the manual?
Lists necessary tools like drill bits, alcohol pads, and painter's tape for safe and easy installation.
Highlights crucial usage warnings, such as avoiding foaming cleaners and not using putty for assembly.
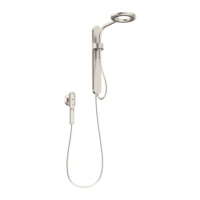
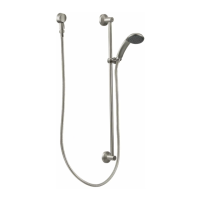
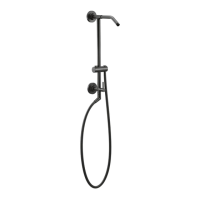
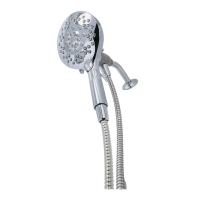
Identifies the main parts of the magnetic dock and its adhesive wall bracket.
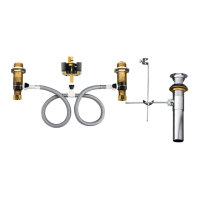
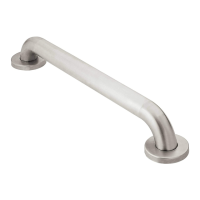
Lists optional hardware for permanent or alternative installation methods.
Provides guidance on choosing a location and preferred height for the magnetic dock.
Details the step-by-step process for installing the magnetic dock using adhesive.
Outlines the steps for installing the magnetic dock by drilling into the wall.
Specific instructions for installing via drilling into fiberglass walls, noting anchor requirements.
Specific instructions for installing via drilling into tile walls, requiring a 1/4" drill bit.
Explains the coverage, limitations, and claim procedures for the Moen limited lifetime warranty.
| Category | Showerhead |
|---|---|
| Water Savings | Up to 45% compared to standard showerheads |
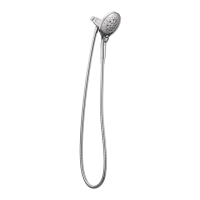
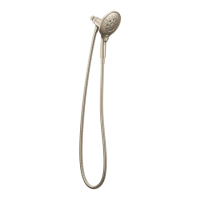
| Finish Options | Chrome, Matte Black |
| Installation Type | Wall Mount |
| Material | Metal and Plastic |