EasyManua.ls Logo

Moen S3947 User Manual

Moen S3947
3 pages
To Next Page IconTo Next Page
Page #1 background imageLoading...
Page #1 background image
Installation Guide
Guía de Instalación
Guide d’installation
HERRAMIENTAS ÚTILES
Para que el cambio de la llave sea fácil y
seguro, Moen le recomienda usar estas
útiles herramientas.
OUTILS UTILES
Par mesure de sécurité et pour faciliter
l’installation, Moen suggère l’utilisation des
outils suivants.
HELPFUL TOOLS
For safety and ease of faucet replacement,
Moen recommends the use of these help-
ful tools.
Please Contact Moen First
For Installation Help, Missing or
Replacement Parts
(USA)
1-800-BUY-MOEN (1-800-289-6636)
Mon - Fri 8:00 AM to 7:00 PM, Eastern
Sat. 9:00 AM to 3:00 PM Eastern
WWW.MOEN.COM
(Canada)
1-800-465-6130
Mon - Fri 7:30 AM to 8:00 PM, Eastern
WWW.MOEN.CA
Por favor, contáctese primero con Moen
Para obtener ayuda de instalación, piezas
faltantes o de recambio
01-800-718-4345
Lunes a viernes de 8:00 a 20:00 hs.
(Costa Este)
Sáb. 8:00 a 18:30 hs. (Costa Este)
WWW.MOEN.COM.MX
Veuillez d’abord contacter Moen
en cas de problèmes avec l’installation, ou pour
obtenir toute pièce manquante ou de rechange
1-800-465-6130
Du lundi au vendredi :
de 7 h 30 à 20 h, HE
WWW.MOEN.CA
INS10253A - 9/14
SOAP/LOTION DISPENSER
DOSIFICADOR DE JABÓN/LOCIÓN
DISTRIBUTEUR DE SAVON/LOTION
Style varies by model.
El estilo varía por el modelo.
Le style varie selon le modèle.
S3945
S3947
S3946 S3948
Question and Answer IconNeed help?

Do you have a question about the Moen S3947 and is the answer not in the manual?

Moen S3947 Specifications

General IconGeneral
BrandMoen
ModelS3947
CategoryDispenser
LanguageEnglish

Summary

Contact Moen First

USA Contact Information

Contact details and operating hours for Moen customer support in the USA.

Canada Contact Information

Contact details and operating hours for Moen customer support in Canada.

Helpful Tools for Installation

Recommended Tools

Moen recommends specific tools for safe and easy faucet replacement.

Parts and Components

Parts List

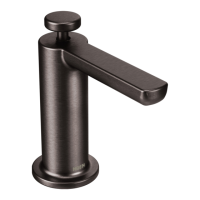
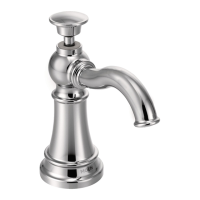
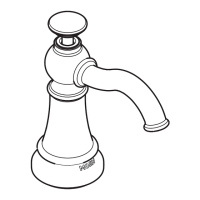
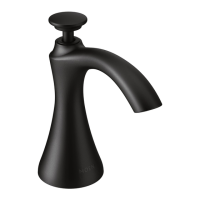
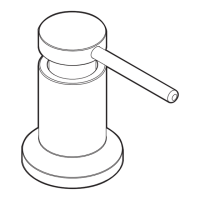
Lists all parts included with the soap dispenser for installation.

Installation Icon Legend

Explains the meaning of icons used in installation diagrams.

Installation Steps

Step 1: Insert Straw

Attaching the straw to the dispenser body, ensuring correct orientation.

Step 2: Place Dispenser

Positioning the dispenser through the sink opening before securing.

Step 3: Secure Dispenser

Fastening the dispenser to the sink using the mounting nut.

Step 4: Attach Bottle

Connecting the bottle to the dispenser body.

Installation Complete

Final confirmation that the dispenser installation is finished.

Filling Instructions

Step A: Prepare Dispenser

Temporarily removing the dispenser from the base for filling.

Step B: Fill Bottle

Adding liquid to the dispenser bottle, noting maximum capacity.

Step C: Reassemble Dispenser

Reinserting the dispenser into its base after filling.

Related product manuals