2
Monessen • BLOTMC Installation Manual • 93D0005 • Rev H • 01/2020
Figure 5
Blower Instructions
NOTE: Some reboxes are equipped with a pre-installed
blower mounting bracket. If so, follow the instructions for
“Install with Blower Bracket”. If the rebox does not have
the mounting bracket follow the instructions “Install with-
out Mounting Bracket”.
Install with Blower Mounting Bracket
1. The four (4) Velcro strips are used to insulate blower
vibration when using mounting bracket. Be sure to
leave in place.
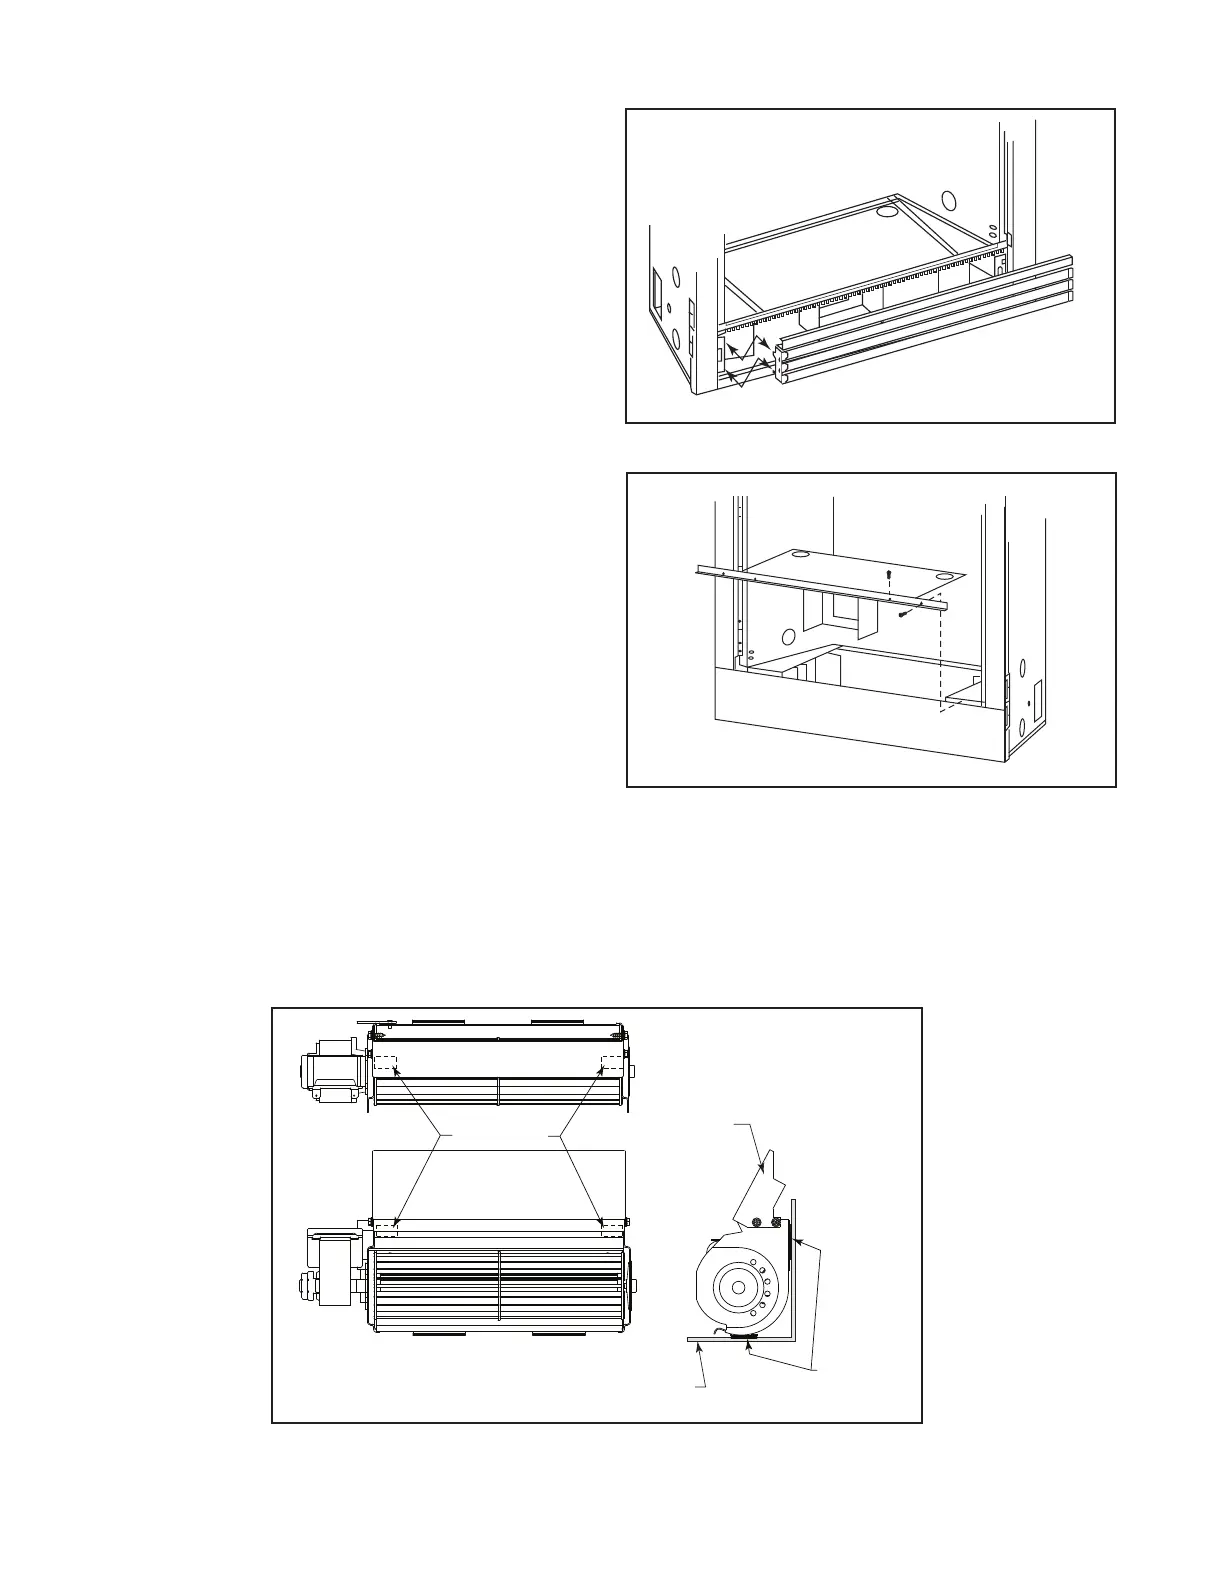
2. For louvered units, remove the lower access door.
The blower will slide through the lower door opening.
Figure 3. For radiant units, remove the screws secur-
ing the center rebox oor and front lip. The blower
slides in through the oor opening. Figure 4
3. With blower in lower access compartment, turn the
discharge vent so it is facing up. Slip the discharge
vent ange under the ange of the mounting bracket
ush up against the back wall. Slide the side tabs
over into the side ange. Figure 6
Install without Mounting Bracket
1. For louvered units, remove the lower access door.
The blower will slide through the lower door opening.
Figure 3. For radiant units remove the screws secur-
ing the center rebox oor and front lip. The blower
slides in through the oor opening. Figure 4
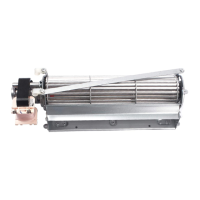
2. Use the supplied Velcro on the blower to secure the
blower to the rebox wall and oor.
NOTE: Make sure the area where the Velcro is attached
is clean and dry before mounting the blower.
3. Remove the tape from the back of the Velcro and
slide the blower into position on the inside back re-
box wall. The blower should be centered with the rear
blower discharge vent facing up and at against the
rebox back wall and oor. Figure 5
Figure 3
KT1108
remove firebox floor
Figure 4
Velcro Strips
Discharge
Vent
Firebox
Velcro
Strips
 Loading...