©2011
To disassemble:
1. Remove the chain from the chainwheel.
2. Remove the le pedal by turning the spindle clockwise.
3. Remove the le side locknut by turning it clockwise and remove the keyed lockwasher.
4. Remove the adjusng cone by turning it clockwise with a screwdriver.
5. Remove the le ball retainer, slide the crank assembly out of the frame to the
right, and remove the right ball retainer. Clean and inspect all bearing surfaces and
ball retainers, and replace any damaged parts. Pack the ball bearing retainers with
grease, then re-assemble in the reverse of the above procedure.
Lubricaon and Adjustment - 3 piece cranks
3 piece crank designs can vary. Please see a qualied bicycle mechanic for any 3 piece
crank adjustments or repairs. Or refer to a detailed bicycle repair manual for further
informaon. Several specialized tools are needed for disassembly and maintenance
of 3 piece cranks. Do not aempt service without access to the proper tools.
Chain
Do not ride with a damaged chain.
The chain must be kept clean, rust free and frequently lubricated in order to extend
its life as long as possible. It will require replacement if it stretches, breaks, or causes
inecient gear shiing. Make sure that there are no s links, they must all move freely.
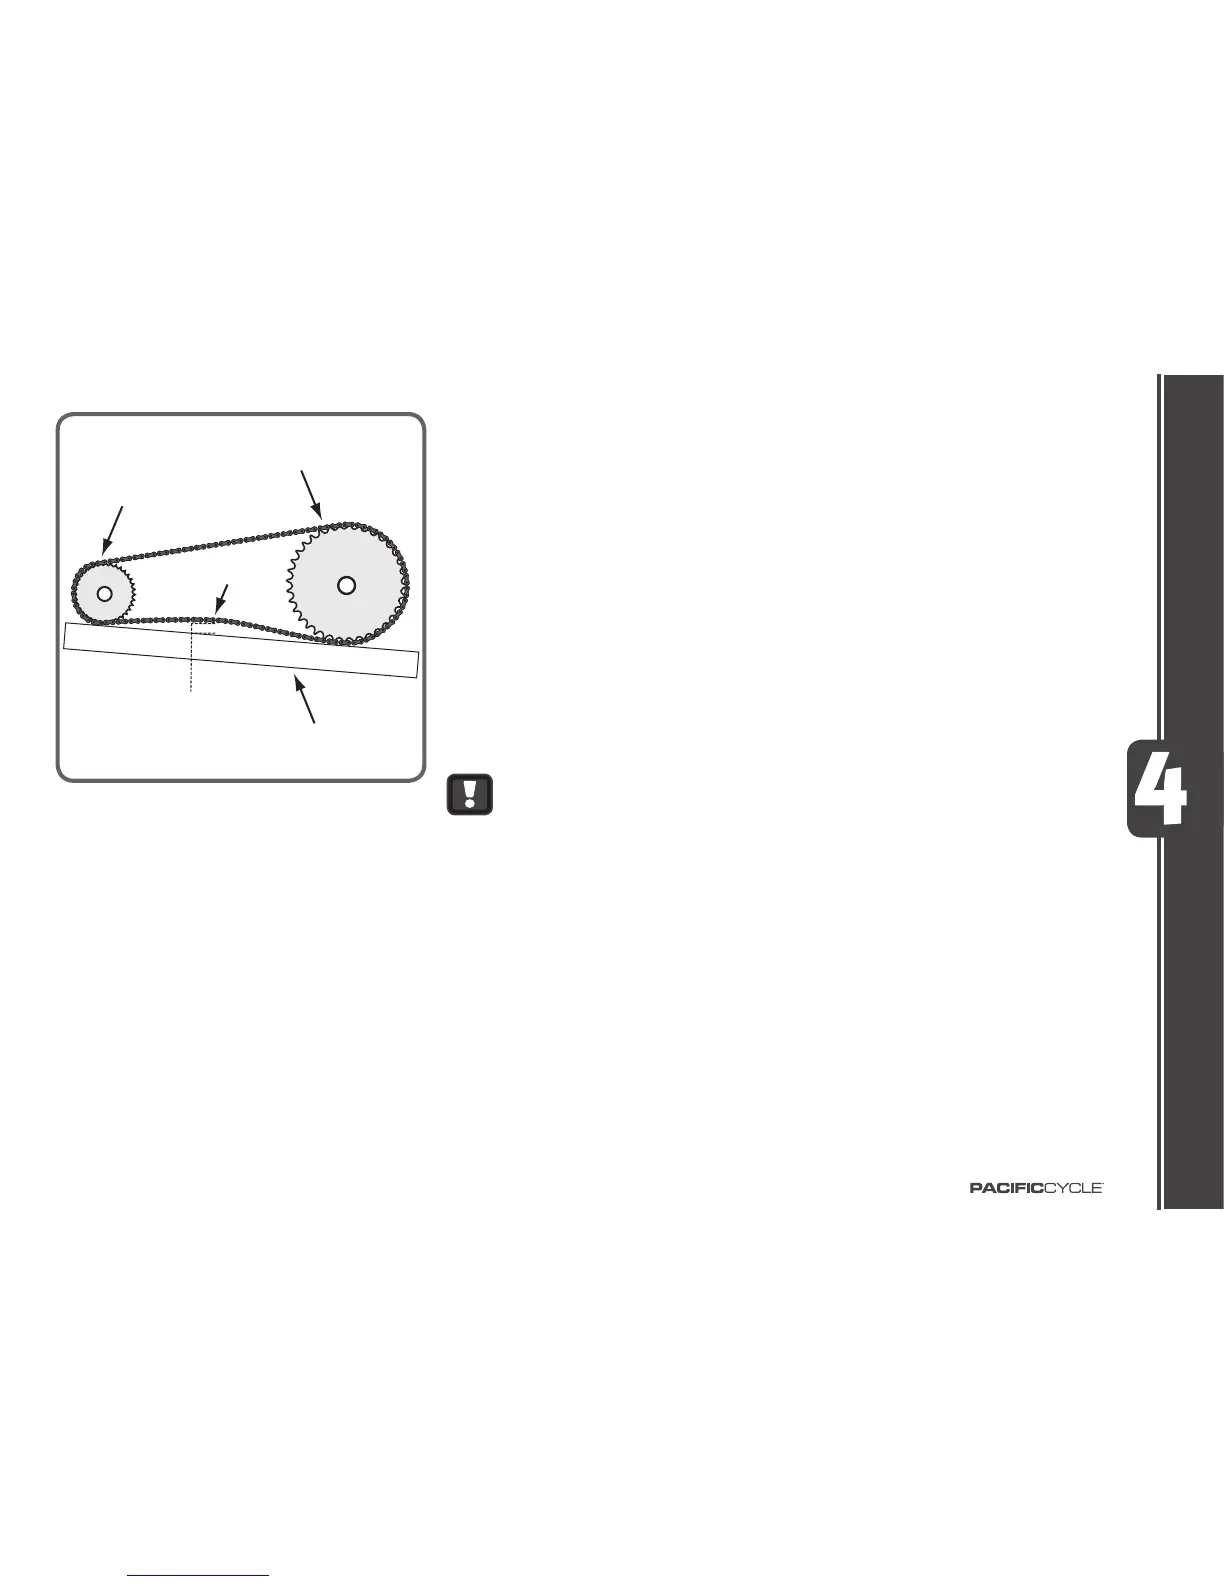
Rear Sprocket Front Chainwheel (Fig. 4.11)
For single speed bicycles, ensure that chain tension is correct. Follow the test in
(Fig.4.11). If the chain can be moved more than 10mm, the rear wheel should be
moved back unl proper chain tension is achieved.
• Pull up
• 10 mm
• Straightedge
Lubricaon
The chain should be lubricated with light oil at least every month, or aer use in wet,
muddy, or dusty condions. Take care to wipe o excess oil, and not to get oil on the
res or rim braking surfaces.
MAINTENANCE