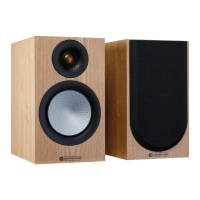
3. Cut around the marked line.
4.
Test t the speaker ensuring it ts neatly in the cut out and that the screw holes line up with the studs.
Do not try to remove the printed membrane o the front of the speaker.
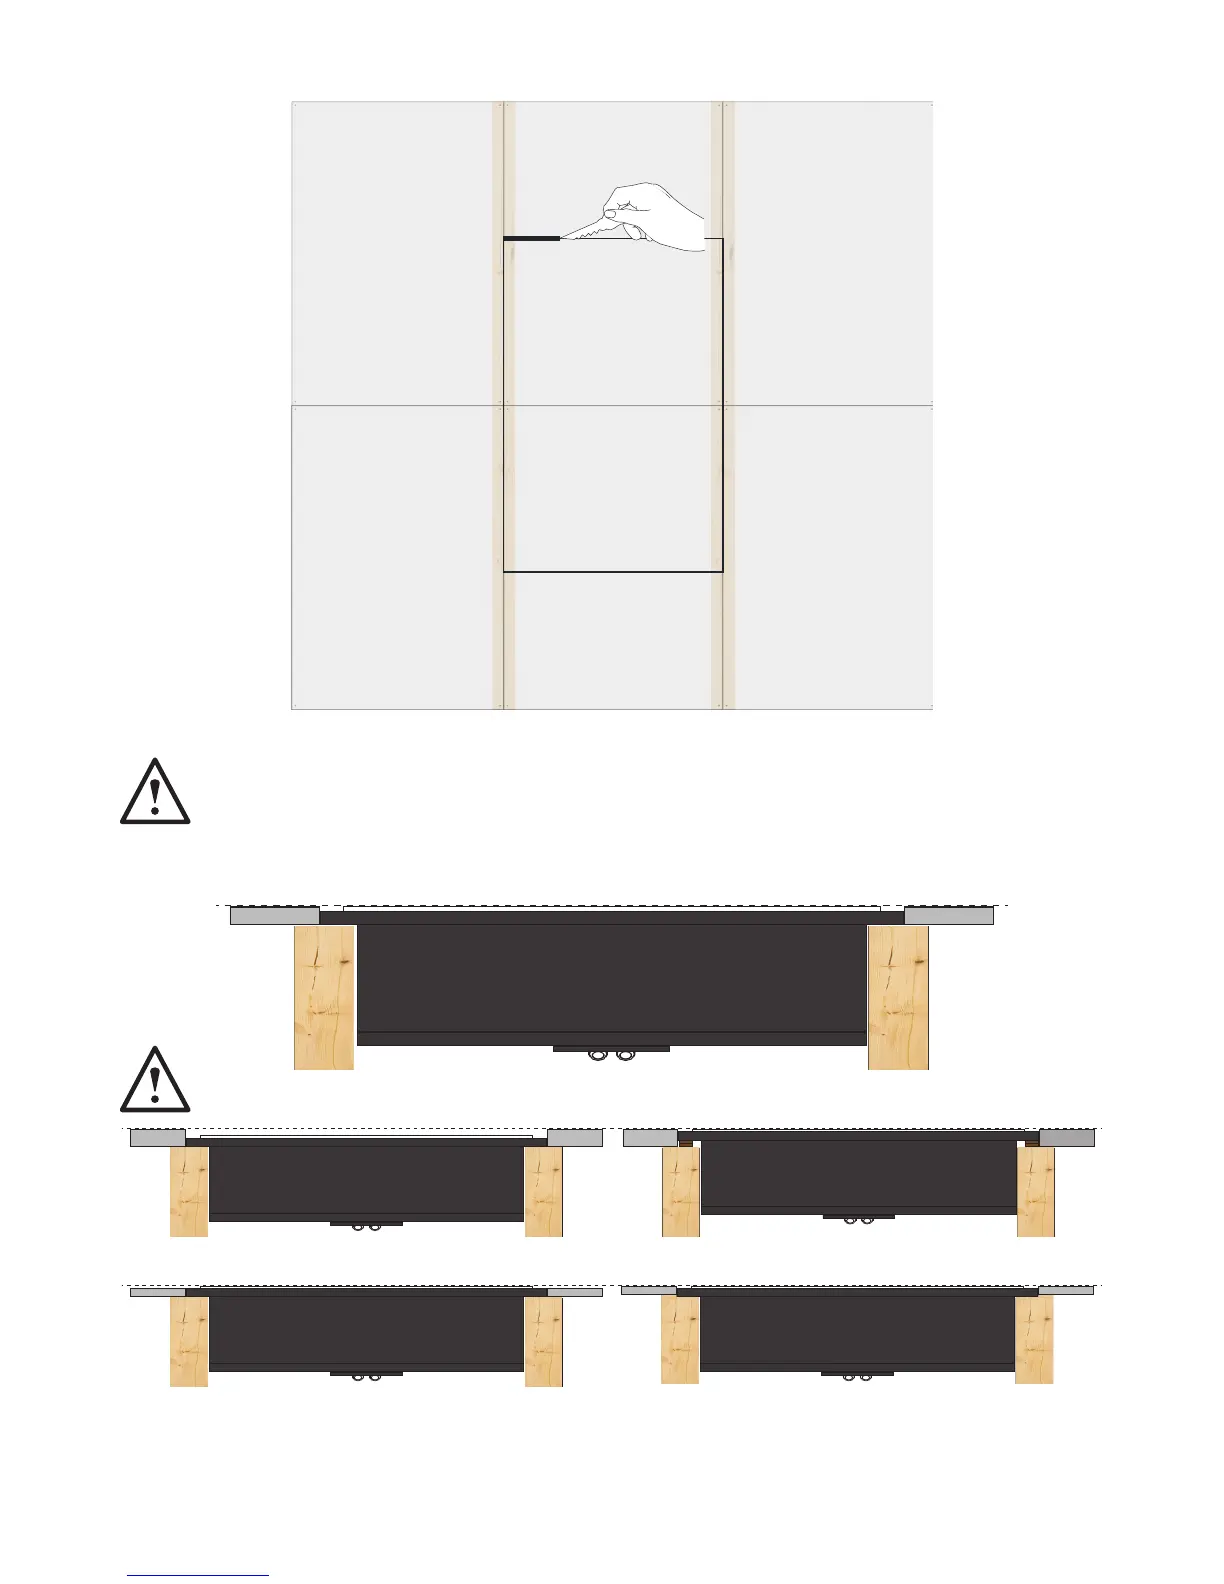
5. Check the depth of the speaker is correct. The front white membrane of the speaker should be ush with the plasterboard. If using 12mm
plasterboard, there should need to be any additional work to carry out but checking is advisory.
If it is lower than the plasterboard, use the supplied card shims to space it o of the studs.
If it is proud of the plasterboard then some material will need to be taken o the studs to ensure it is ush.