9
SETUP AND CONNECTIONS
Let’s begin by getting your Etherwave Theremin properly positioned, attaching the antennas,
making the right connections, and then adjusting the antenna response so that you can begin to
enjoy playing your instrument.
PLACEMENT
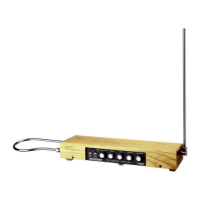
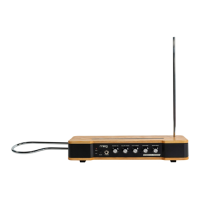
Your Etherwave Theremin requires either a standard microphone stand (preferred), or a small non-
metallic table standing 36” to 42” (91cm to 106cm) high. The included microphone stand adapter is
secured using the two thumbscrews as shown below. If a table is used, no objects on the table should
be within a foot or two of the instrument, and Etherwave Theremin itself should be positioned so
that the Volume Antenna will overhang the edge of the table. Your Etherwave Theremin should be
positioned away from walls and other large stationary objects because nearby large objects will aect
the performance of the Etherwave’s antennas.
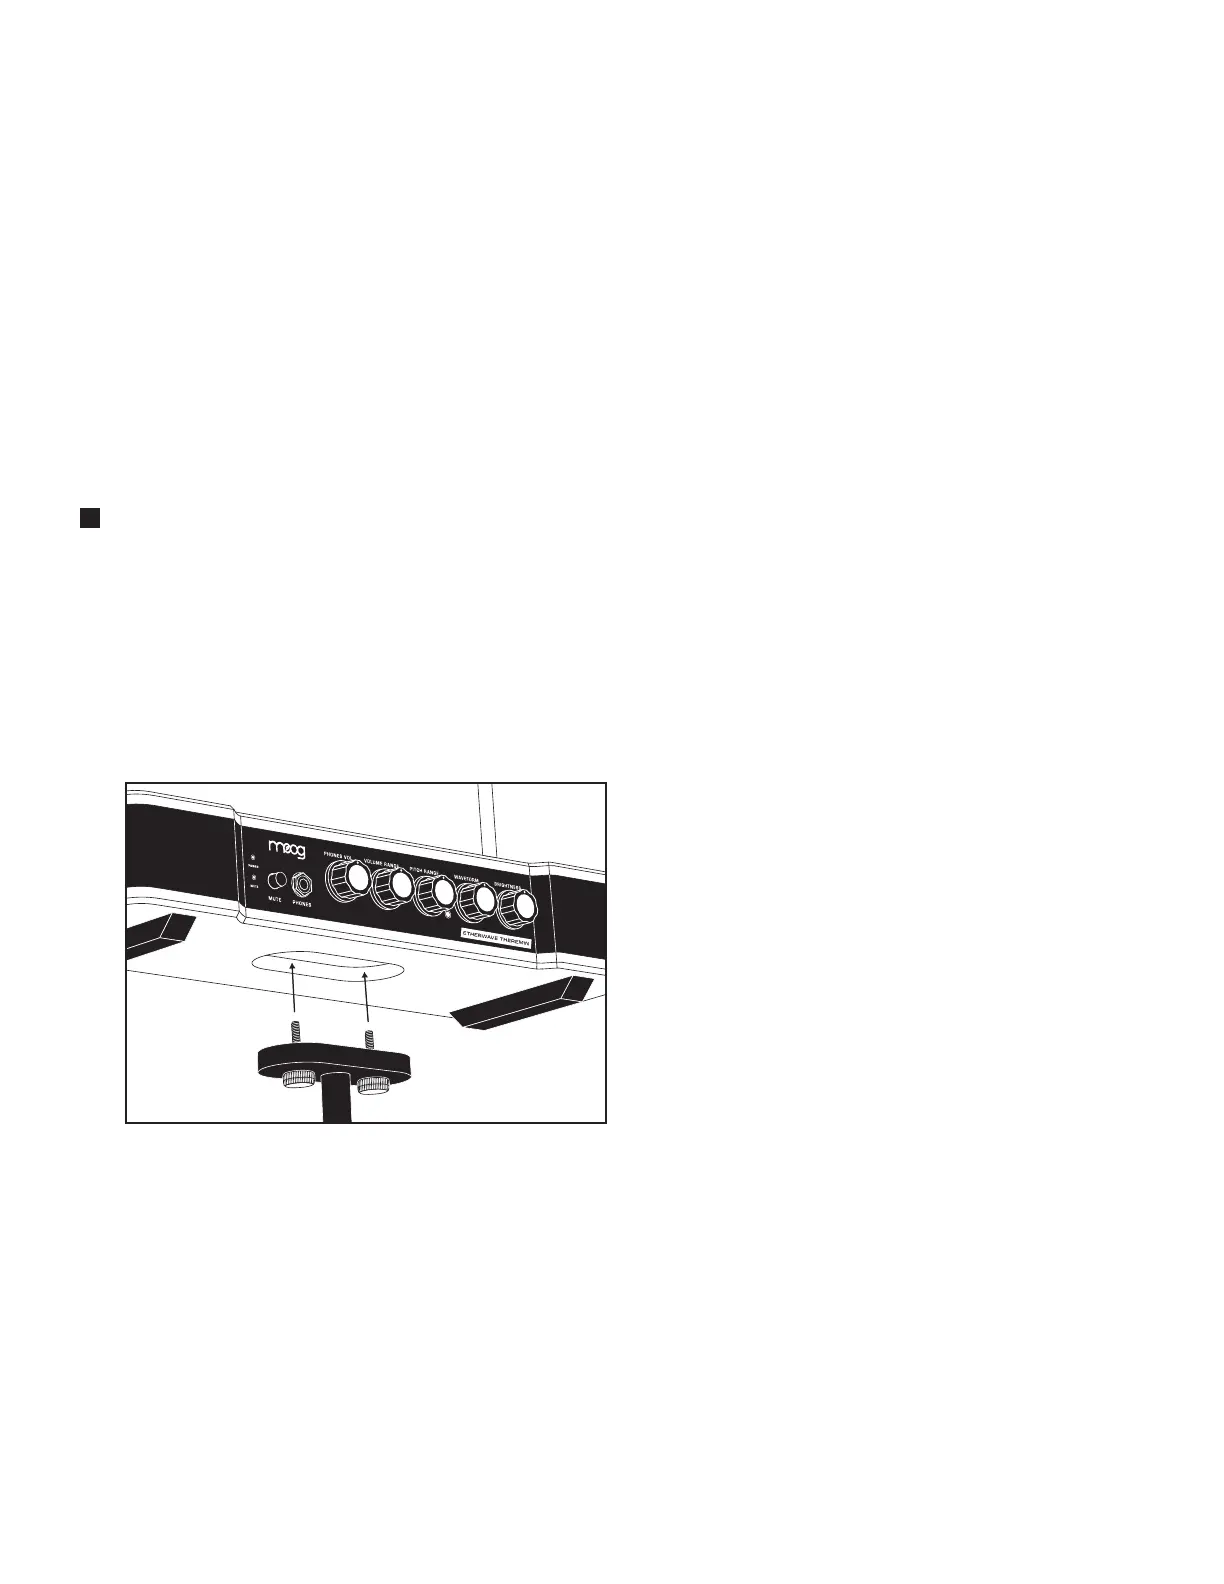
USING THE MIC STAND ADAPTER
The microphone stand adapter/mounting plate was created to make setup of your Etherwave Theremin
quicker and more ecient. No tools are required. The mounting plate consists of a small metal oval
that fits into a recess in the bottom of the instrument. In the center of the mounting plate there is a
threaded hole. On either side are two smaller holes. Each of these smaller holes contains a captive
thumbscrew. The thumbscrews are used to attach the mounting plate to the Etherwave Theremin body.
By design, the mounting plate can remain attached to the microphone stand itself; the thumbscrews
connect and detach the instrument from the mounting plate. This prevents the cumbersome task of
spinning Etherwave Theremin—antennas and all—onto the threads of the microphone stand. Instead,
the stand and mounting plate remain stationary, and the thumbscrews are used to hold it all in place.
STEP 1 - With the heads of the captive
thumbscrews facing down, attach the
mounting plate to a common 5/8” 27
TPI US-threaded microphone stand by
matching up the threads and spinning
the mounting plate in a clockwise
direction, until tight.
STEP 2 - Place Etherwave Theremin on top
of the mic stand and adapter assembly, so
that the mounting plate fits into the recess
in the bottom of the instrument.
STEP 3 - Tighten both of the captive
thumbscrews until secure. Each will
connect to a threaded insert in the
body of the instrument.
NOTE: Double check to make sure both thumbscrews are tightened snugly. There is no need to tighten them
more than finger-tight—remember, you will most likely be taking them out again.
REMOVING ETHERWAVE THEREMIN
To remove the instrument from the microphone stand and adapter, simply loosen and remove the
two captive thumbscrews, then carefully lift Etherwave Theremin from the mounting plate and stand.
 Loading...