7Getting started
1. Plug the telephone line cord into the socket marked on the rear of the base.
2. Plug the power adaptor with clear connecter into the socket marked
on the rear of
the base and plug the other end into the mains power wall socket. Switch on the mains
power.
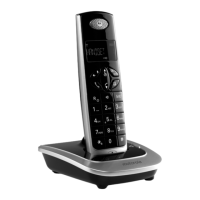
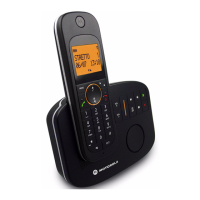
Installing and charging the handset
1. Remove the battery cover from the back of the handset and insert the rechargeable
Ni-MH battery cells supplied. Please note the ’+’ and ’-’ markings inside the battery
compartment and insert in the correct direction.
2. Slide the battery cover back into place.
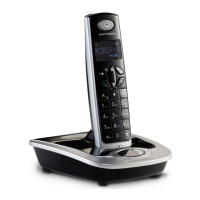
3. If you are charging the batteries for the rst time, place the handset on the base to
charge for at least 24 hours continuously.
4. When the handset is fully charged,
icon will appear steady on the display. Plug
the other end of the telephone line cord (make sure that one end is already plugged
into the base) into the telephone wall socket.
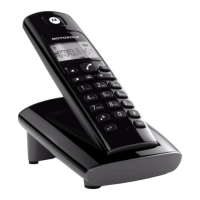
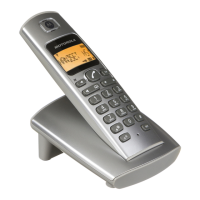
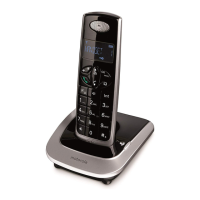
Connecting the handset and charger
(for multi-pack only)
If you have purchased a multiple pack, you will need to carry out this process for all the
handsets and chargers.
Press
1
Slide down
2
 Loading...