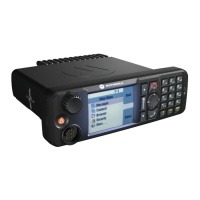
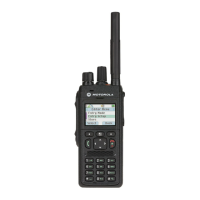
Advanced Features
English
24
b or c to No and press g to select to return to the
previous screen.
7 Repeat Steps 4 to 6 to delete other entries.
After deleting all required aliases or IDs, long press
e to
return to the Home screen.
Setting and Editing Priority for an Entry in the Scan
List
Procedure:
1 g to access the menu.
2 b or c to Scan and press g to select.
3 b or c to View/Edit List and press g to select.
4 b or c to the required alias or ID and press g to
select.
5 b or c to Edit Priority and press g to select.
6 b or c to the required priority level and press g to
select.
7 The display shows positive mini notice before returning to
the previous screen.
8 The priority icon appears left of the member’s name.
There is no priority icon if priority is set to None.
NAG.book Page 24 Monday, March 25, 2013 4:59 PM
 Loading...