14
English
GETTING STARTED
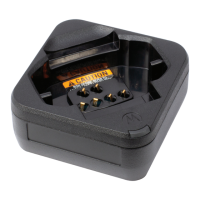
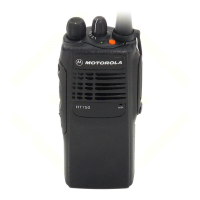
Charging the Battery
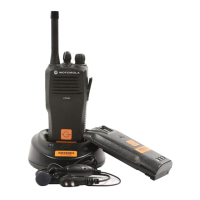
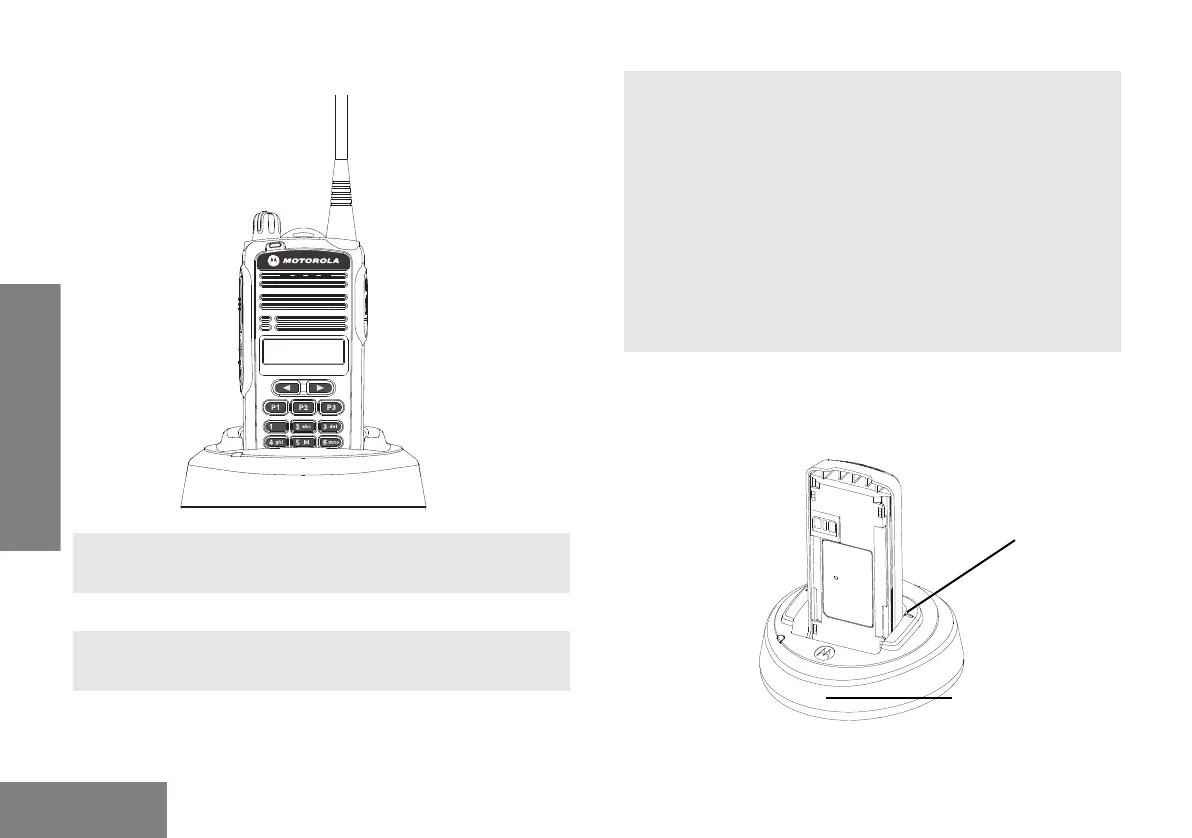
Refer to picture below for the battery insert visual guide line.
1. Turn the radio OFF when charging battery. Make sure
the radio is OFF.
2. Plug the power supply into an electric outlet.
3. Connect the power supply output cord connector into
the rear of the Desktop Charging Tray.
4. The LED on the charger blinks green once to indicate
charger is turned ON.
5. Insert a battery, or a radio with a battery into the
charger’s pocket by:
aligning the groove on each side of the battery
with the corresponding raised rail on each side of
the charger pocket
OR
pressing the battery towards the rear of the
pocket
OR
sliding the battery into the charger pocket,
ensuring complete contact between the charger
and battery contacts.
6. The charger’s LED color indicates the battery’s
charging status. (See Charging Status on page 15).
Battery insert visual guide line
Battery Charging Tray

 Loading...