13
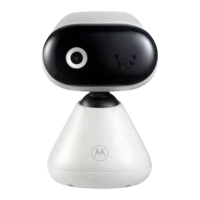
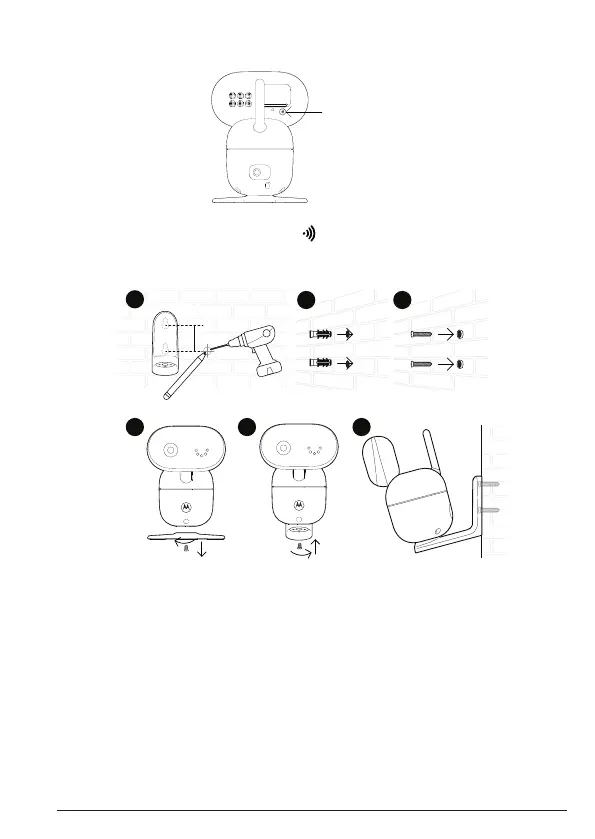
Registering the baby (camera) unit to the parent unit
(Pairing)
Press and hold
We have paired the baby unit to the parent unit in the pack. In case you want to
pair an extra camera, press and hold on the rear of the baby (camera) unit
until the voice prompt 'Ready for pairing' is heard.
Wall mount the baby (camera) unit
1. Mark the positions of 2 screw holes on the wall. Drill a screw hole at each
marking.
2. Install the supplied wall anchors into 2 screw holes on the wall.
3. Insert the supplied wall mounting screws into the wall anchors.
4. Remove the desk stand by loosening the screw on the underside of the
desk stand.
5. Fix and fasten this screw on the baby (camera) unit and the wall mount
bracket.
6. Hang the wall mount bracket on the wall mounting screws on the wall.
Note
The pack includes a power adapter with a longer cord which is beneficial for
wall mount application, where your wall socket is far from the camera.
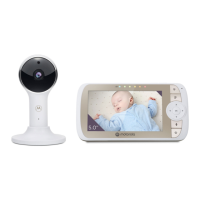
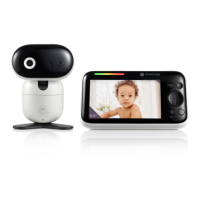
Getting to know your baby monitor
1
2
4 5 6
3
 Loading...